Are you tired of seeing children's toys scattered all over the four corners of the house? How about making storage boxes out of pallets? It is very easy to perform, but above all economical.
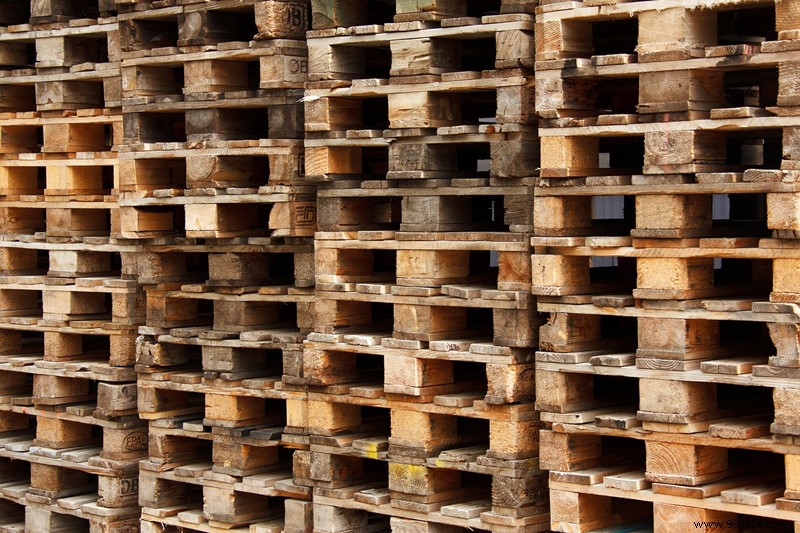
By the time you take possession of the pallets in the backyard of your usual supermarket, it is common that the wood has been exposed to the sun and bad weather for a long time, and you may come across lots of pallets that are full splinters, not to mention rusty nails. Hence the need to handle them with great care, always wearing gloves to protect yourself if possible. Prefer more protective and more resistant leather models.
The first phase is the dismantling of the crosspieces of the recovery pallets, the soles and the dice. It is the latter that will be used in the realization of the toy box. The ideal would be to do this operation at the place of their recovery. As a result, you only take the parts you need and leave the unnecessary ones behind. Using a hammer and a crowbar, start by detaching the crosspieces and slats.
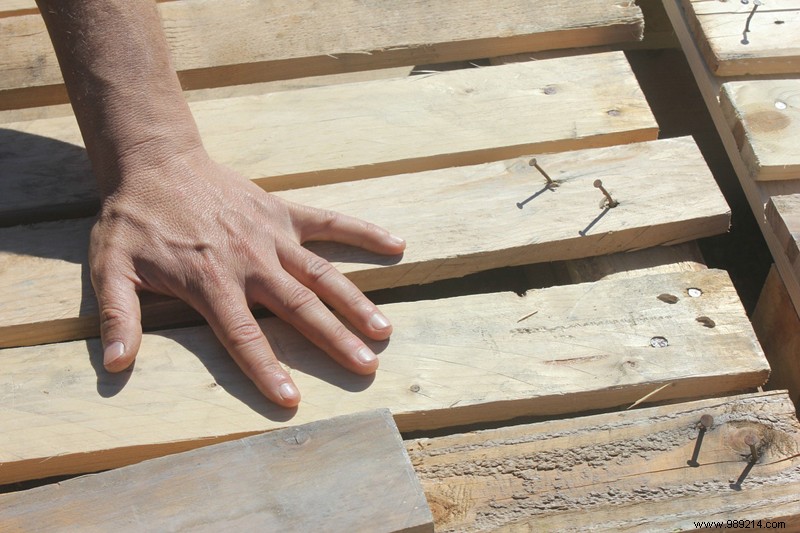
Do the same also with the other elements of the palette. In the event that nails remain stuck to the wood you need, you can remove them with pliers. As the standard dimensions of recovery pallets are generally 80 x 120 centimeters and 2 centimeters thick, allow about twenty boards for an average size crate.
Choose the strips of wood that are the most uniform both in texture and color and using a jigsaw or classic saw, cut 14 boards of 70 centimeters. These will form the bottom and four sides of the toy box. Also plan 4 cleats of 25 centimeters and 8 others of 40 centimeters. These pieces of wood will be used to fix the components of the wooden box.
If you are faced with pallets in poor condition, sanding may be necessary, or even recommended. To do this you will need a sander with medium grit sandpaper to start with. Gently finish with a fine grain to obtain a smooth wood that is very pleasant to the touch. Afterwards, you can paint the trunk, unless you want the boards to keep their natural color.
Once the boards are finally ready to be used, make the first face of the safe by assembling three boards to be placed one above the other, trying to respect the same separation distances. This operation is to be repeated three times, to obtain the other sides. Join the faces of the front and back using 3 cleats of 40 centimeters previously cut from the palette.
Afterwards, you can finally form the box by joining the other two lateral sides, always reinforcing them with three other 40 centimeter cleats. The next phase is the laying of the bottom of the trunk which you will carry out beforehand with 3 boards joined together of course on two battens. Ditto for the lid which needs to be fixed by three or four hinges on the back and the outer face of the lid.