With the arrival of digital photo frames, the classic models to hang on the walls seem to be falling into disuse. Yet nothing beats a frame created by yourself in recycled materials. Here is a manual and artistic activity that brings together both young and old.
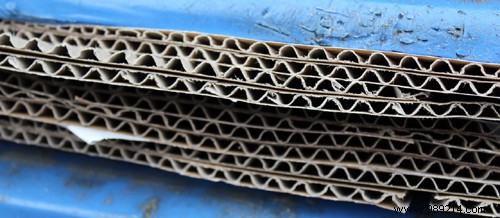
Stop leaving your old family photos lying around in your albums. Instead, display them for all to see in homemade frames . You don't need to be a craftsman to make these little masterpieces. You will only need a cardboard box if possible with a double groove, a cutter with a new blade, a roll of kraft paper and neoprene glue.
The bottom of the frame will mainly function to support the photo. Start by taking the measurements of the photograph you want to frame. Transfer the dimensions to the cardboard using a pencil and a double decimeter ruler, leaving a two centimeter margin on all four sides. Cut out the figure obtained with your cutter as well as three strips of cardboard to stick on the three sides of the support. The free wall will be used to slide the photo. To consolidate the bond, put kraft paper on the front and back edges of the support.
To make the frame, cut out four strips again with a minimum width of five centimeters, this time based on the measurements of the support. Glue them two by two. More precisely, associate a side strip with the upper side of the frame and another with the lower part. You will then assemble the two pieces.
Once the glue is dry, kraft the walls of the frame to first reinforce it, but above all also with a view to concealing the very unsightly grooves. And the next step is the creation of the support. To be able to hang it, just place two rings with laces on its left and right sides halfway up the frame. Otherwise, the other option is to securely attach a clip to the top wall of the frame.
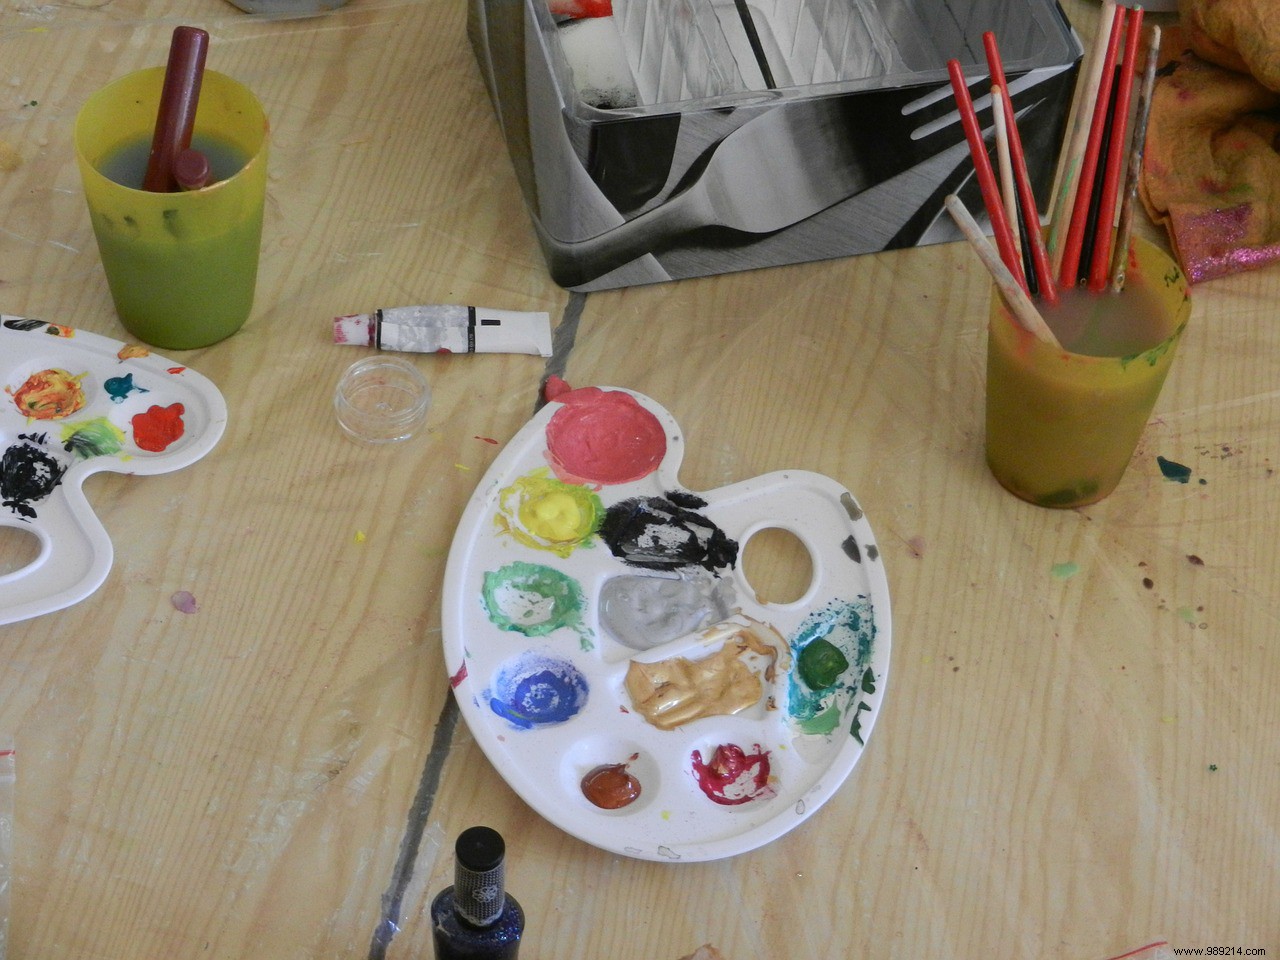
Regarding the decoration, it is left to the appreciation, taste and aspirations of each. Here you can fully let your imagination and creativity do the talking. And the possibilities are many and varied. If you want to harmonize the color of the frame with your interior, you can for example try sponge painting. This technique gives a very successful retro look.
Alternatively, using scrap gift wrap or ribbons you can also make pretty mosaics on the edges of the frame. Otherwise, to obtain a ceramic effect, layer plain matte paint with varnish. Once you are satisfied with your decorating work, you can finally put the pieces of the puzzle together. To do this, you glue the support with the photo to the frame.