First, take measurements for each wall and write down the order for each panel. Since oak paneling comes in 4x8 sheets, you will be able to cover two sections of paneling at once. In some cases, however, you will be able to cut for a single panel. As long as the seams fall behind the studs, that's all that matters.
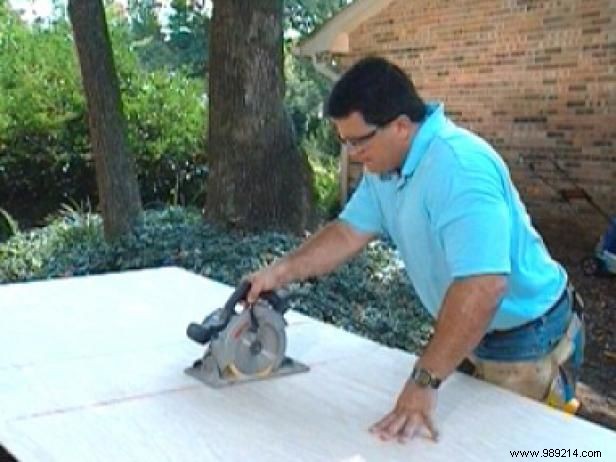
Measure on the outside and cut the plywood to the height of the panels, using a circular saw. Cut the plywood 1/2" shorter than the mark on the wall to give some slack if the floor is uneven and may be hidden by the baseboard.
Work from the list and cut all the panels to width.
When you're building a woodworking project, try to cut all the wood ahead of time so that when you start assembly you don't have to interrupt your thought process to go back and cut more wood.
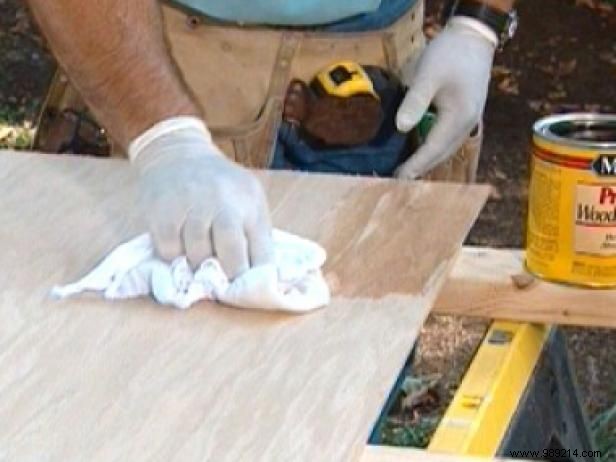
When all the panels are cut, treat them with a stain conditioner (Image 1), which will help the wood absorb the stain evenly.
Note: It takes about 15 minutes for the conditioner to dry, so by the time the last panel is done, the others will be ready to stain.
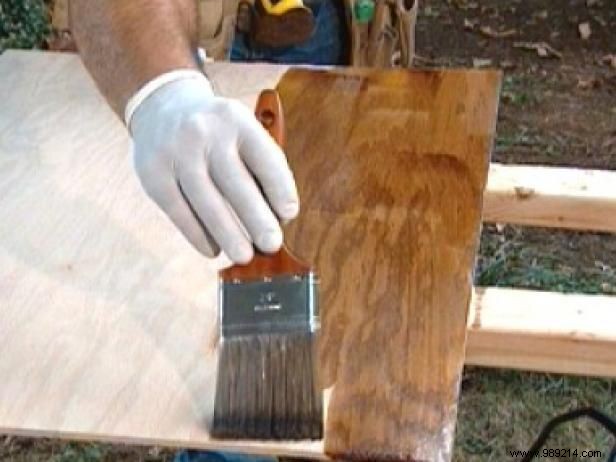
Paint the panels by applying them with a good quality brush, following the grain (Image 2) and then wiping off the excess with a rag.

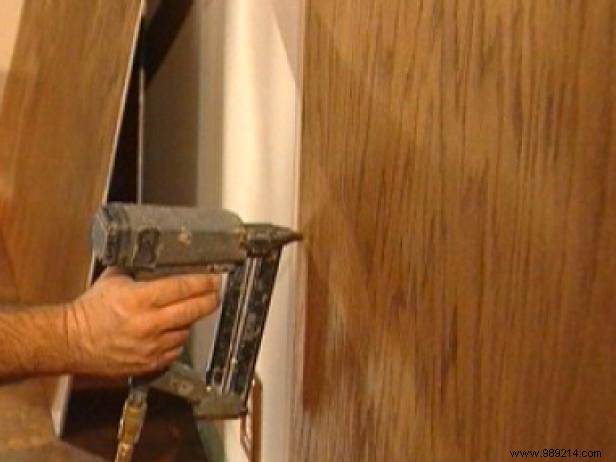
Start by adding construction adhesive to the back of the panel and then position the panels on the wall, making sure to keep the top edge aligned with the top horizontal lines marked on the floor (Image 1).
Once the panel is where you want it, use a nail driver to attach it to the wall (Image 2). You can place strands anywhere the studs are, as they will be hidden.
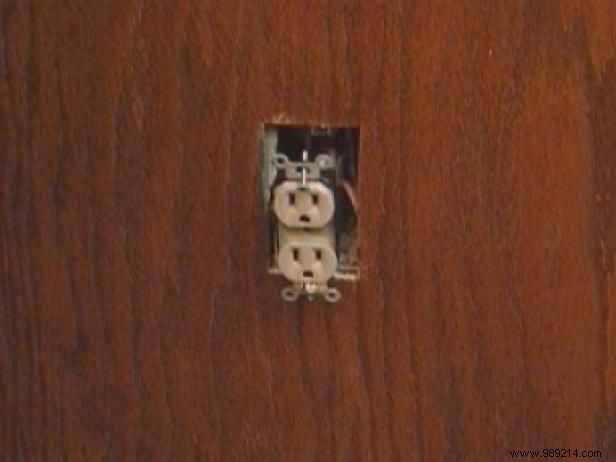
When you come to a panel that has an outlet, remove the cover plate and then measure from the edge of the first panel to both sides of the box. Do the same from the top and bottom of the box.
Note: You will wait until this point to cut these boxes because the holes must be placed precisely.
With the power "off", loosen the outlet so you can power up the panel after cutting the hole.
Take a quick trip back outside to cut out the hole for the box with a jigsaw. Once this is done, do a fit test on the panel to make sure the cut is exactly right (Image 3).
Add adhesive to back of panel and snap into place, affixing inside stud markers. The panels go up easily, so just continue across the room.