Draw a plan. The bookcase in this project slides into a knee wall in the renovated attic for additional storage. Draw the dimensions of the bookcase to determine the dimensions of the individual pieces.
Use a table saw to cut the birch plywood bookcase pieces.
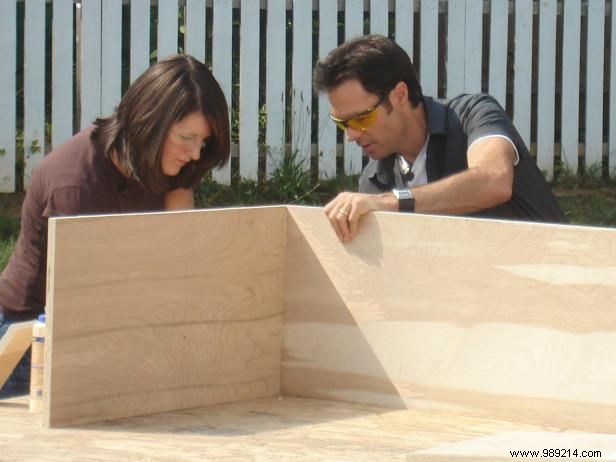
Use wood glue and a nail gun to put the bookcase together. Make sure all corners are square and shelves are level before nailing.
Safety Alert:Always be careful when working with a nail gun. These powerful tools can drive a nail through wood, or a hand or foot, instantly.
Sand, prime and paint the shelf as desired. Let the paint dry completely before installing.
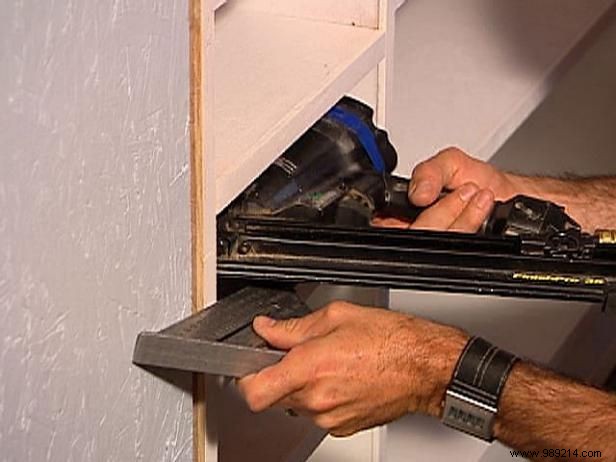
Slide the shelf into the opening in the wall. Check that the rack is level, using shims as necessary to level the part. Use a straight edge to make sure the frame is flush with the wall and fits close to the wall studs. Drive nails through the sides of the shelf into the wall studs; If you use shims between the bookcase and posts, be sure to drive the nails through the shims. Break off any shims protruding from the front of the bookcase.
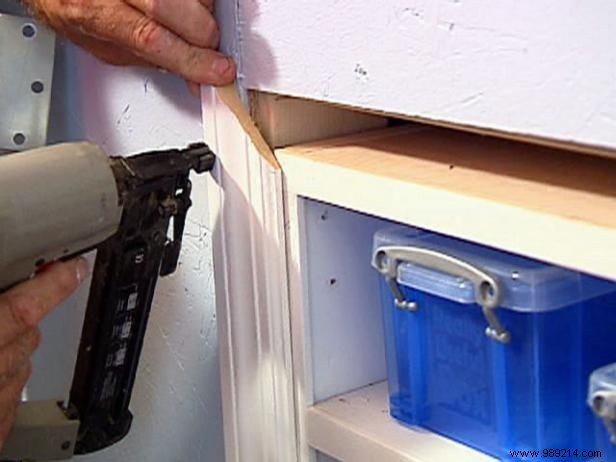
Install wood trim as desired to frame the shelf and hide any gaps between the shelf and the wall.