Ipe, or Brazilian hickory, is a very dense hardwood with natural red and brown tones that make it a great choice for finishing work in your home. Like cedar, ipe is so dense that it is naturally resistant to moisture and does not need treatment. In fact, it is so moisture resistant that it can be used outdoors and in damp locations without being sealed. It seems strange, then, that the first step of the project is polyurethane on the wood, but this is an optional step. Polyurethane is just for adding shine to the wood, which will help bring out the rich, natural colors of the wood.
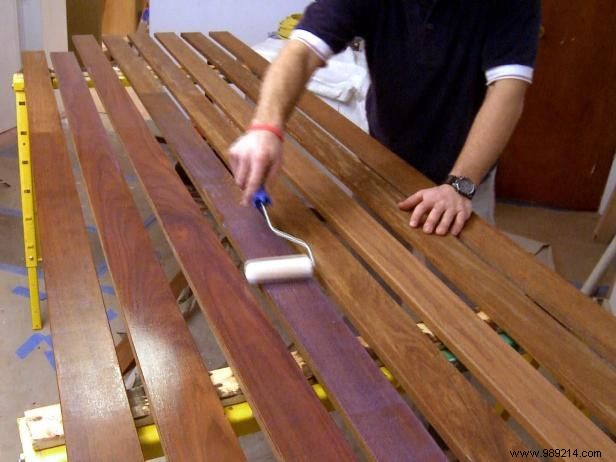
If you decide to do the wood, you'll want to place the planks of wood on a sawhorse set and wipe them down with a dry cloth to make sure they're free of dust. Next, use a high-density foam roller and apply the polyurethane in thin, even coats. Let the wood dry for 24 to 48 hours before cutting or installing it.
Before installing the wainscoting, it is important that you verify the integrity of the wall where you will place the ipe. Because ipe is very dense and heavy, you'll want to make sure you have a strong substrate that you can attach the wood to. If your substrate is weak, consider cutting out that part of the wall and replacing it with a 1/2” thick fiberboard (also called strand board). The fiberboard is strong enough to support the heavy weight of the wood, and should be secured to the wall studs using 2” drywall or wood screws.
Wainscoting can be any height, but is typically installed anywhere from 30” to 60” high. Determine what height is most suitable for your room design and make a mark at its height at various intervals along the wall. Then use a level to make sure your marks are perfectly aligned with each other. If they aren't, it means you have a non-level floor, and you'll need to take this into account when cutting your planks into the siding strips.
Transfer the measurements to the ipe boards and cut them using a table or miter saw.

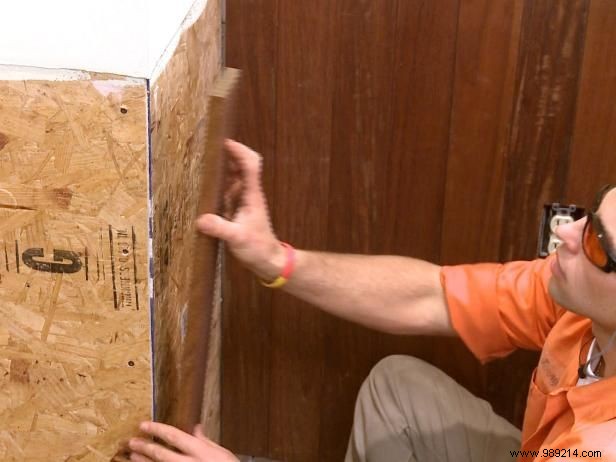
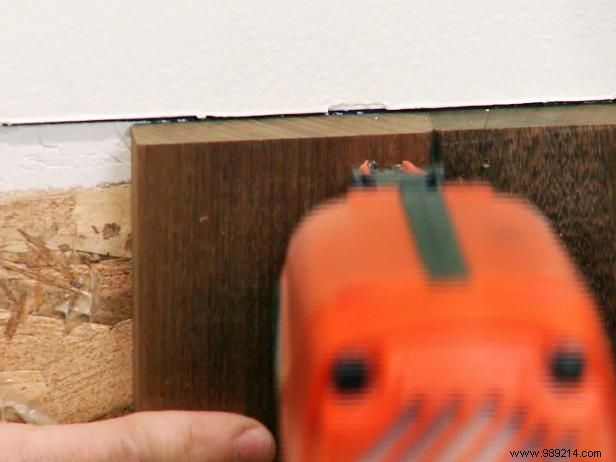
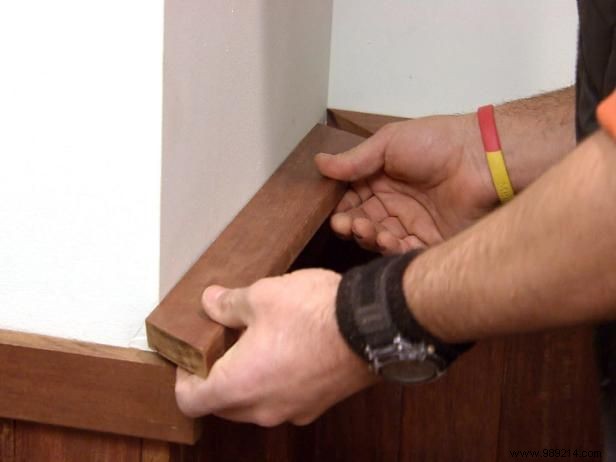
To install the battens, run a thick bead of construction adhesive across the back of each board, making a zigzag pattern across the back for best coverage (Image 1). Press the board firmly against the wall and then remove it again. Let the construction adhesive breathe for two to four minutes before sticking it back against the wall (Image 2). This step is essential, because construction adhesive forms a stronger bond when it has a chance to mix with air. Construction adhesive will hold the boards securely to the wall once dry, but to help keep them on the wall while they dry, you can add a single finishing nail to the top and bottom of the board (Image 3 ). These nails are just to hold the board up while the glue dries, so you don't need to add too many. Try to keep them near the top and bottom of the board so they can be covered by the toe kick and cap (Steps 5-6).
Continue installing boards by working your way across the wall from one side to the other or from the center out. Working this way we will keep cuts in the corners and full boards in the center of the wall.
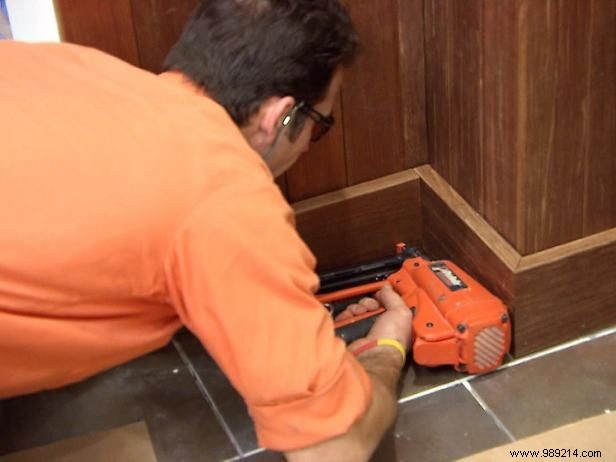
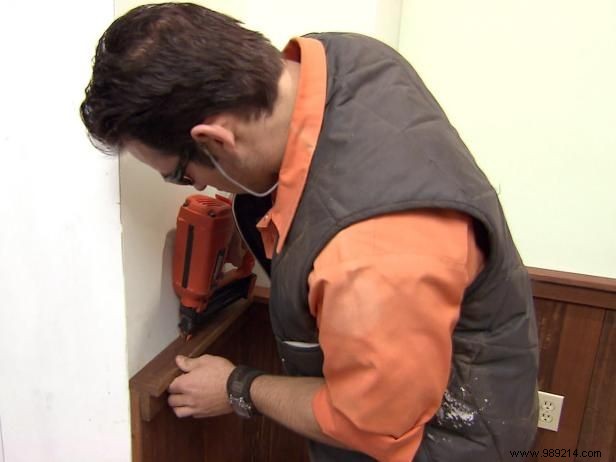
Use a table saw to cut boards up to 6” wide, and install as baseboard on underside of battens. Use the nail gun to fix the baseboard to the wall.
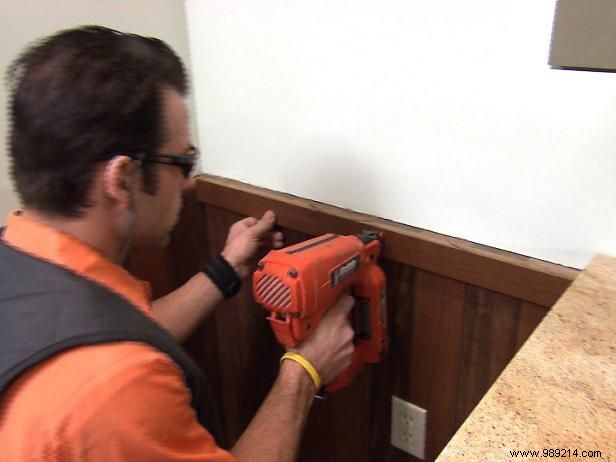
Finishing the top of the wall requires a two-step capping process. The first step is to cut a 3” wide strip of ipe using the table saw. This strip, called an apron, is then nailed to the face of the shingles in the same way the toe kick was attached in Step 5 (Image 1). It is important to keep the top edge of the apron perfectly level with the top edge of the verticle battens installed in Step 4.
The second step is to rip another 3.” strip of ipe and place it on top of the batten/apron wall (Image 2). Attach this step with nails and/or wood glue, and your project is complete (Image 3)!