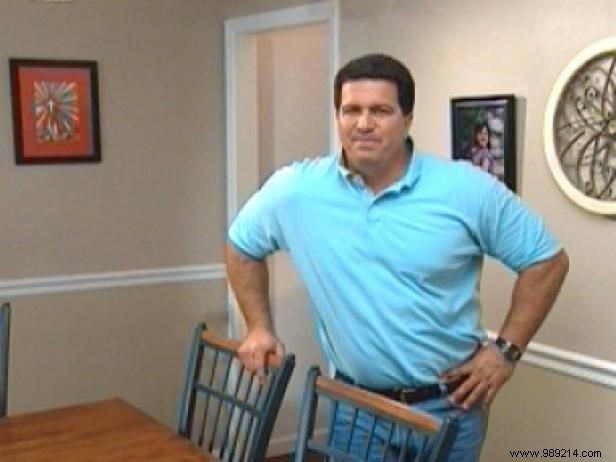
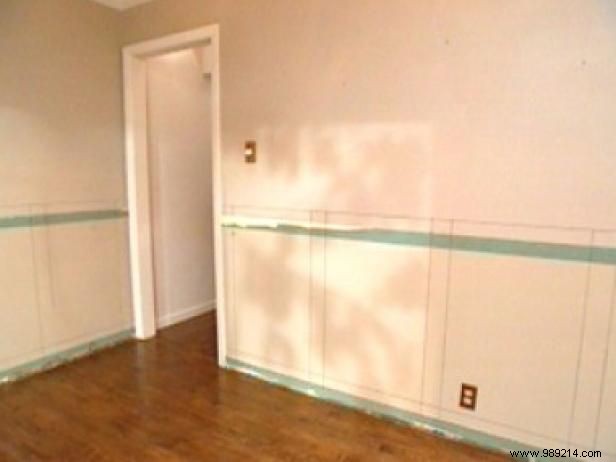
Although this dining room (Image 1) may look standard, there are four moldings with different start and stop points. And for this particular job, the door skin will be left alone because it meets the crown molding at the top of the walls.
First remove all furniture from the room to give yourself enough space to work.
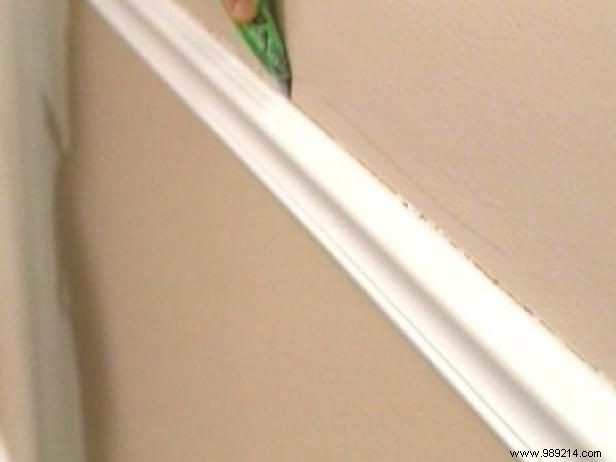
Start by scoring the top and bottom edges of the chair rail with a utility knife (Image 2). Also mark the mitered corners and ends that meet the door skins for easy removal.
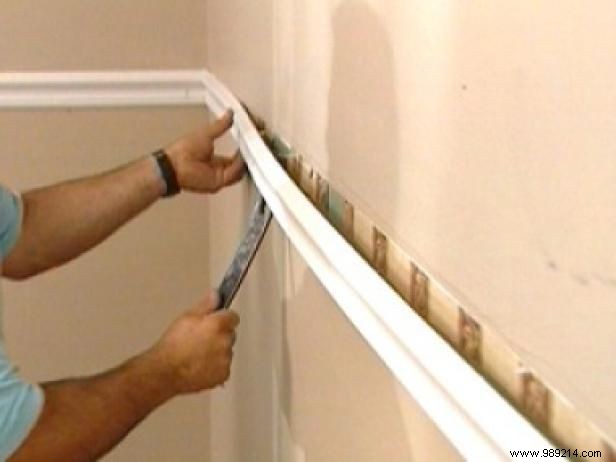
Slide a flat pry bar behind the chair rail and out of the wall (Image 3), and work around the room removing the chair rail and base molding.
Finally, scrape off the old wallpaper left under the chair rail.
Always work "below" the chair-rail line. That way, if you mess up the walls, it'll be covered by the new wood siding.

Horizontal framing, or rails, goes from corner to corner, which is a no-brainer. But you need to figure out panel spacing and vertical framing, or studs. Also consider the outlets in the room; They need to fall on a panel instead of a frame.
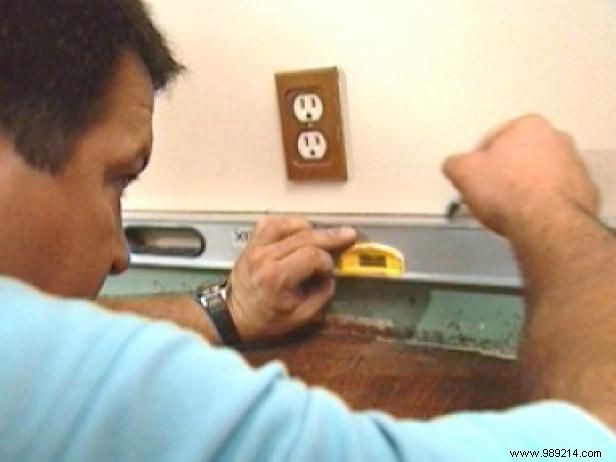
Start by measuring 5-1/2" from the floor, and then use a level to draw a line where the new base molding will go (Image 1).
Measure the height of one of the dining room chairs and determine how high the chair rail should be off the floor. Measure the wall at one location and use a level to mark the second horizontal line (Image 2).
With the chair rail and base molding lines drawn, measure the length of the walls to determine the size of the panels. Divide the shorter wall length by four to determine the width of each evenly spaced panel. Mark the vertical lines with a level to keep them plumb.
Note: The studs will hide the panel seams, so their placement is critical to the design.
Once all the walls are marked (Image 3), you can see where the outlets will land and make sure you're happy with the layout.