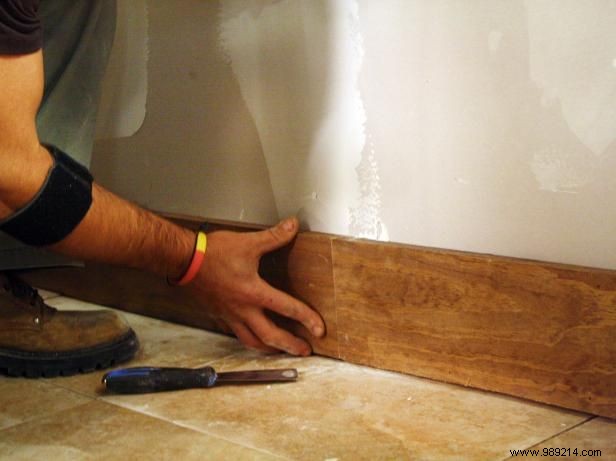
Frame the perimeter of the wall with your pine boards, using 1x8 boards for the two outside vertical pieces and 1x4 boards for the horizontal runs. Apply regular construction adhesive to stick the boards to the wall and secure them in place.
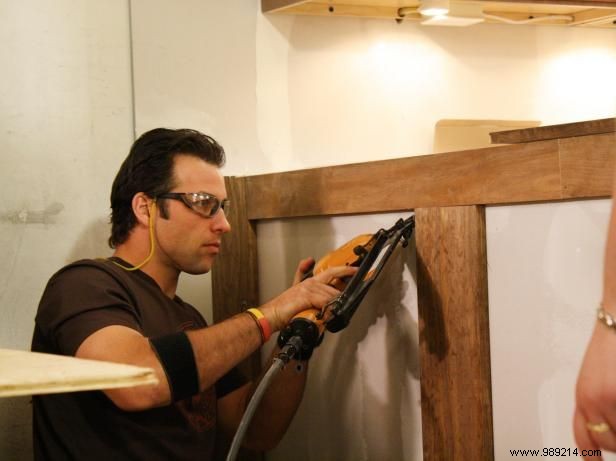
Use additional 1x8 boards to cut three more vertical pieces to fit between the horizontal runs. Glue them in place, making sure to space them evenly, and go around the corners on horizontal runs to avoid visible nails where possible.
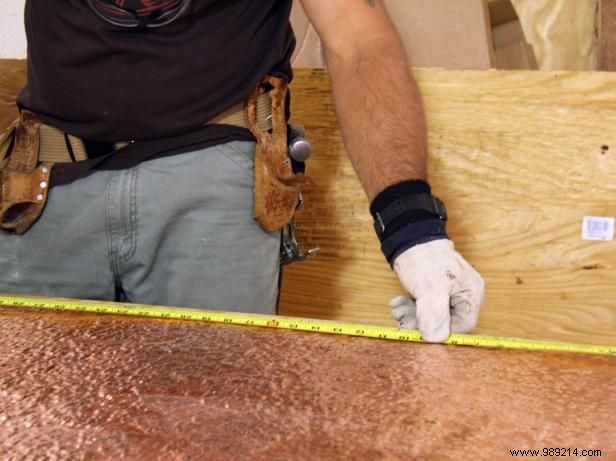
Place your copper sheet face down on your artboard. Measure the sizes of each "window" you just created on your copper sheet. Mark the window shape with a felt tip marker.

Cut along the lines you just marked with a pair of scissors. Be sure to wear work gloves when working with this copper.
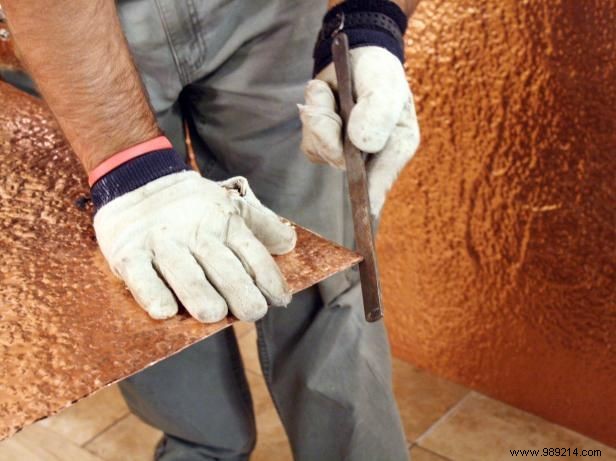
Use the metal file to smooth corners or sharp burrs caused by cutting.
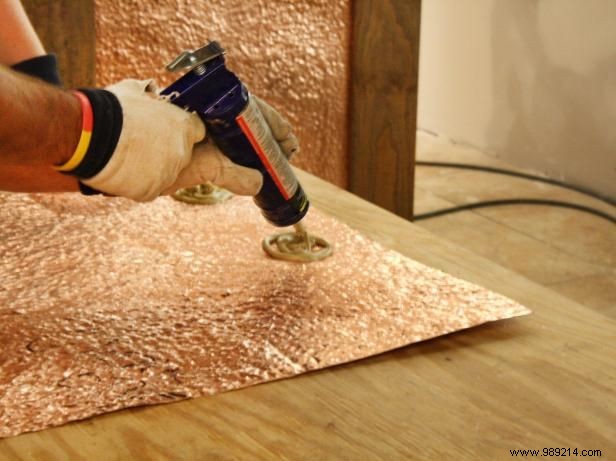
Apply the high strength construction adhesive in large spheres to the back of the copper pieces. Apply a greater amount of glue to the craters or valleys of the piece. You may need more than one tube of construction adhesive per piece.
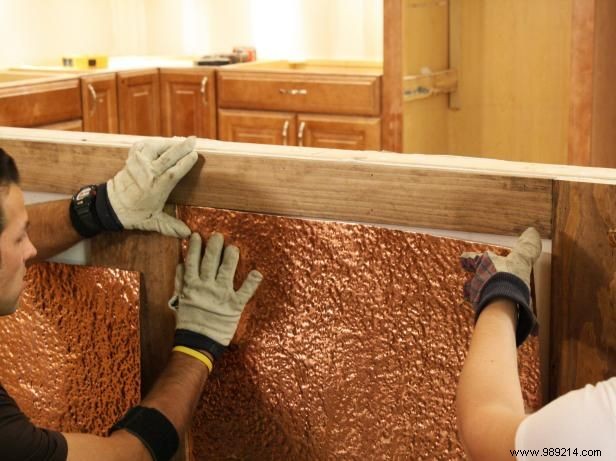
Press the copper firmly against the wall at the "window" created by the wooden frame. Press harder and hold for a few seconds on any area that lifts from the wall.
Repeat the process for the other three pieces of copper in the other three "windows". Let them dry for at least 24 hours before doing any other work around the wall.