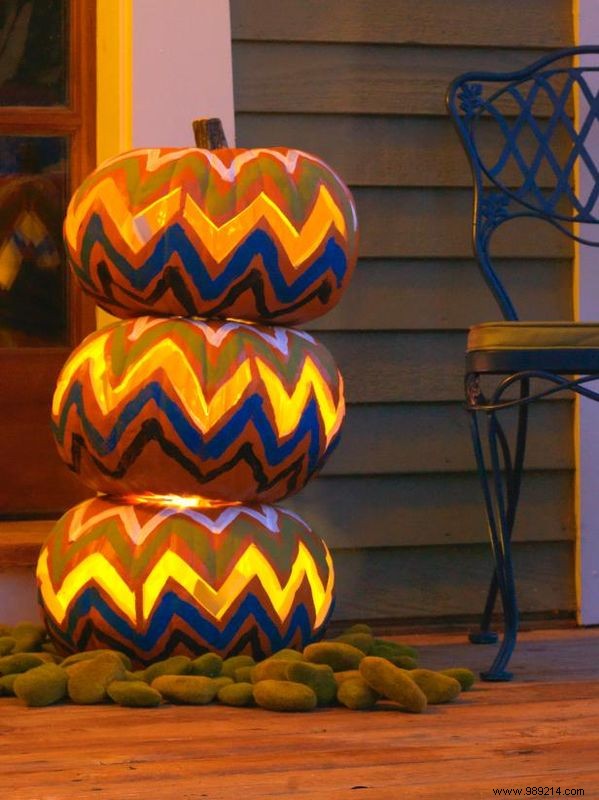
We painted and carved chevron patterns on three pumpkins, inserted tea lights, and then stacked the pumpkins to create a retro-style topiary. Moss covered stones were placed around the base of the topiary to give it an earthy yet mysterious touch.
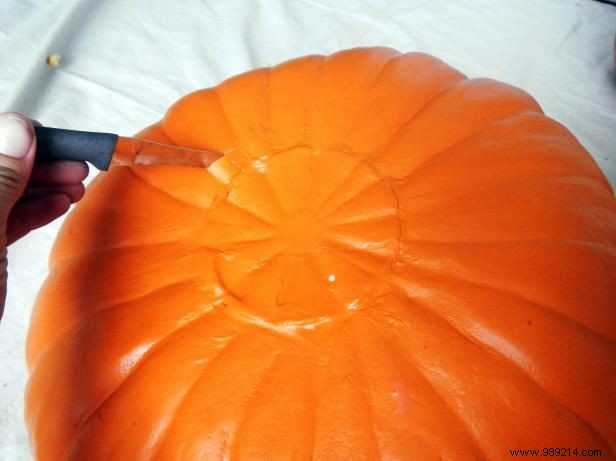
Cut a hole in the bottom of each gourd and clean out the insides.
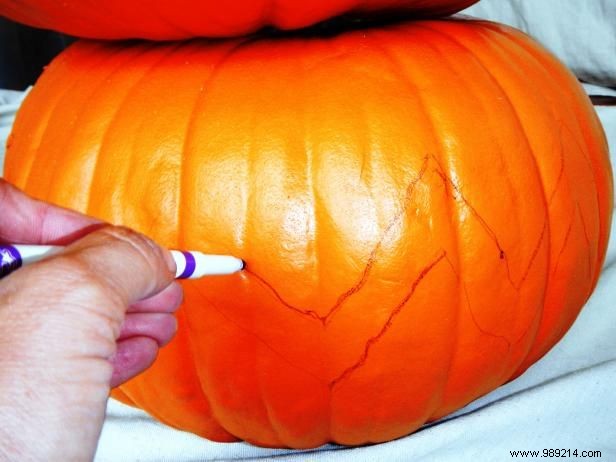
Place the pumpkins one on top of the other. Use a dry erase marker (washable marker) to draw a chevron pattern in the center of each pumpkin a little more than halfway around the pumpkin. Don't draw your pattern around the whole thing. Take apart the stack and mark which is the top, middle and bottom.
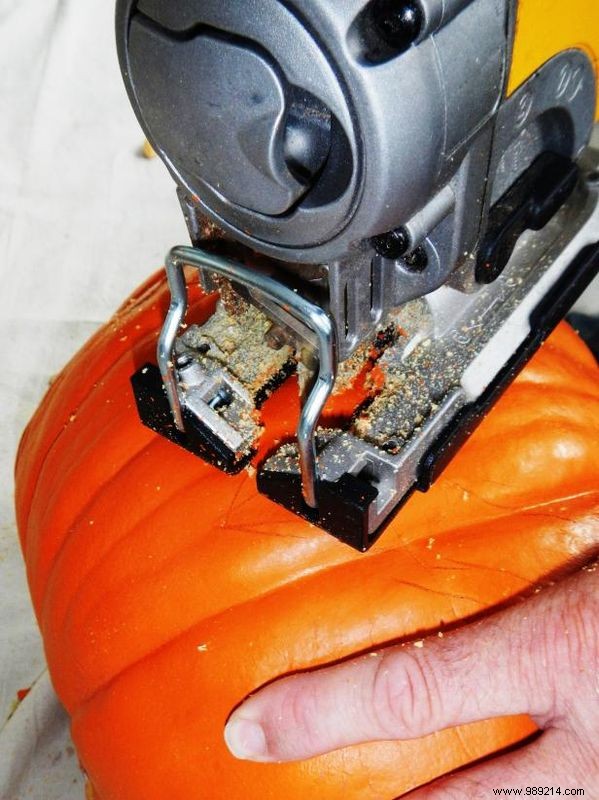
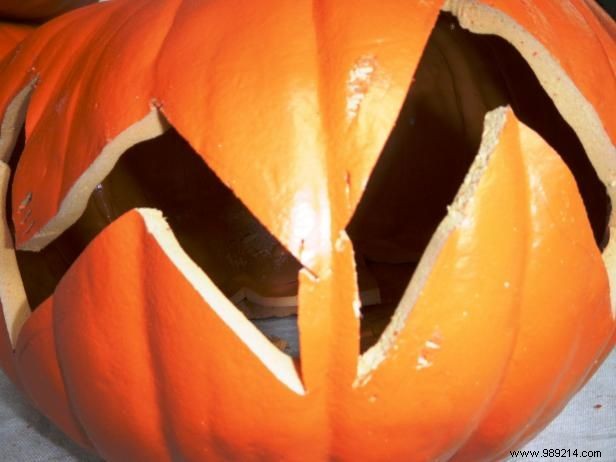
Use a serrated knife or jigsaw to cut out the patterns. If you are using a jigsaw, drill a hole first, then insert the saw blade before turning it on. In each pattern, leave two stabilizers to help handle the weight of the other pumpkins (so it doesn't fold in on itself).
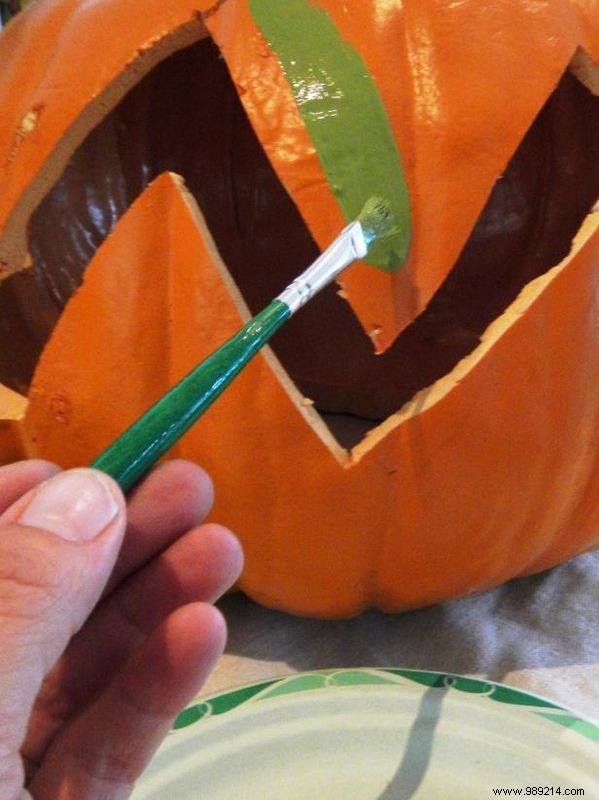
Paint two zigzag patterns above and two below the cutout pattern, using four different paint colors. Repeat on the other two pumpkins. We put each color in the exact same spot on each pumpkin. Let the paint dry completely.
Susan Teare, Joanne Palmisano
Add battery-operated lights to the inside of each pumpkin. Tape them in place if they move around too much. Then re-stack the pumpkins. Add something fun around the base like moss covered rocks.