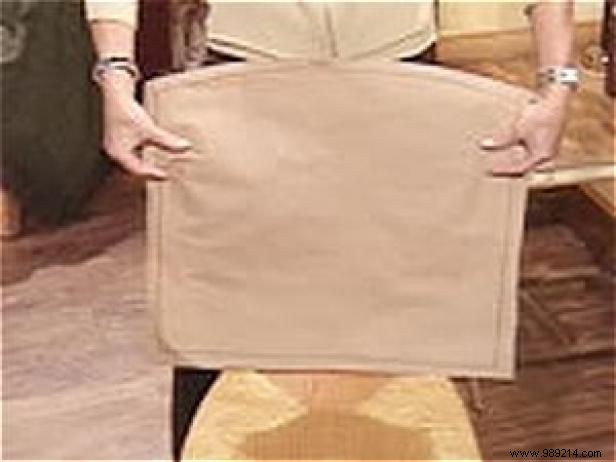
Start by cutting out a paper template from craft paper. Measure the paper against the back of your chair and make sure to cut the template large enough to include a seam allowance.
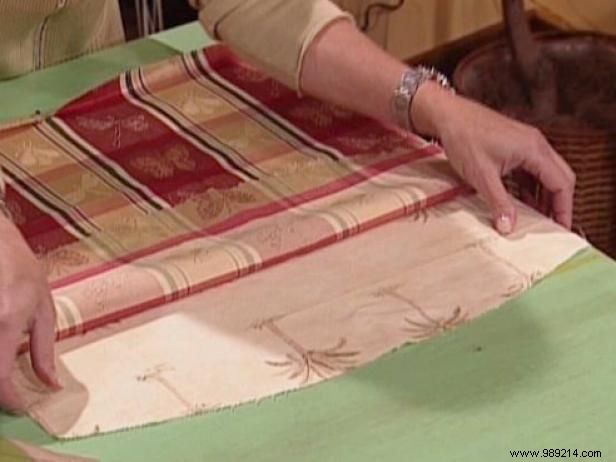
Choose the fabric or fabrics you want to use. Select fabrics that complement or match the colors in your room. For our demo, two different but carefully coordinated fabrics (Image 1) were used on the front and back to give the covers an even more distinctive look. The selected fabrics were both cotton. As the cut edges of cotton fabrics tend to fray, a zigzag stitch was used along the edges to prevent the fabric from fraying and give it a finished edge (Image 2). Other options might include sawing off the edges or using a fabric glue. Finish the bottom edges of the covers by sewing a straight hem (Image 3).
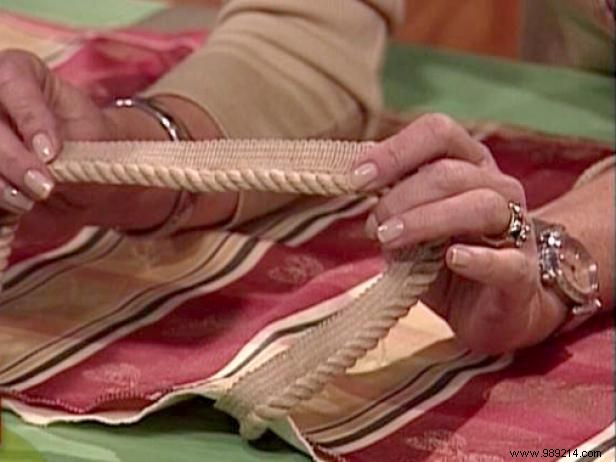
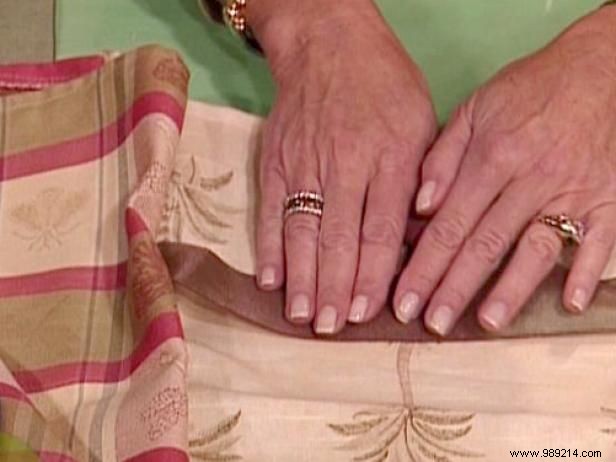
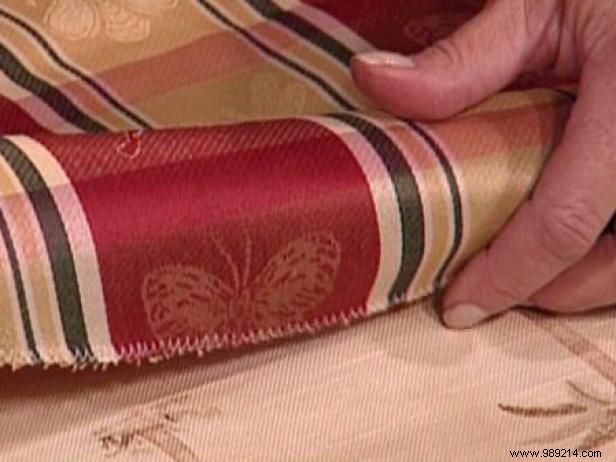
To join the two pieces together, use a braided edge with a selvedge edge (Image 1). The edge of the crockery will be used between the edges of the two pieces of fabric. Face the two pieces together, right sides together, and place the braided edge between them so that the edge of the dinnerware extends between the edges of the fabric. The ribbon trim adds a decorative touch, and will also be used to tie the finished slipcover securely when placed on the chair. Place the ribbon between the two pieces of fabric and over the braid (Image 2).
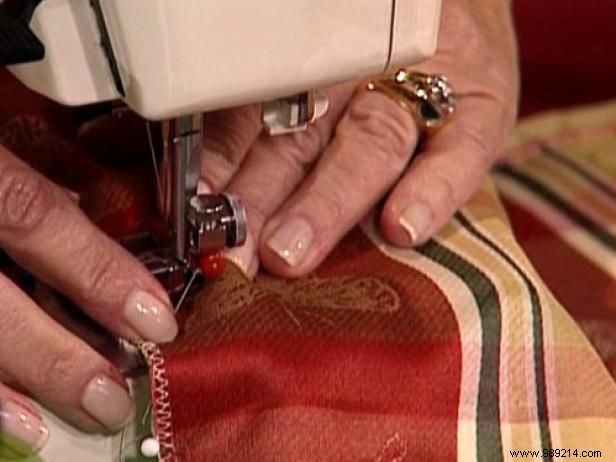
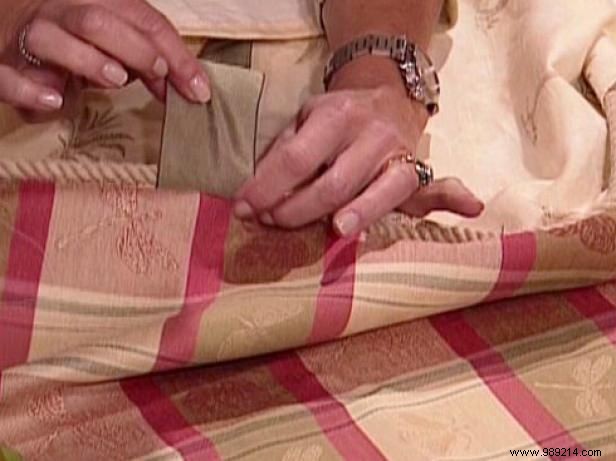
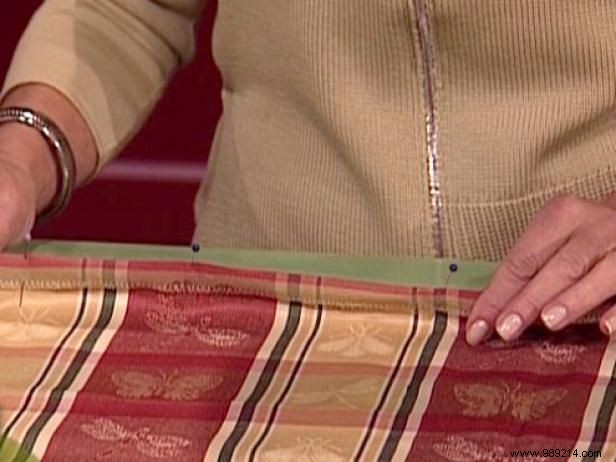
With the fabrics, trim, and tape lined up correctly, sew them together using a straight stitch (Image 1). Use a zipper foot on your sewing machine. Since the edge of the braid is so thick, it is sewn like a zipper. Sew the stitch so that it is close to the braid. If sewn correctly, the braid forms the boundary between the two pieces of fabric and the ribbon is securely fastened (Image 2). Once you've sewn around all three sides (excluding the finished bottom edge), you can turn the cover inside out to reveal the finished cover (Image 3).