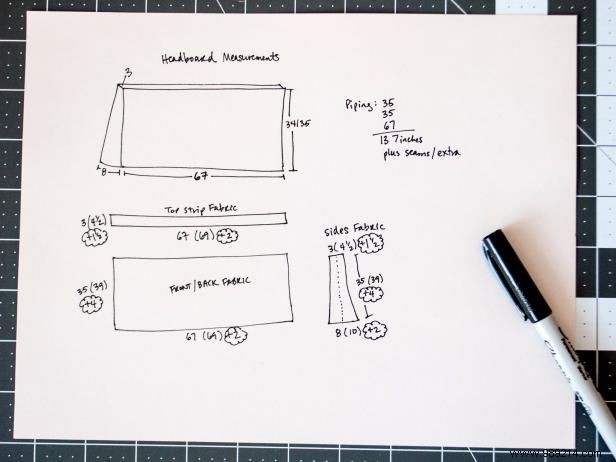
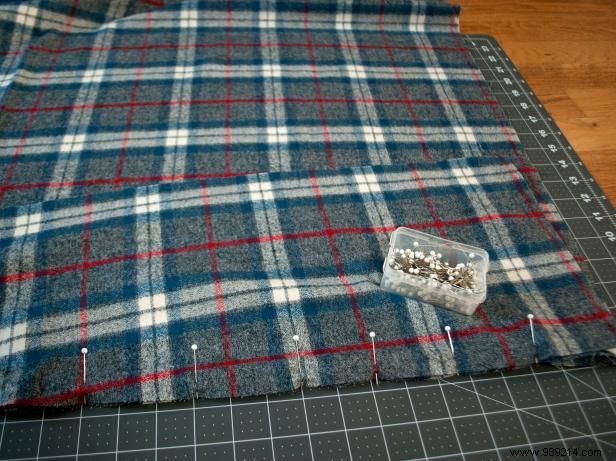
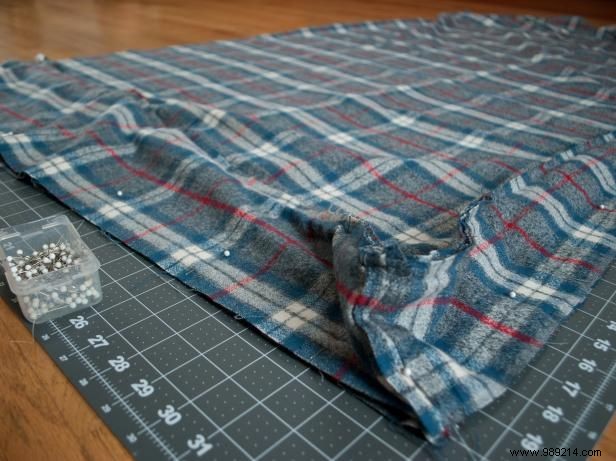
Measure the width, height and depth of your headboard to calculate the amount of fabric needed to cover the headboard with 1/2" seams. (If your headboard can be easily removed, place the headboard on top of the fabric (and trace a pattern around it including seam allowances.) Be generous with your measurements and round up to be safe, it's best to add more inches and trim later. This was our formula:the top fringe of the header measures 3" x 67" and will have 1/2" seams on each side, so the final piece measures 4-1/2" x 69". The front/back measured 35" tall x 67" wide, we added 4" to the height to account for the bottom hem plus 1/2" seam allowance which resulted in two 39" x 69" pieces . The tapered sides were trickier because they are 3" wide at the top and 8" wide at the bottom. So we calculated two pieces of slanted fabric to be 4-1/2" wide at the top, 10" wide at the bottom, and 39" tall.

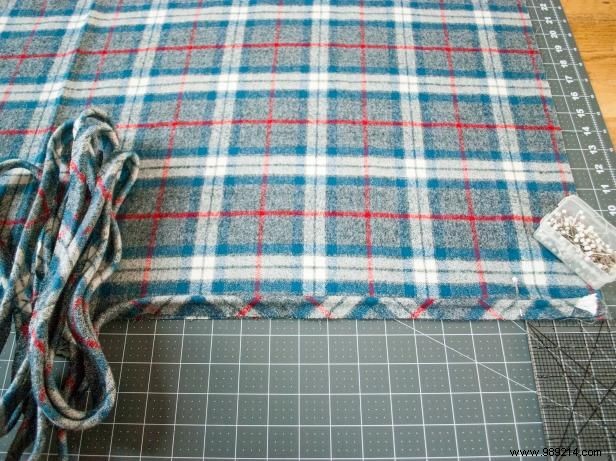
Cut one piece for the top, two pieces for the sides, and two pieces for the front/back. If you are using a pattern fabric, do your best to match the design at the seams by cutting the front piece first, then matching and cutting the top and sides, with the back to the rear, as this is the least likely let it be seen..
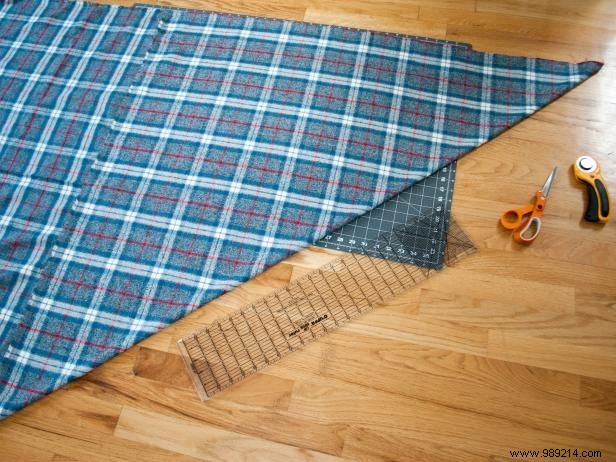
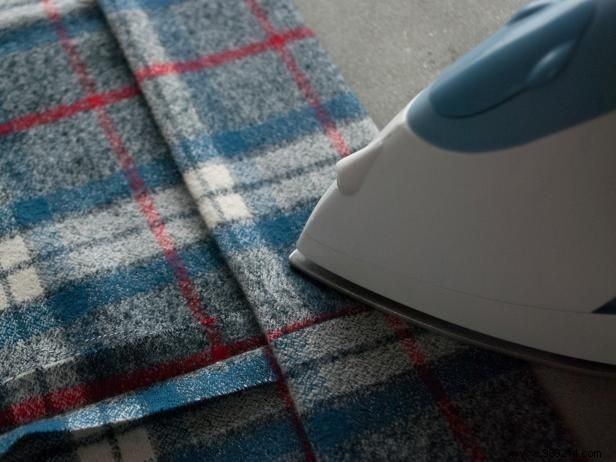
The piping will need to stretch around the corners of the sleeve, which means we need to cut the piping fabric strips on the bias (bias means cutting the fabric at a 45 degree angle where the threads are elastic). There are two popular ways to cut bias strips. We recommend the following method to minimize the number of seams:Start with 1/2 yard of fabric, or up to a yard of fabric if you like (more fabric means fewer seams and more fabric waste; we used a yard). Fold one corner of your fabric into a right triangle, then iron the folded edge and cut out the triangle. (NOTE:It is not necessary to cut the strips on the bias when making piping that will only be used on straight edges. However, because the header pipe curves around two corners of the sleeve, the strips should cut at a 45 degree angle).
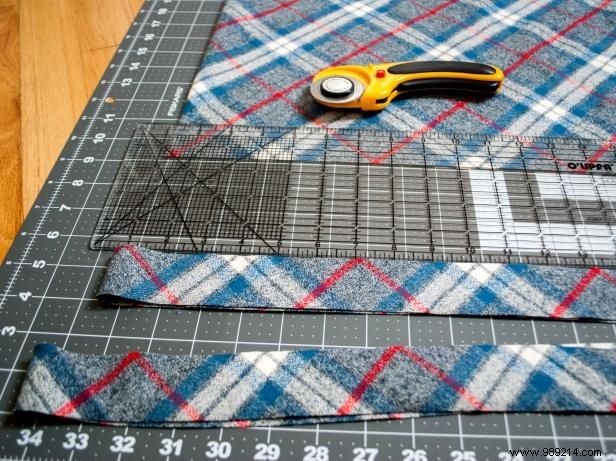
Calculate the amount of pipe needed by measuring the header and adding the two sides plus the top. Ours was 35" (right side) + 35" (left side) + 67" (top) =137", plus 2" for the hem and round up for safety, so 140" total. Cut strips of fabric wide enough to enclose the cord plus seam allowance. The formula is:2x lace width + 2x seam allowance and rounding up. For example, for 3/16" seams and 1/2" seams, 3/16" + 3/16" + 1/2" + 1/2" =1-3/8" - then round up a bit to keep in mind for folding, cut enough 1-1/2" fabric strips to make our 140 piping".
Technically, there is a bit of sewing involved in this no-sew sewing method, it is to join the strips together into one long strip. Lay one strip up on the table. Lay a second strip at a 90 degree angle, right sides together, with a 1/4" triangle sticking out on top and a 1/4" triangle sticking out on the side. The overhang is important to ensure the strips line up once sewn.
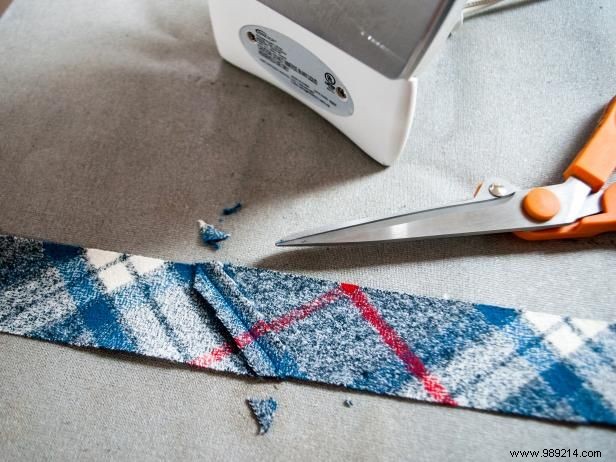
Sew the strips together, right sides facing a 1/4" seam. Press open and cut the tiny triangles that are above and below the joined strip. Continue joining the strips until you have a long piece that have the required length of tubing.
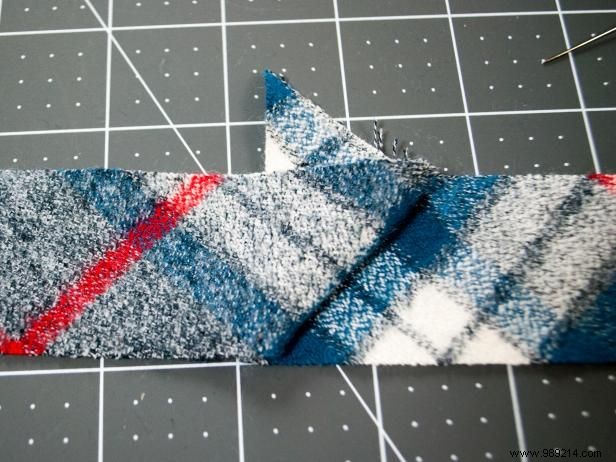
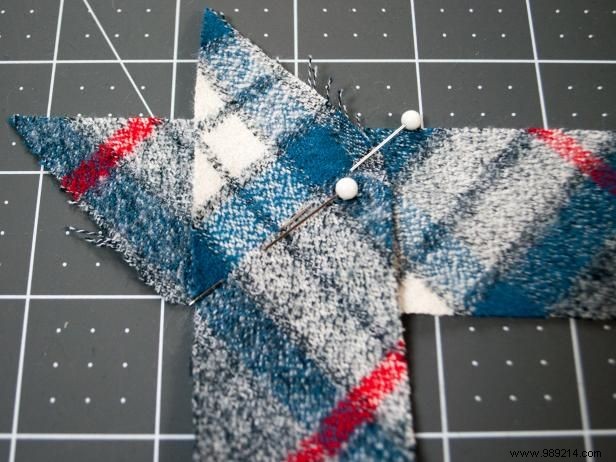
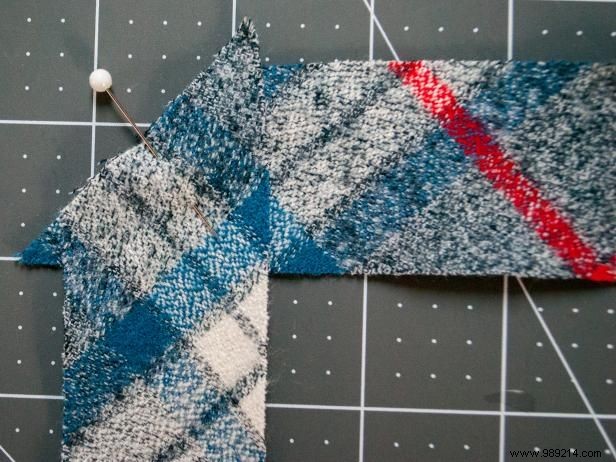
Alternatively, if you want to take a little longer to match the patterns on your pipe, lay one strip side up on the table. On a second strip, fold a right triangle on the right side and slide it along the first strip until the pattern matches (Image 1). Carefully unfold the second strip so that it is now at a 90 degree angle. Pin from the top right corner of the second strip at a 45 degree angle and sew 1/4" above the pins (Image 2). Cut the extra seam allowance to 1/4" and press to open.
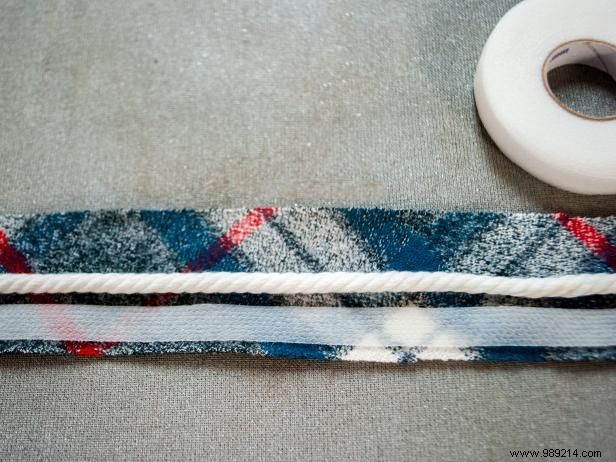
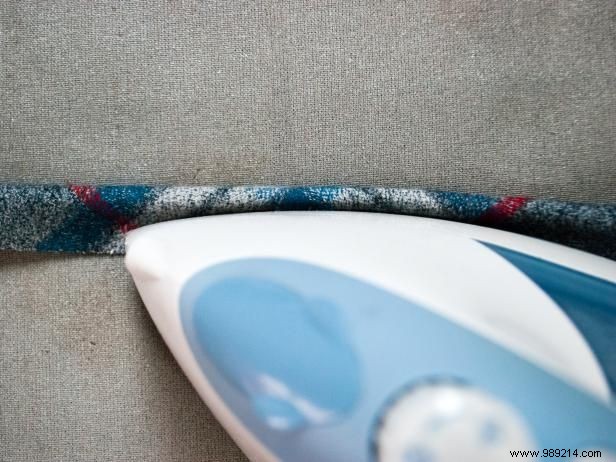
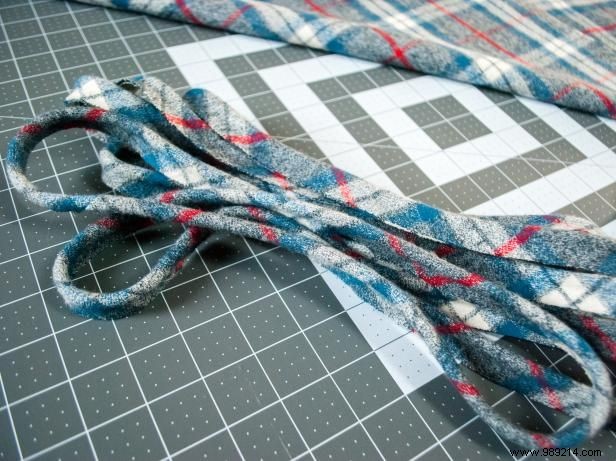
Now the easy part without sewing! Usually you would have to sew close to the taping, which can be tricky and look messy. Instead, just use easy-to-iron hem tape Lay the long bias strip right side out on the ironing board. Place the string in the center of the fabric, and place the iron-on hem tape just below it (Image 1). Fold the fabric and iron the hem tape following the package directions to enclose the drawstring (Image 2). Voila! Perfect custom piping with no messy stitches (Image 3). Put the pipe aside for a moment.
Pin the top piece of the cover to the two side pieces of the cover, right sides together, to make one long piece, sewing 1/2" seams. Place the sewn piece on your headboard to check the fit and adjust if necessary. If you need to make adjustments to the top/sides, you will also need to adjust the front/back accordingly.
Lay the right front sleeve piece face up on your work surface. Place a pin where you would like the bottom hem to end, then cover the piping on top of the front sleeve, raw edges.
Lay the top/side piece over the front piece, right sides together, to sandwich the piping between the two pieces. Paint it instead.
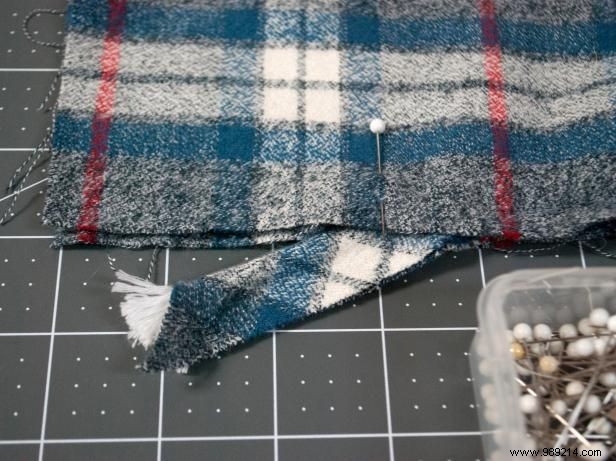
Pay close attention to the corners to make sure the pipe curves nicely around the corners before attaching the layers (Image 1). Continue nailing. At the hem, slide the piping to the side (Image 2). This will give you a nice finish by hiding the raw string edges and preventing bunched pipes.
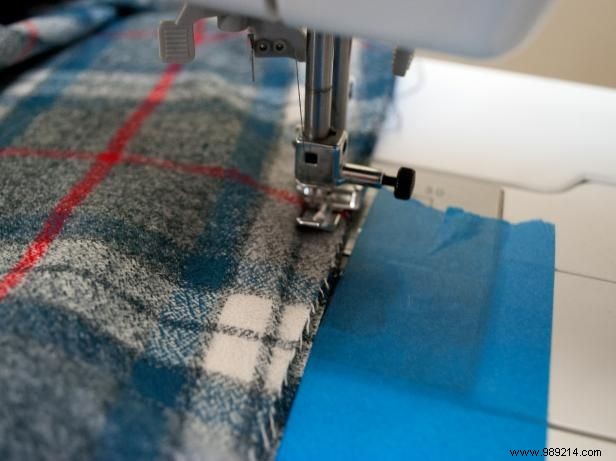
Switch to a zipper foot, it helps you get closer to the pipe. Sew 1/2” seam to attach front piece to top/side piece. Here's a trick:Put a piece of painter's tape on your sewing machine 1/2” apart to help sew super straight. Once sewn, trim the raw ends of the piping to 1/2” length.
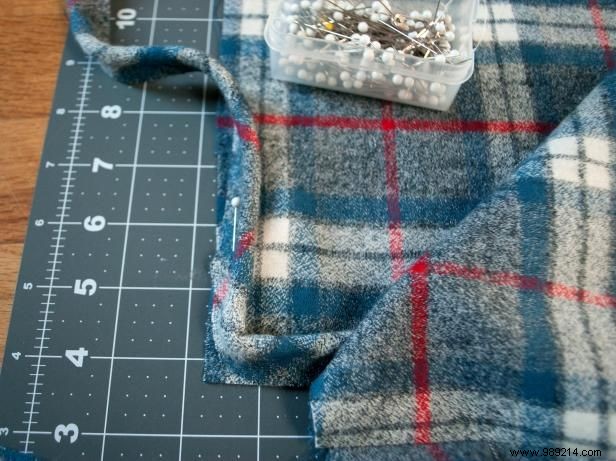
Lay the sleeve right on your work surface. Layer the front/side/top piece, right sides together. Pin and sew using 1/2" seams to join remaining pieces. Optionally, finish seams with a zigzag stitch to prevent raw edges from fraying.

Try the cover on your headboard to check the length of the hem. Then lift the hem, press and sew (Image 1). For a more professional look, avoid sewing over the piping. Just stop at the piping and back stitching, then move the needle to the other side of the piping, backstitch and continue stitching (Image 2).
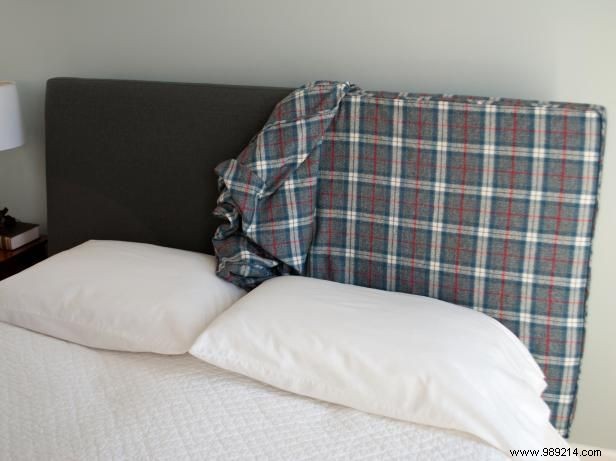

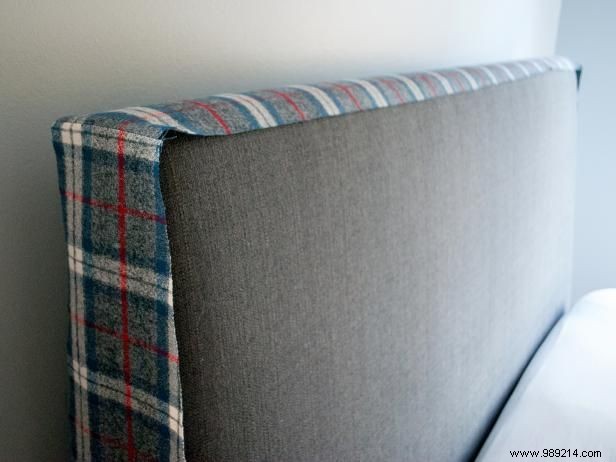
Slide the headboard cover over the headboard (Image 1). Now that you're comfortable, the headboard cover is completely finished, combine it with new pillows or bedding to match your new look (Image 2).