This upcycled storage headboard takes up no more space than two small side tables while still providing function with two cantilevered shelves. It also provides additional space for lamps, books, and artwork. Not only can it be built in about four hours, but this upcycled storage headboard can also be nearly free with some DIY salvage skills.
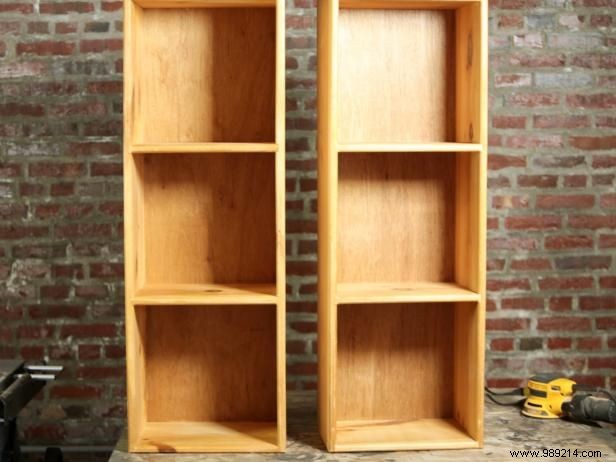
We were lucky enough to find a set of used storage boxes that came as singles, doubles, and triples. These could be combined to obtain the necessary height on each side of the bed. For this full-size box and mattress, the 42-inch-high triple boxes worked perfectly.
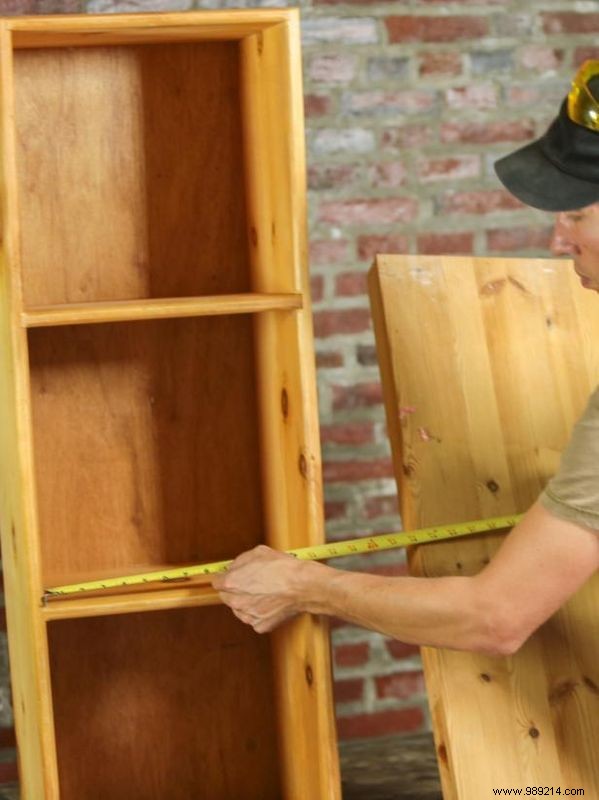
To make the shelves more functional, we decided to add a cantilever extension to the middle shelf. Luckily we had a piece of reclaimed knotty pine that was the perfect size to make two smaller shelves.
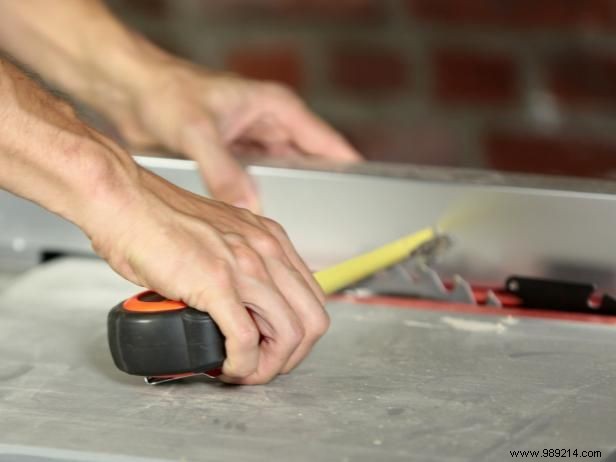
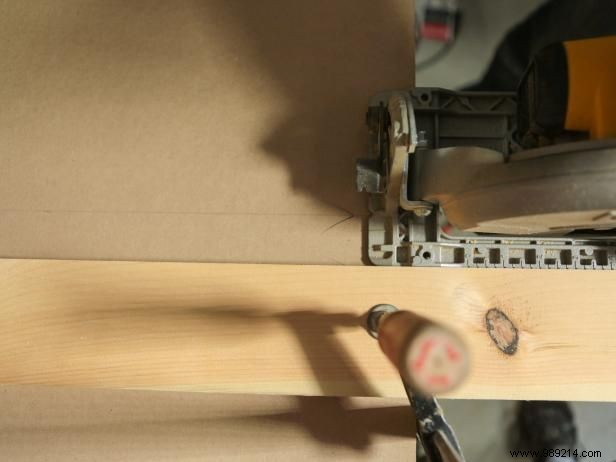
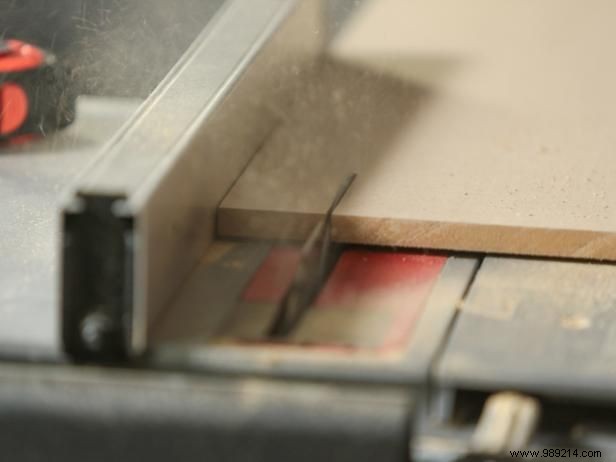
Attach the rip fence to a table saw as needed to resize the shelf. In this case, I had to clean up each edge by cutting off the existing sides. Be sure not to cut through the nails.
Use MDF or plywood to make the top shelf that spans across the bed and two towers of shelves. Cut the sheet to the appropriate width. It should be 3/4" narrower than the top of the boxes to allow room for the trim piece (to hide the raw edge of the plywood). Determine the length of the top board. It should be:mattress width + 2x width of box + 2 ". This will give you 1 inch of space on each side of the mattress.
Cut two 2" full-length rips from the remaining MDF or plywood.
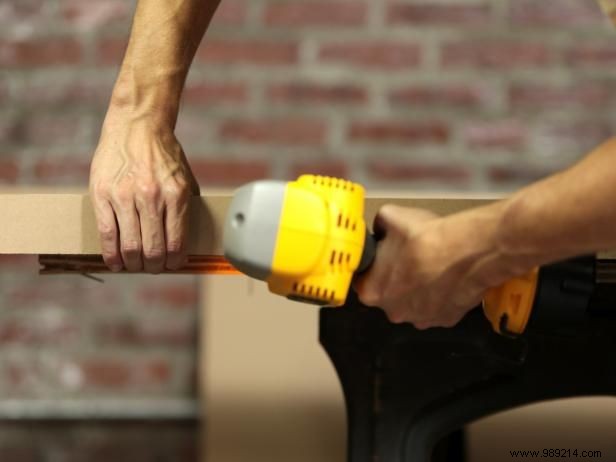
Attach one of the 2" pieces to the front of the shelf using wood glue and 18 gauge finishing nails. Drive nails 6" on center. The trim piece will form a front valence to hide the raw edge of the plywood to add strength between the boxes. The other 2" piece is used as a support piece at the back, the bottom of the shelf. Trim this one shorter by subtracting 1/4" + 2x the width of the box from the full length and center it along the back of shelf. Set in the same way as the upper valence.
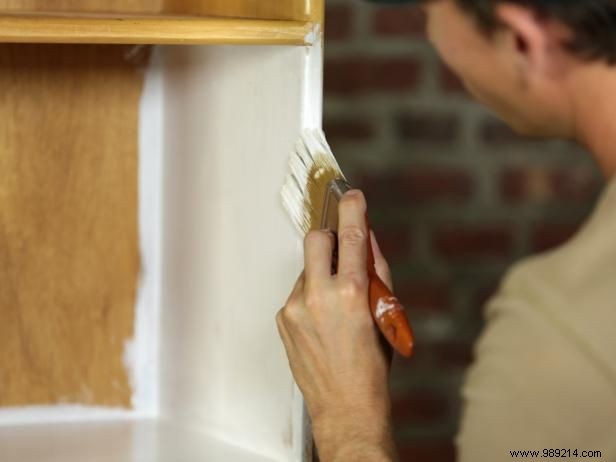
Prime and paint the boxes and shelves. We used a bright white for the boxes and the top shelf for a clean look. The cantilevered shelves were whitewashed in a light blue-gray color so the wood grain still shows through.
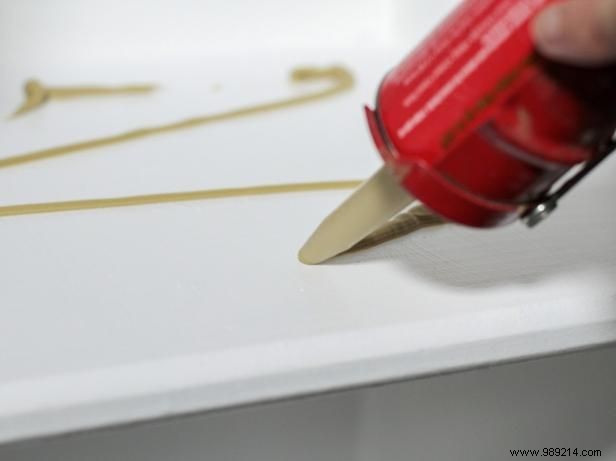
When the paint is dry, apply construction adhesive to the center box shelf. Then install cantilever shelves using 1-1/4" 18 gauge finishing nails.
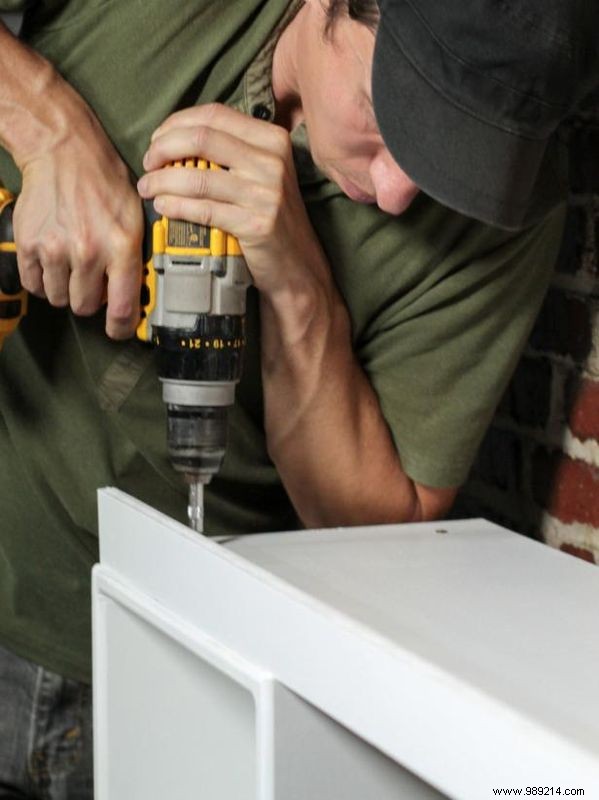
Install top shelf with 1-1/4" thread drywall screws. Use at least four screws on each box top. Also back/bottom shelf bracket should be attached to wall with two fasteners. equally spaced to support shelf and avoid fall hazard if headboard tips over.Use appropriate fasteners for your wall type.
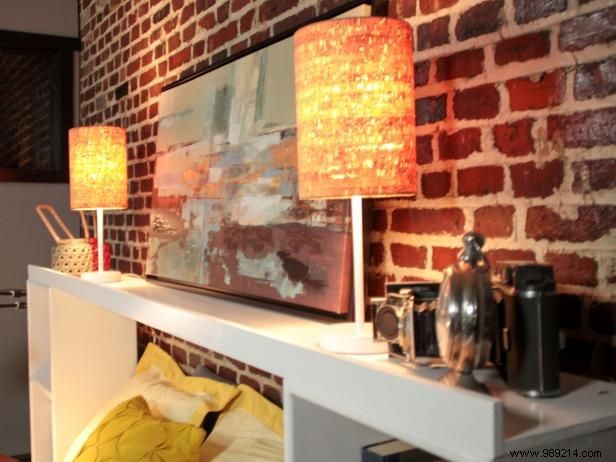
This upcycled storage headboard is all about using the space you already have more efficiently.