This photo frame headboard will allow you to easily change the theme or look of your room. Simply change the photo with a new piece of art; Try displaying children's paintings, old maps, or original paintings.
Determine the size of your headboard.
Use different species of wood in various widths for a varied look. Cut the wood to lengths that are nearly equal in height. Sandy and clean.
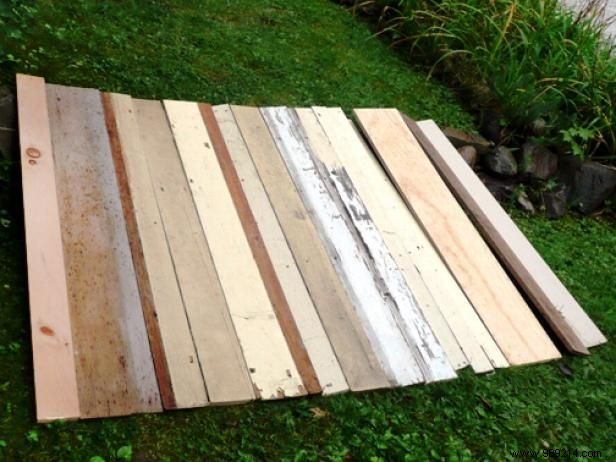
Randomly lay out the pieces of wood until you reach the desired width for the headboard.
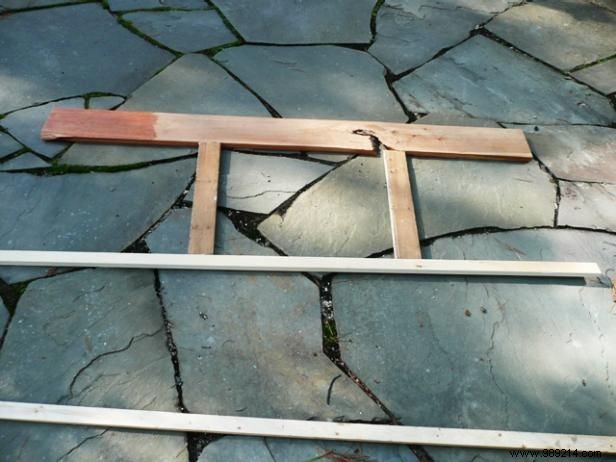
We used a long board on top, two vertical pieces for the artwork side, and two smaller horizontal pieces, one for the bottom of the frame and one for support at the bottom of the headboard.
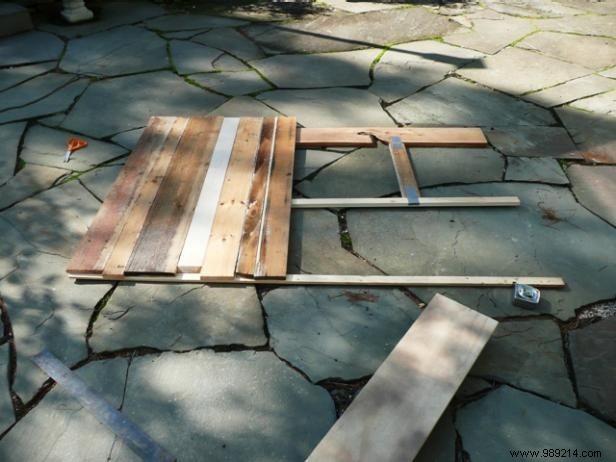
Line up the headboard pieces in order face down on top of the frame pieces. Screw the header pieces into the horizontal frame pieces. Be sure to use screws that do not go through the front of the frame pieces. Make sure the headboard pieces are straight and level before attaching.
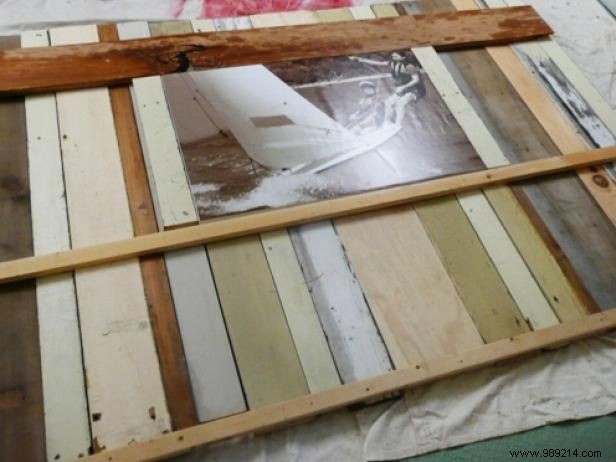
Flip the pieces over so the header is facing up. Double check the measurements of your artwork, then flip the header back and attach the two vertical side pieces. Make sure you have a snug fit for the artwork, but not too tight so it doesn't slip under the two pieces.
Varnish the entire piece. Let dry and then repeat. Then let it dry for a few days.
Use the stud finder to screw the headboard to the wall (or attach it to the legs). You can screw it inside the illustration frame and then place the image on it so you don't see the screws.