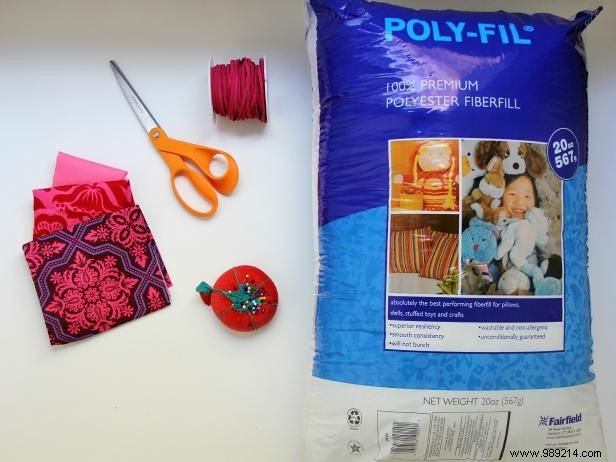
With a free pattern and easy-to-follow instructions, this sewing project is easy for multiple children to complete and can be adjusted for both boys and girls with a simple fabric selection.
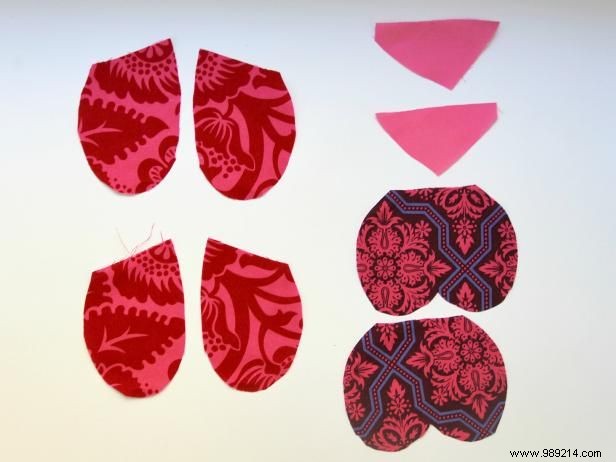
Print pattern pages and cut out. From the 3 thick quarters of fabric, cut the pattern pieces according to the instructions. Transfer the markings for the eyes and antenna on both sides of the fold directly onto one of the fabric pieces in the top half of the fabric.
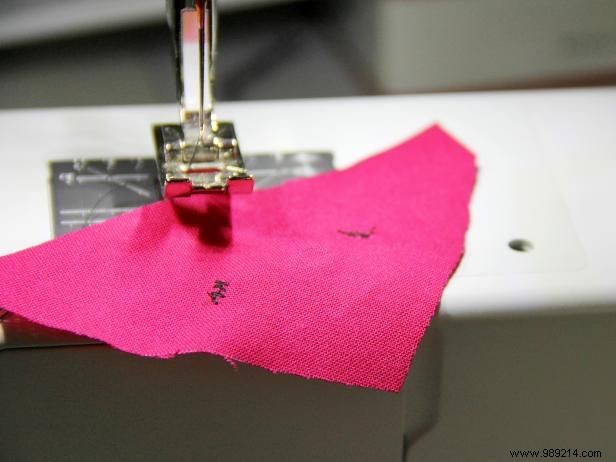
Using your sewing machine or hand embroidery, make a small circle of stitches or some back and forth zigzag stitches for the eyes on the right side of the fabric for one of the top half pieces of the pattern. Some machines have multiple embroidery stitches that you can also use for a more elaborate look. Set aside.
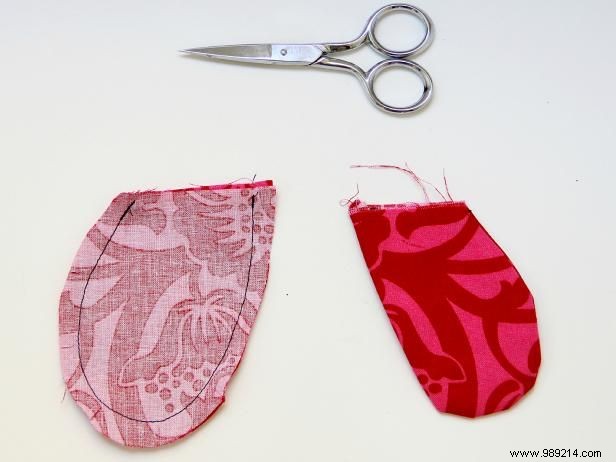
Take two wings, and place the right sides together. Pin. Sew around the outer curved edge, leaving the top straight edge open. Clip seam seam around the bend. Turn off right side and press. Repeat for two other wings.
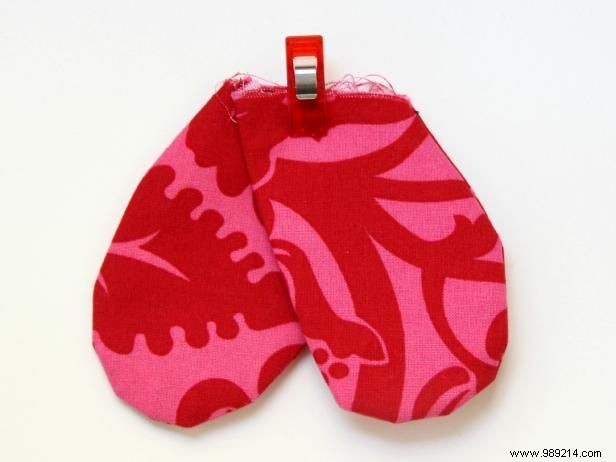
Place your two wings, one on top of the other, aligning the raw top straight edge. Pin in place and sew a basting stitch 1/4" from the edge.
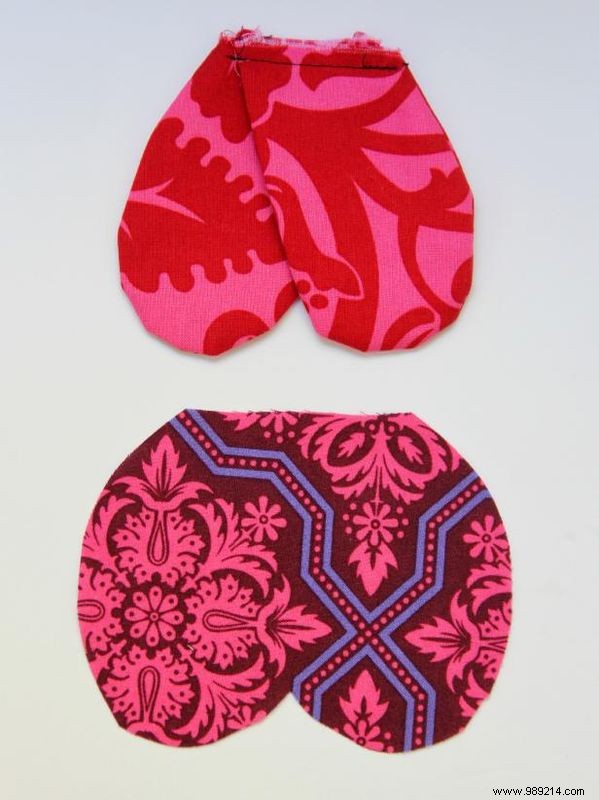
We will attach the wings to one of the lower halves.
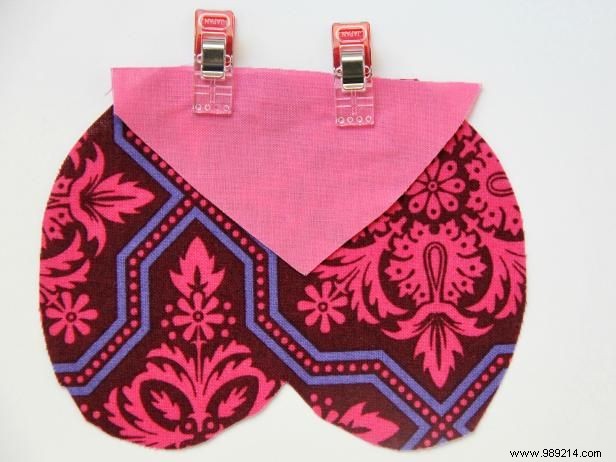
Place your wings directly on top of one of the bottom halves, right side up. Pin in place, and sew 1/4" from the top edge. Set aside.
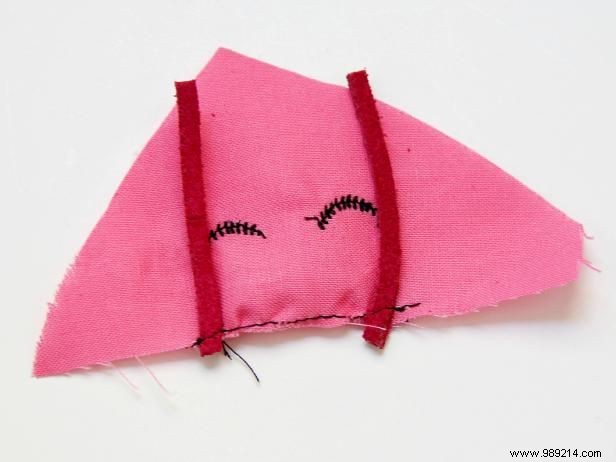
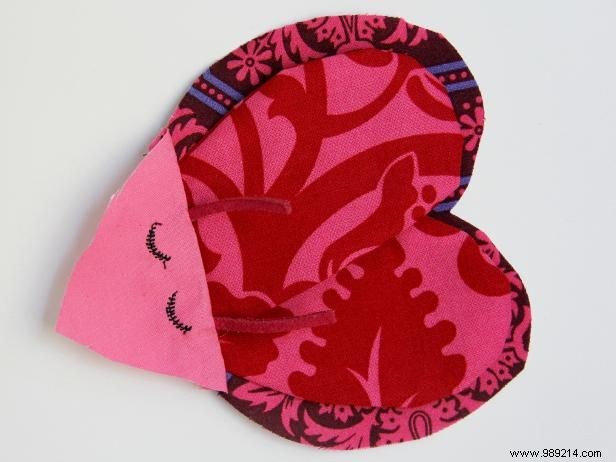
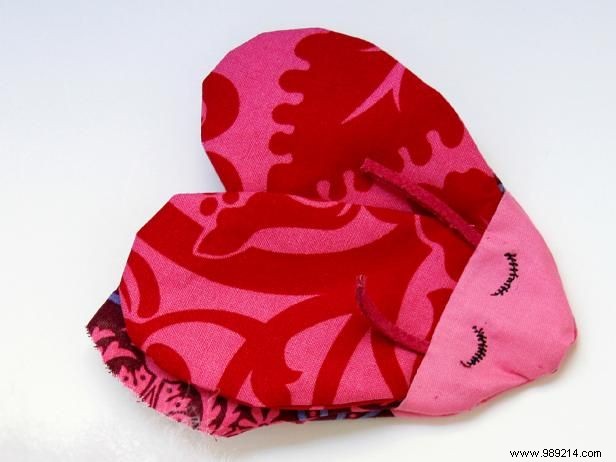
Cut your 3" of rope into two equal pieces that are 1.5" long each. Pin one edge of each string to the bottom of the top half of the pattern that already has the embroidered eyes, where the antenna markings are. Brush 1/3" from edge to secure.

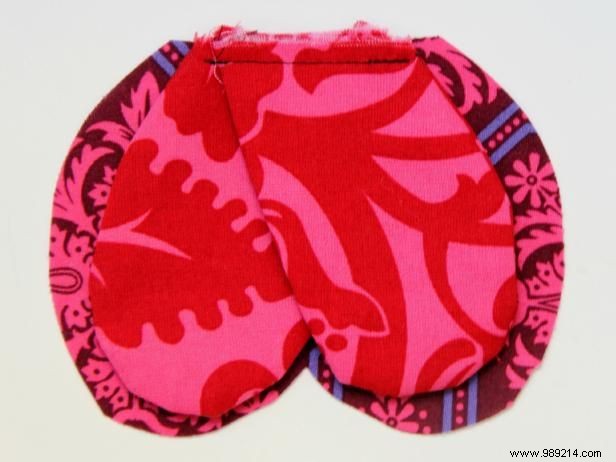
Place the top half of the embroidered pattern directly on top of the bottom half of the winged pattern, right sides together. Combine the raw straight edge, pin and sew along the seam line.
Open press.
Place the second top half of the pattern, both sides on the right side, together with the other bottom half of the pattern, and stitch along the seam line. Open press.
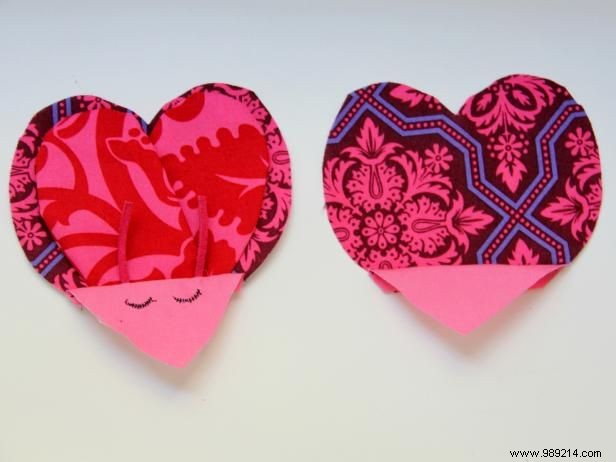
Now you have your top and bottom half of the love bug! Time to sew them together and stuff..
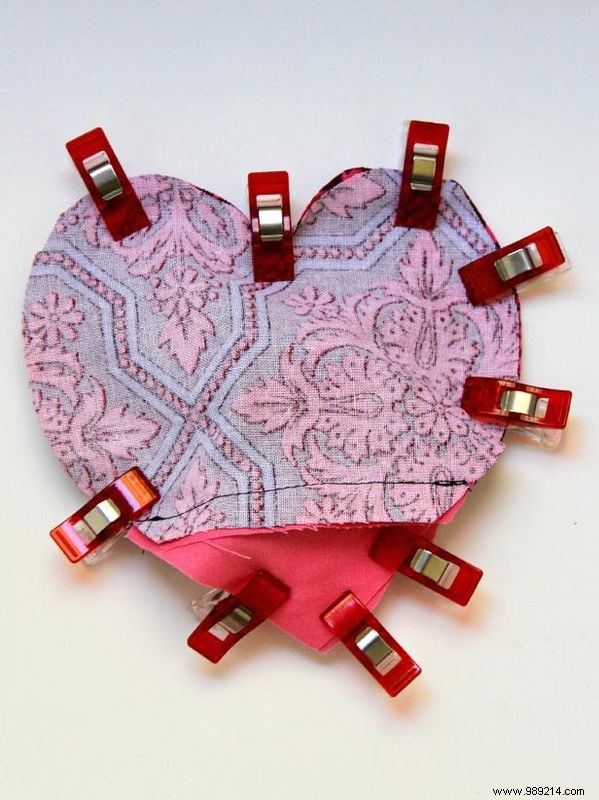
Take your top and bottom love bug pieces, and lay them right side out together. Pin around the sides, leaving a 2-3" opening along one edge to turn. Sew around.
Turn the love bug to the right, pushing all the edges with your finger. Things with poly-fil. Fill in as much as you can as it will help remove all the edges.
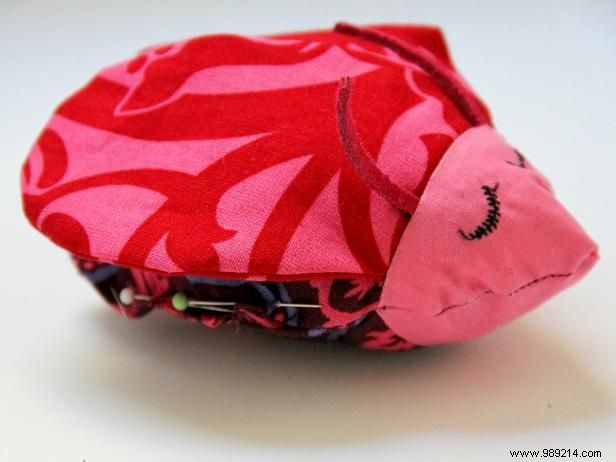
Once you've stuffed as much Poly-fil as you can inside, pin close to make sure your raw edges are closed. Whipstitch closed with needle and thread. And you're done!

Be careful, bed bugs tend to multiply.