Looking to update your wall decor without spending a lot of money? Visit thrift stores, garage sales or your own garage to assemble a group of wooden objects in different shapes, sizes and proportions. Then apply whitewash paint to each piece to give your collection a consistent look.
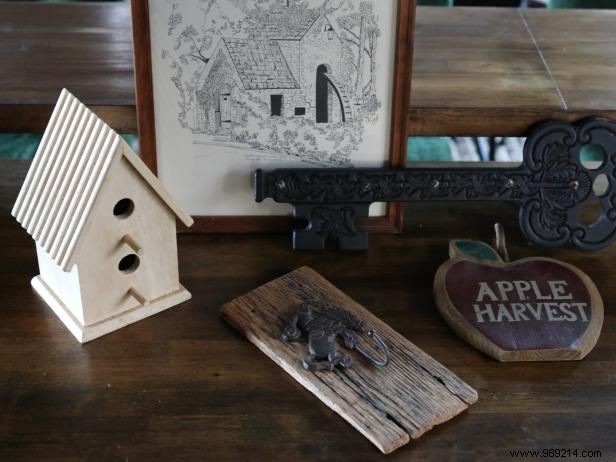
It's best to stick with solid wood instead of veneer, as veneer doesn't sand well.
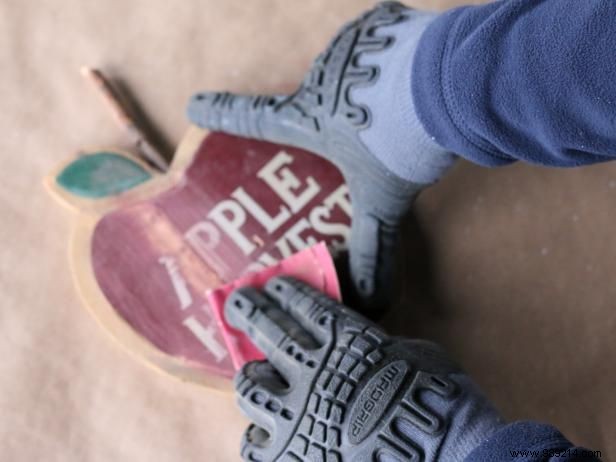
Wood objects with colorful paint finishes will not take a rinse treatment properly unless the existing paint is first removed. Although the paint and water mixture may appear to mask it, eventually the colored paint will bleed through the limescale. Use fine grit sandpaper and a sanding block or orbital sander to completely remove existing paint color.
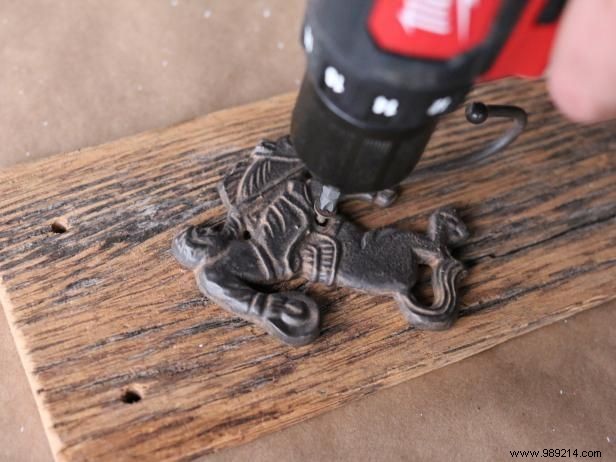
Lime updates on wood surfaces look great; However, the app doesn't work as well on metal, ceramic, or stone. If your item includes decorative trim or embellishments, it's important to remove these before the rinse application, then reattach once the wood has dried.
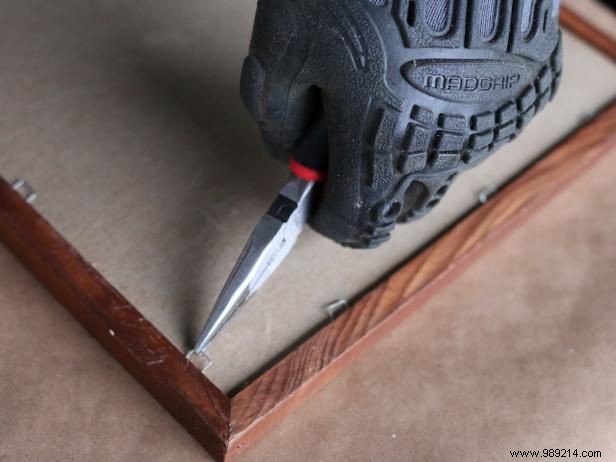
If you're upgrading a wood picture frame, it's much more efficient to remove the back panel, art, and glass from the frame rather than masking it off with painter's tape and paper. Use needle-nose pliers or a drill to remove the back panel of the frame, then set the frame aside on craft paper.
As you brush whitewash onto smooth surfaces, be aware of its milky texture and tendency to produce air bubbles. Use the brush to smooth out any bubbles and ensure an even coat.
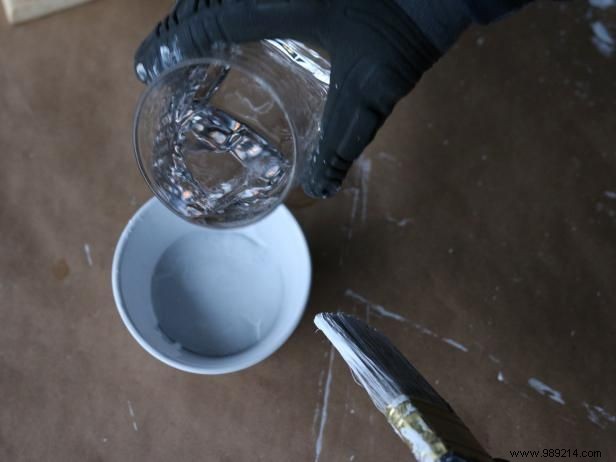
To create the white, mix two parts white latex paint with one part water. Then dip the brush into the mixture and stir until smooth.
As you brush whitewash onto smooth surfaces, be aware of its milky texture and tendency to produce air bubbles. Use the brush to evenly smooth out the bubbles to ensure an even coat.
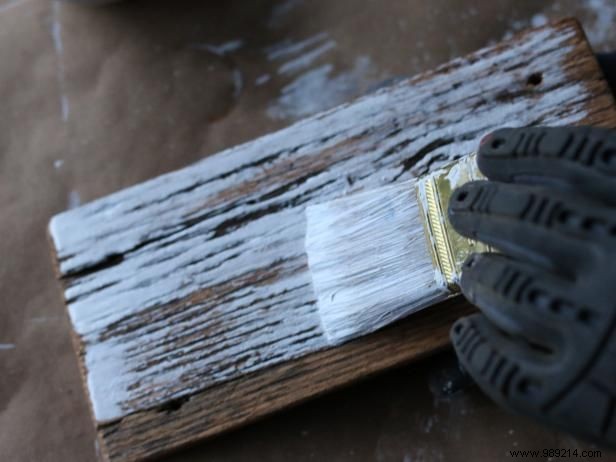
Rough and rustic wood surfaces will soak up the rinse very quickly. Double load the brush before painting these surfaces to ensure adequate coverage. It is also important to know that rough surfaces will dry much more quickly. This means you have less time to work from one end to the other, so it's best to use long strokes.
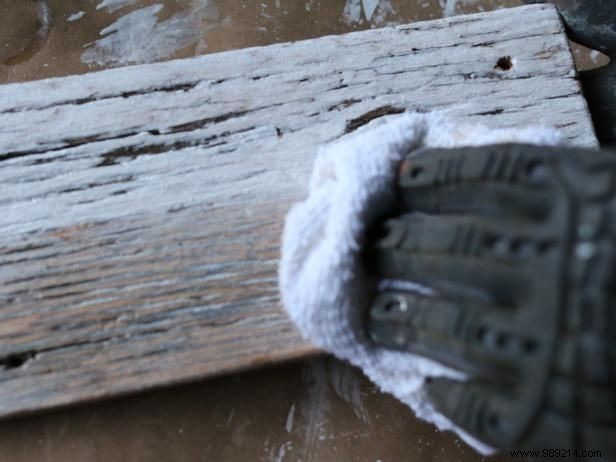
After covering a rough wood surface with whitewash, use a damp cloth to remove some of the solution. This will allow more grain to show through, resulting in a more organic finish.
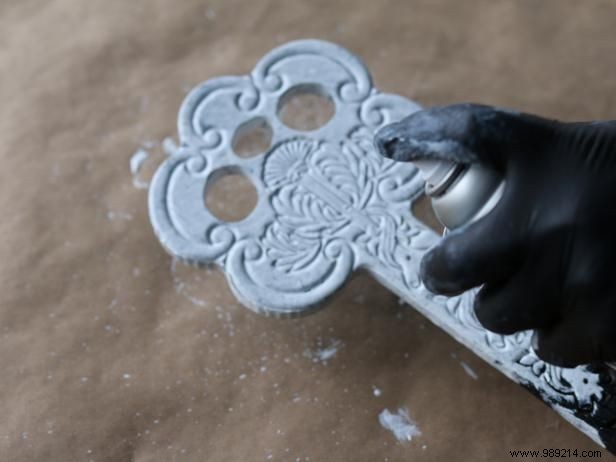
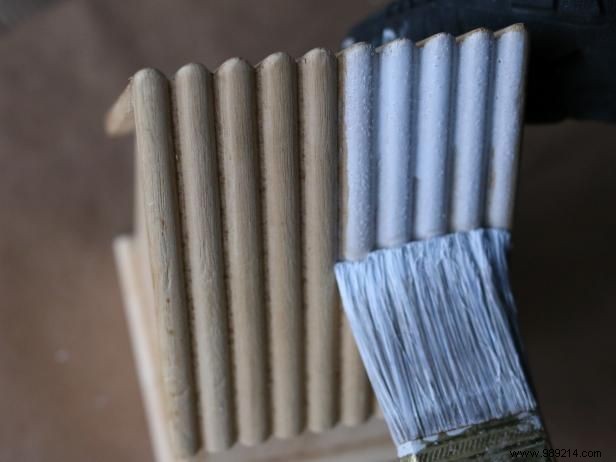
Carved wood surfaces require different types of whitewash. Instead of brushing off the mixed solution, spray the surface of the carved wood with flat white spray paint. This will completely fill the deep cracks in the carvings.
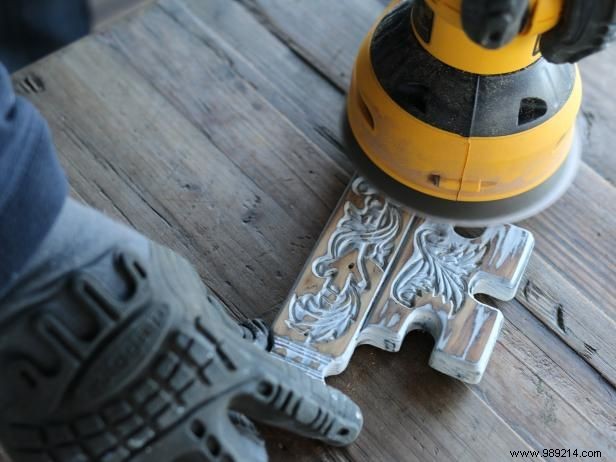
Once the carved wooden objects have been coated with flat white spray paint, you will simply need to use an orbital sander with fine grit sanding pads to create a whitewashed look. Move the sander randomly back and forth across the surface until enough spray paint is removed, resulting in a worn, peeling look.
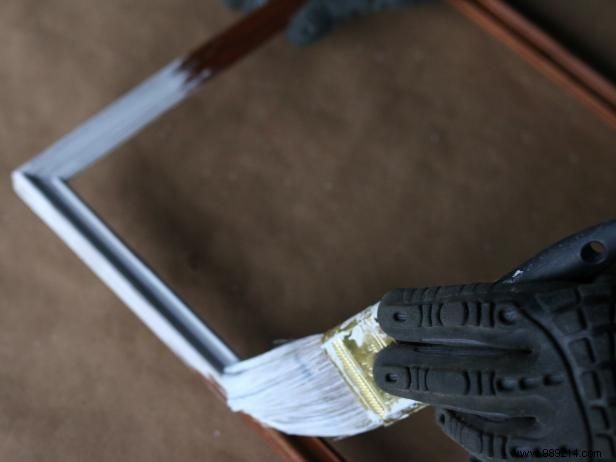
The key to whitening frames is to add a light coat of paint with a brush. Starting at one end and working around, use the brush to cover all surfaces to about 80% opacity.
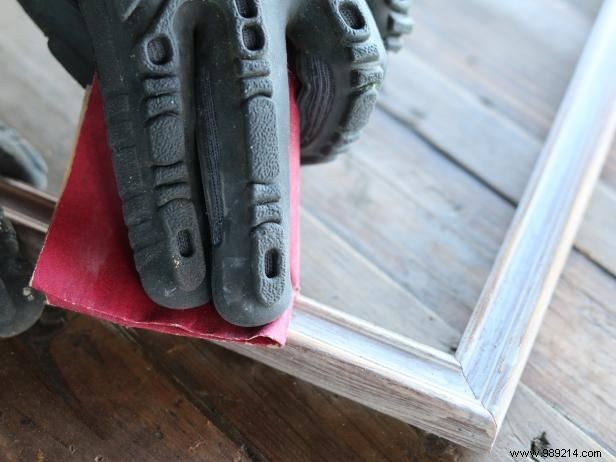
After the brushed paint has dried on the frames, use fine-grit sandpaper along the edges of the frame to lightly knock down the paint. This will result in an aged and worn look.