Why pay for an expensive piece of wedding apparel when you can do it yourself for the cost of a few budget-friendly materials?
Clara MacLellan
Image 1
Clara MacLellan
Image 2
Clara MacLellan
Image 3
Clara MacLellan
Image 4
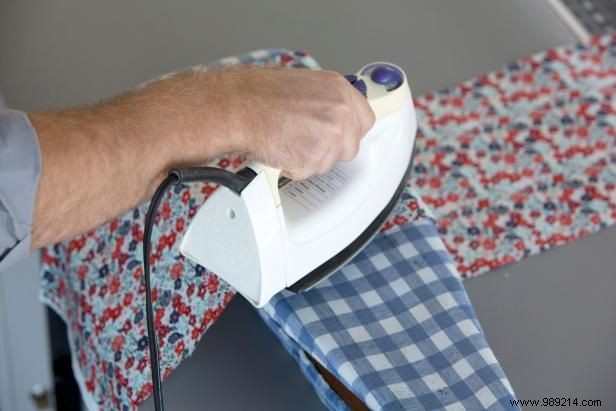
Iron the entire fabric to release any creases (image 1).
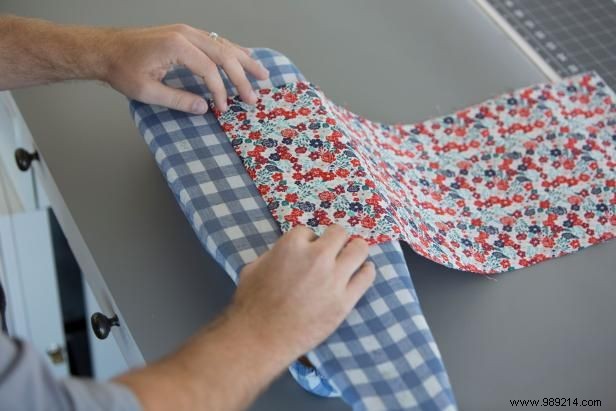
Fold the fabric in a hamburger style and iron the fold (image 2).
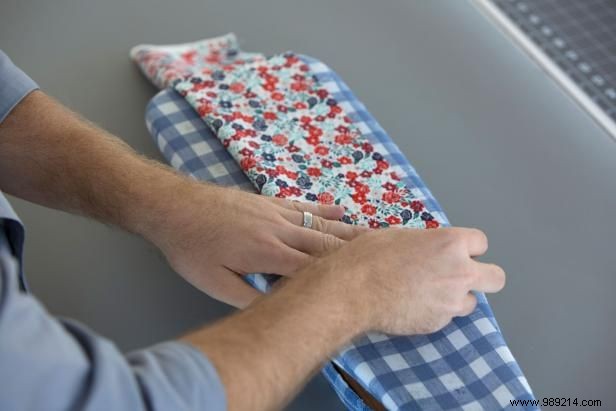
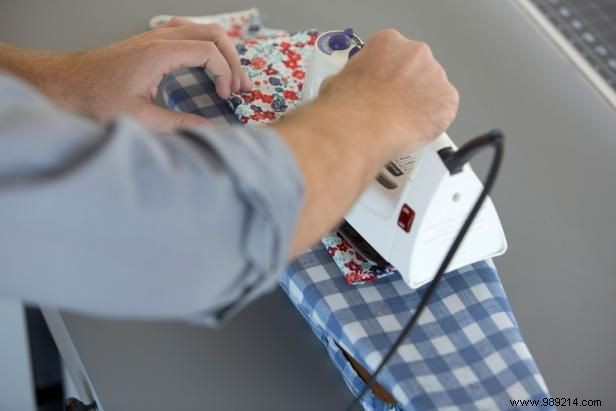
Fold the fabric in half hot dog style and iron fold (images 3 and 4).
Clara MacLellan
Image 1
Clara MacLellan
Image 2
Clara MacLellan
Image 3
Clara MacLellan
Image 4
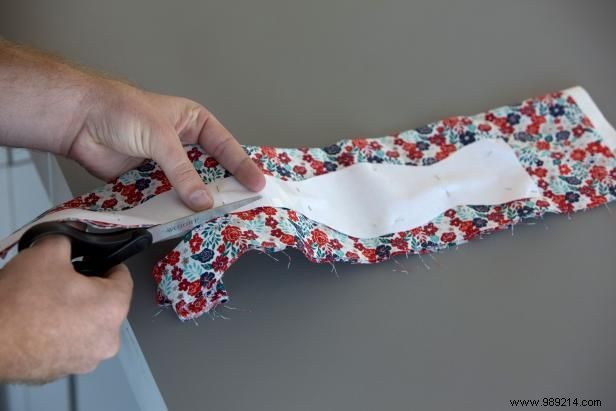
Pin the template to the fabric at the bottom fold (Images 1 and 2).
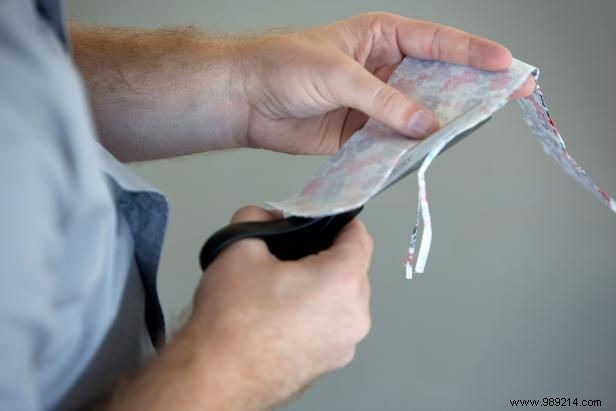
Cut the fabric along the template using scissors or a rotary cutter (Image 3).
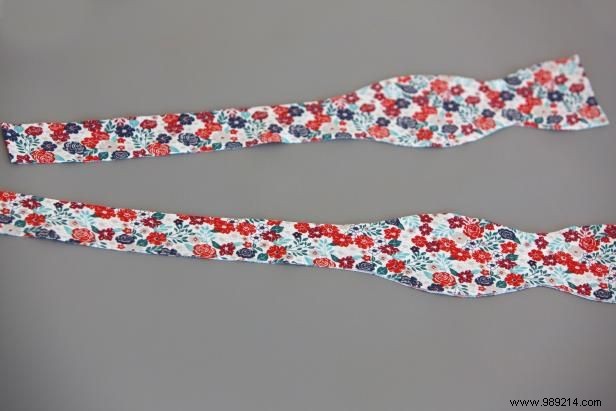
You will end up with two identical pieces of bow tie fabric (Image 4).
Clara MacLellan
Image 1

Clara MacLellan
Image 2
Clara MacLellan
Image 3
Clara MacLellan
Image 4
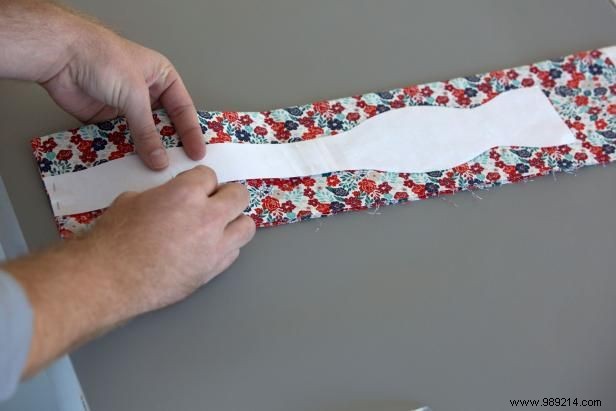
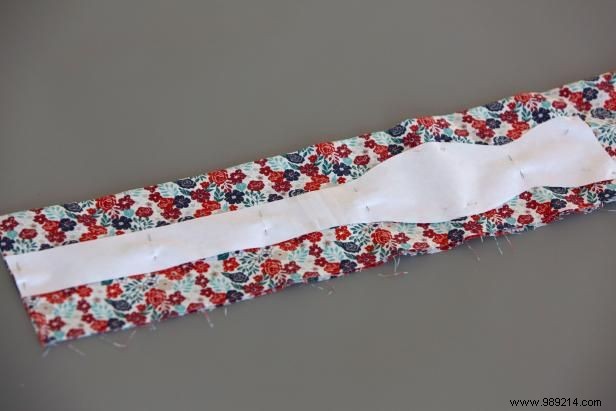
Fold the interface in half. Pin template to interconnect and cut 2 pieces (Images 1 and 2).
Interconnection pin on the back (both ends) of a piece of cut tissue (Images 3 and 4).
The interfacing does not have to run the length of the tie, cut enough to cover the bow at each end.
To make this step easier, you can opt for an iron interface instead of a sew interface.
Clara MacLellan
Image 1
Clara MacLellan
Image 2
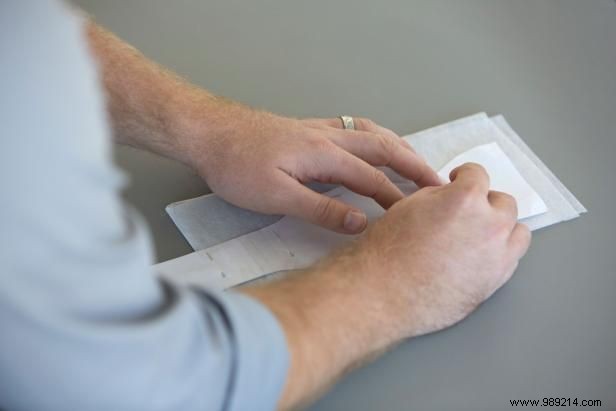
Place both pieces of fabric together so that the front sides of the fabric are touching (Image 1) and pin along the edges (Image 2). We will invest later..
Clara MacLellan
Image 1
Clara MacLellan
Image 2
Clara MacLellan
Image 3
Clara MacLellan
Image 4
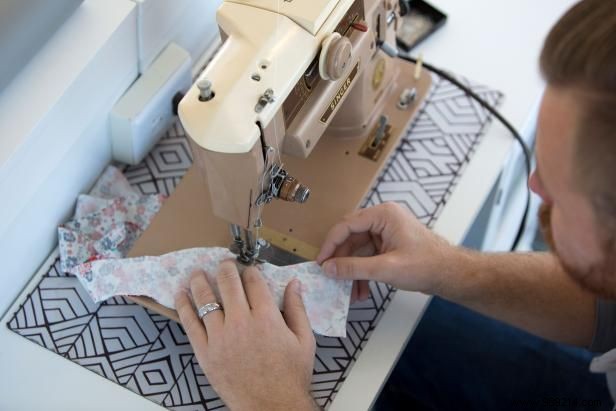
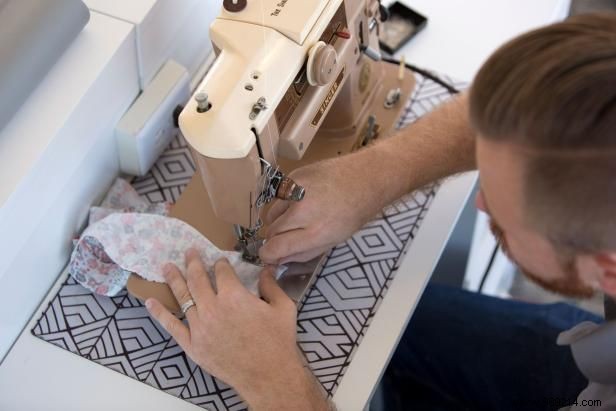
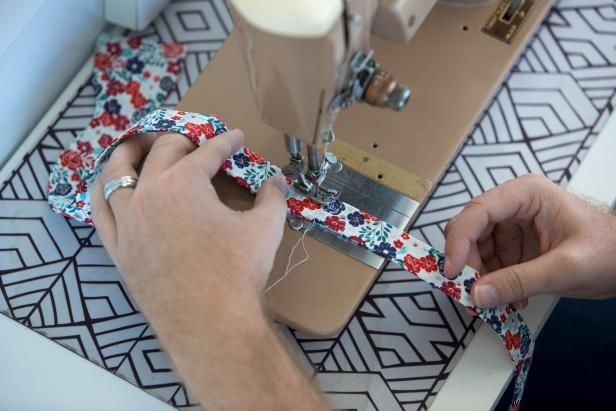
Sew around the edge of the bow tie, removing the pins as you go (Pictures 1 and 2).
Leave a 3-4 inch gap in the center of the neckband on one side (Image 3).
Trim excess fabric from the edges to prevent curves and curves from becoming messy when inverted (Image 4).
Clara MacLellan
Image 1
Clara MacLellan
Image 2
Clara MacLellan
Image 3
Clara MacLellan
Image 4
Clara MacLellan
Image 5
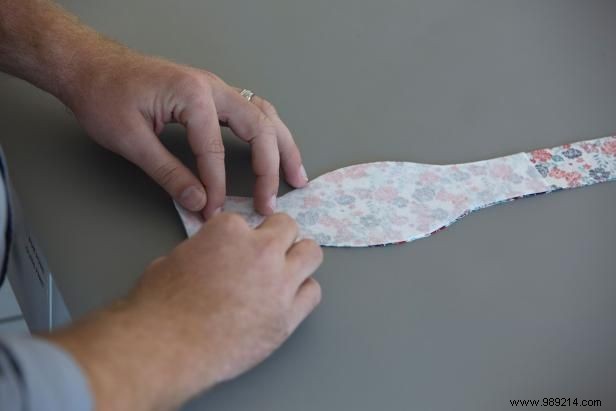
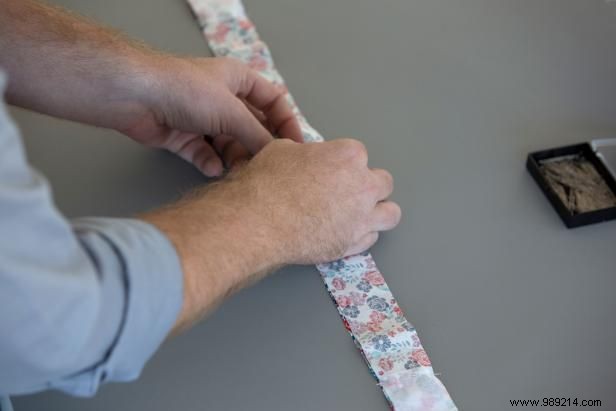
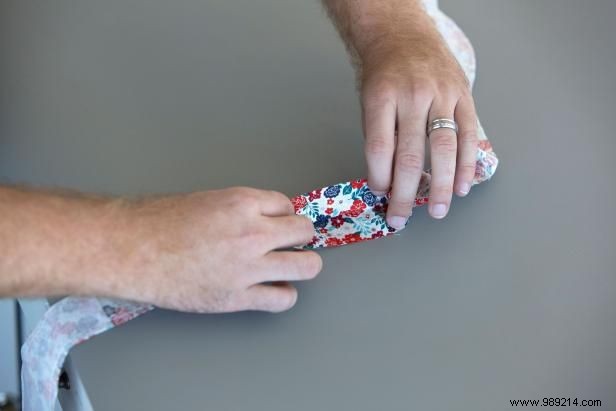
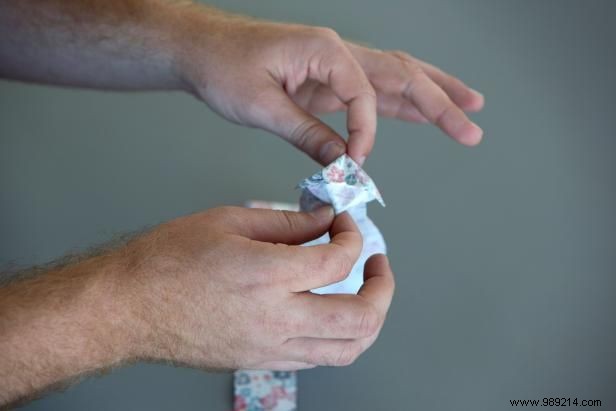
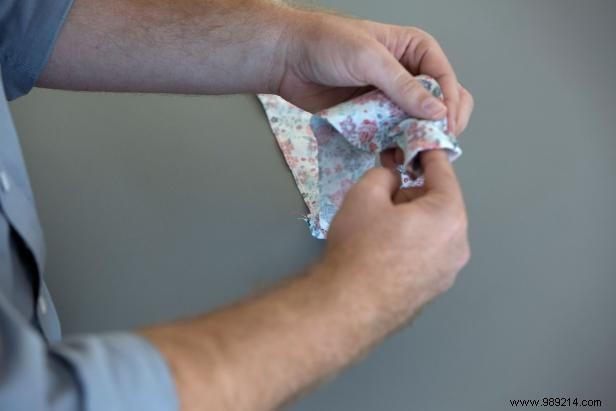
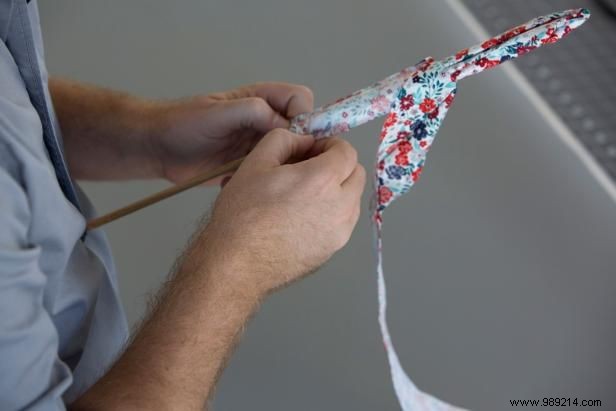
Gently pull the fabric at one end of the tie, using your finger to begin to push the end of the tie into the neck space (Images 1 and 2).
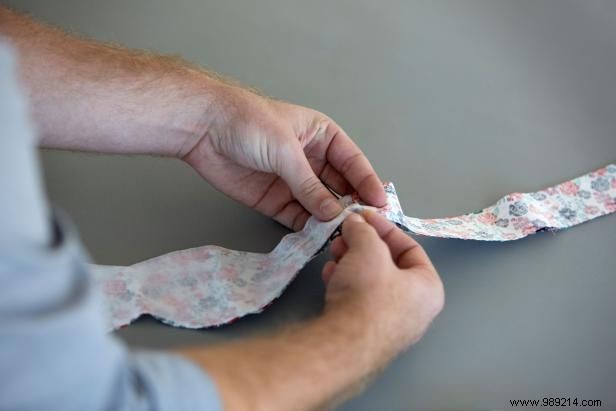
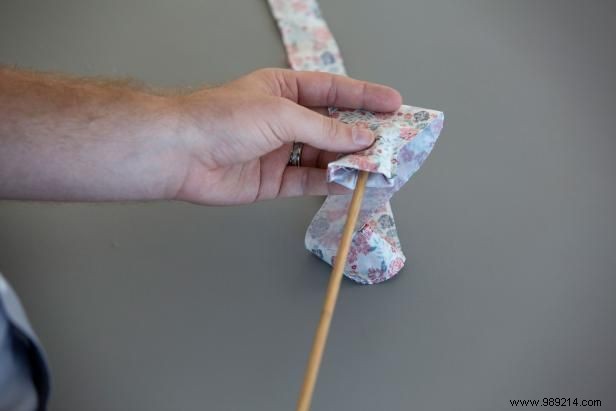
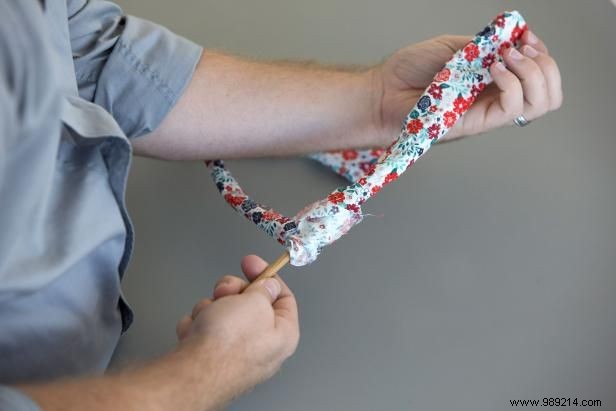
Using a small 1/8-inch rod, continue to push the fabric into, then out of the gap until the bow tie is reversed (Image 3 and 4).
Repeat on the opposite end until the bow tie is completely reversed (Image 5).
Clara MacLellan
Image 1
Clara MacLellan
Image 2
Clara MacLellan
Image 3
Clara MacLellan
Image 4
Clara MacLellan
Image 5
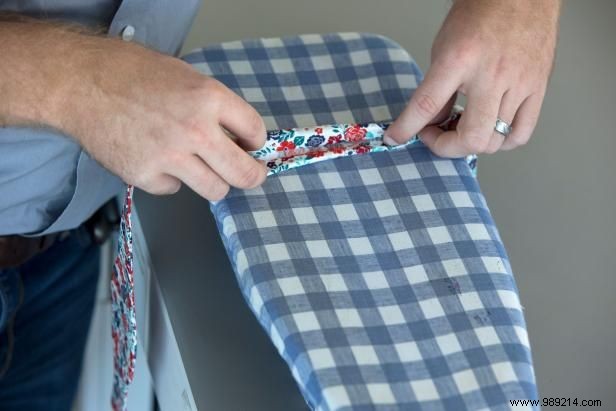
Fold the gap edges in (Image 1), then iron (Image 2).
Sew the opening closed (Image 3). Don't worry about sewing the outside of the bow tie as this part will be tucked under the collar of your shirt.
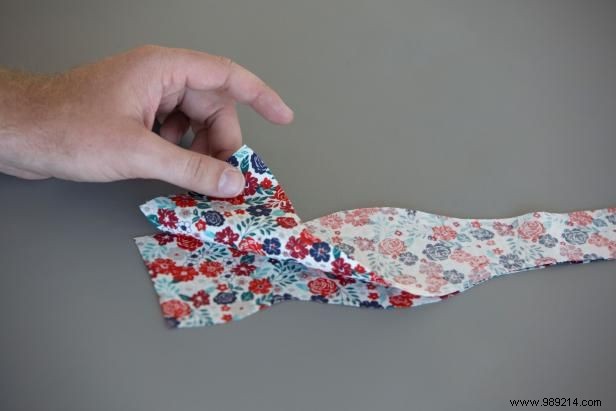
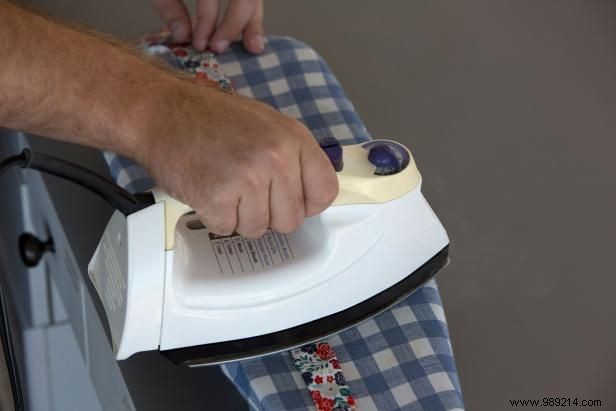
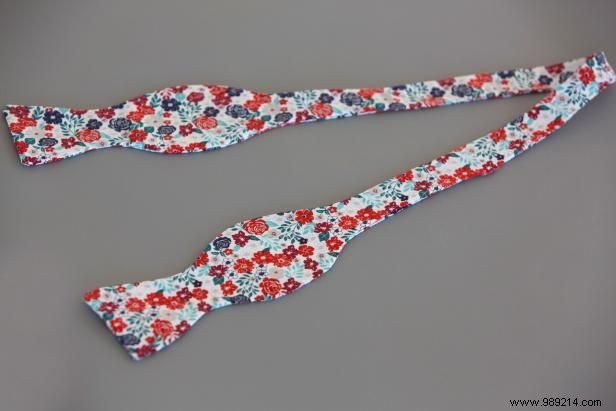
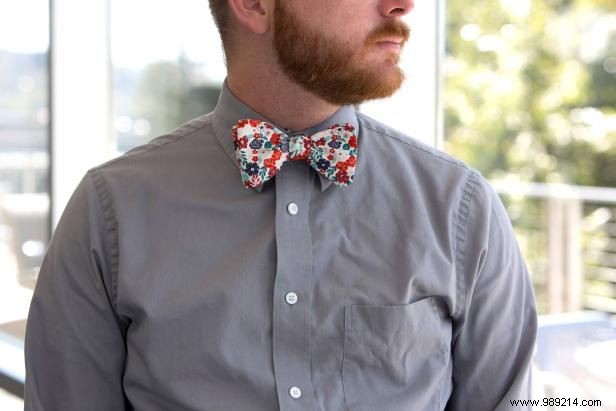
Tie finished in iron and ready to wear. (Images 4 and 5)