Let the zodiac signs light up your walls with this fun DIY project.
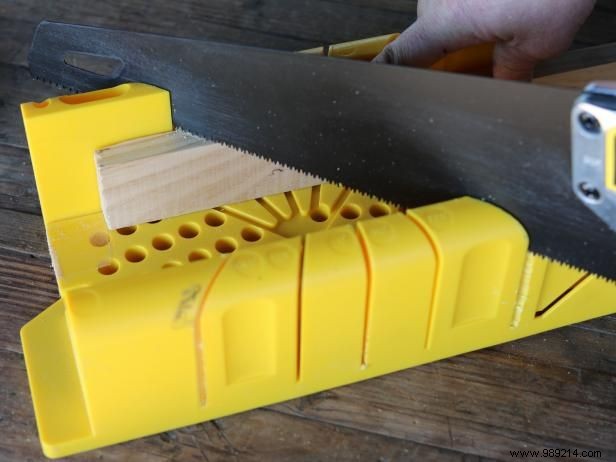
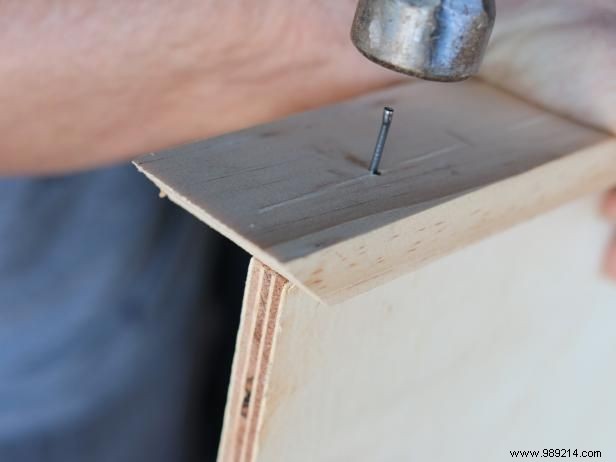
Cut to size 1x2 pine or birch, cut ends at 45 degree angles on miter saw. Once all the trim pieces are mitered, fasten them along the perimeter of the plywood with nails. The back of the plywood should be flush with the back of the trim. The front of the molding should be proud of the plywood, resulting in a lip around the front.
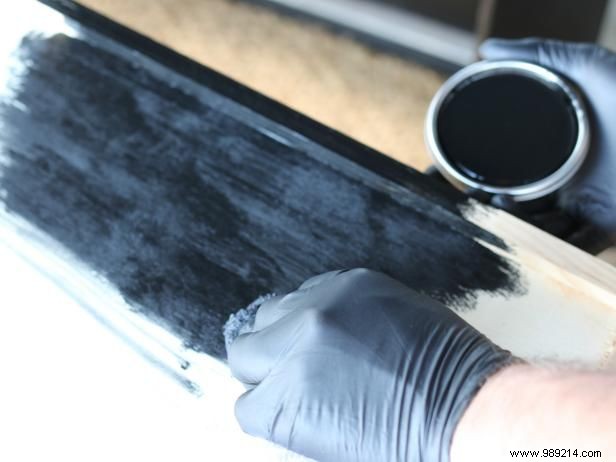
Use a rag to apply an even coat of stain to the plywood and trim. Let it dry.
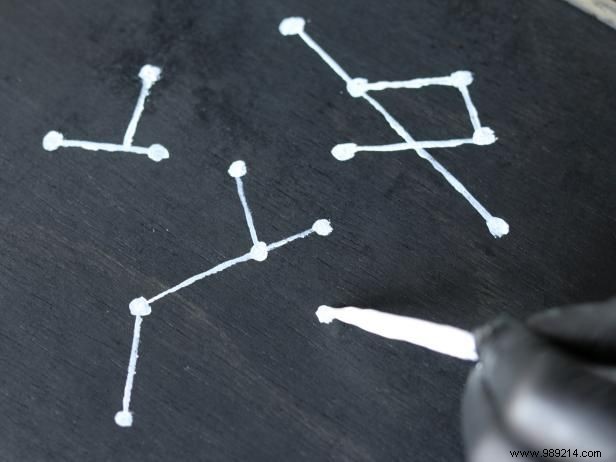
Use a small detail brush and semi-gloss white paint to create the constellations. This can be freehand and random or it can be done literally in reference to an actual star chart.
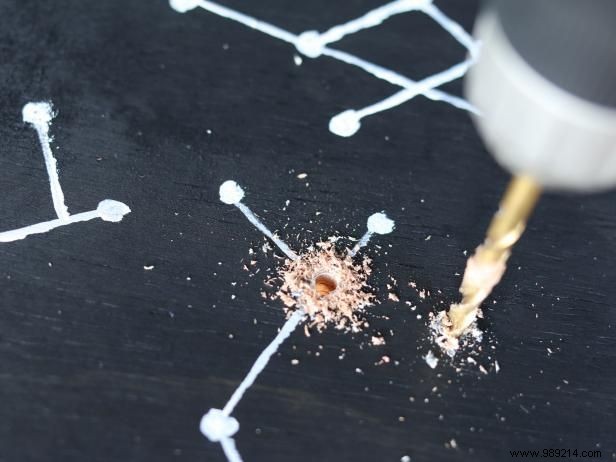
Use a 1/4” drill bit to create the holes directly through the painted dots (stars).
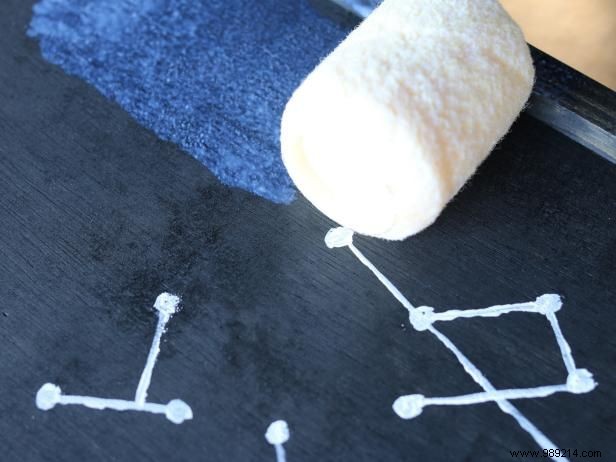
Clean wood chips from the surface of the plywood, then use a paint roller to add an even coat of sealer.
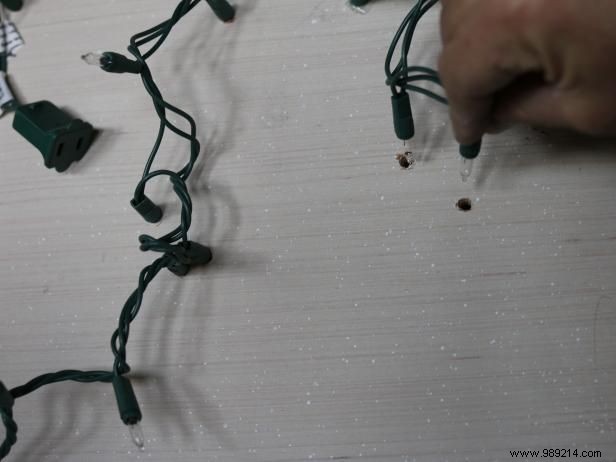
With the plywood turned inside out, push each of the twinkling lights through the drilled holes. Once all the holes have been filled, use electrical tape to fasten the ends of the twinkle light wires to the back of the plywood. Hang the constellation art on the wall, then plug in the lights.