What is putty anyway? This material bounces, stretches, snaps off funny papers, and doesn't stick to clothing. This magic has something to do with the properties of the glue as a liquid polymer that causes the molecules to stick together when introduced to the liquid starch. Don't you love science?
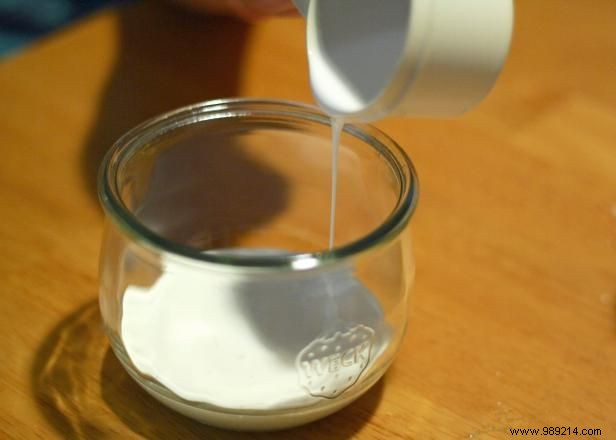
Pour ½ cup of Elmer's Glue-All into a glass or plastic container.
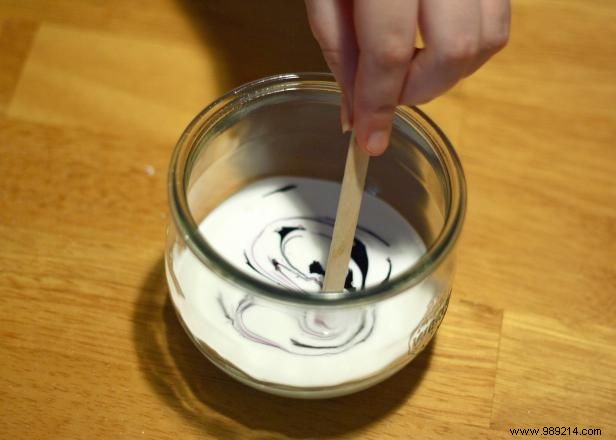
Add food coloring to the glue and stir with a craft stick. Choose any color and add as much as needed to achieve the desired effect (here we use 20 drops of purple).
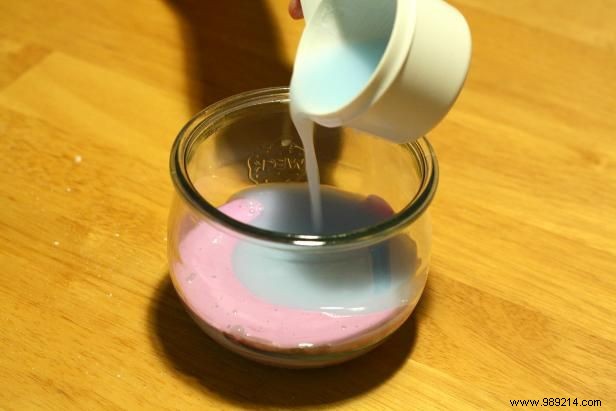
Once the color is even, add ½ cup liquid starch and stir.
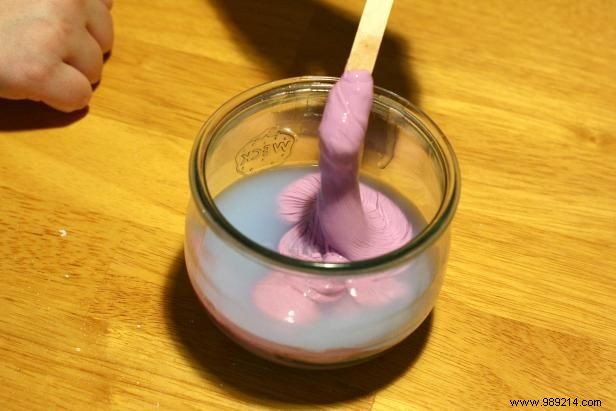
The consistency will soon turn rubbery. As soon as the glue "lifts up" (as shown), stop stirring and let the mixture sit for 3-4 minutes to allow the starch to fully permeate the thickening glue.
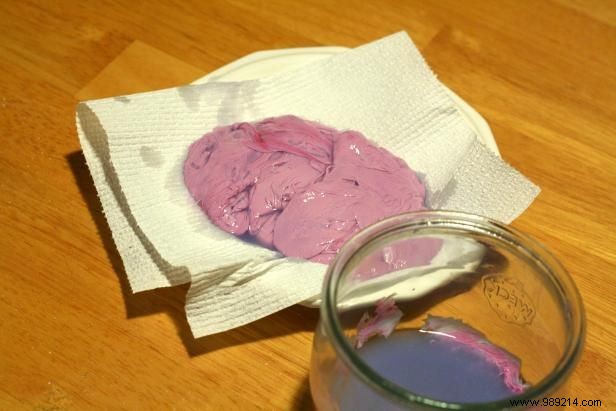
Remove the remaining starch putty and tap with a paper towel to remove excess starch.
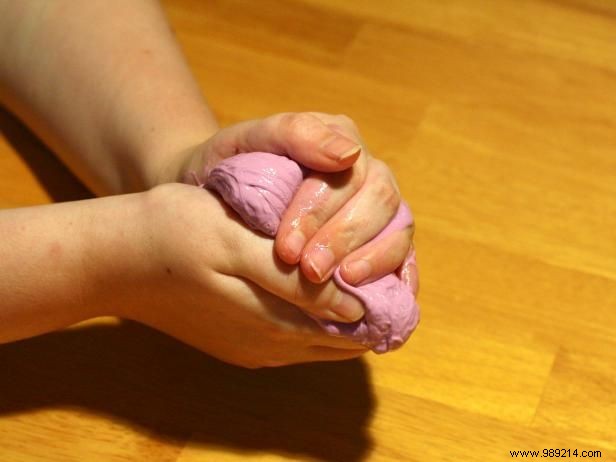
Knead the putty until it becomes firm and flexible..
The putty will become less slippery and will become firmer as it is kneaded. After a couple of minutes, it's still smoother than we're looking for. Keep kneading!

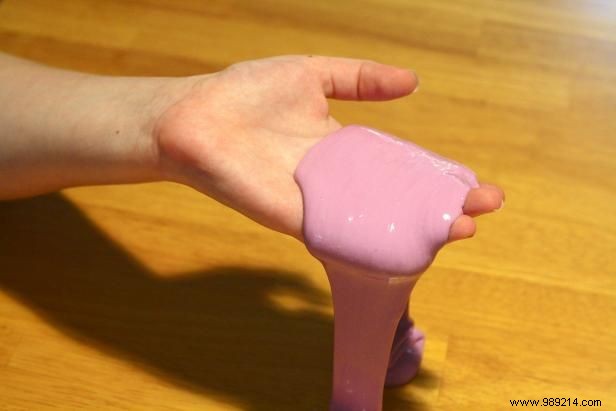
After 5-10 minutes of kneading, our putty is firm, stretches easily and is ready for action. Pennies to do. Hours of fun. This recipe is plenty, so be sure to share it with a friend!