Determine the width and direction of the stripes, keeping them in proportion to the room. Narrow stripes in a large room are lost and wide stripes in a small room look disproportionate.
By alternating between flat and semi-gloss paints, you can create a dramatic look. Painting the base color 24-48 hours before scratching will allow the flat paint to cure.
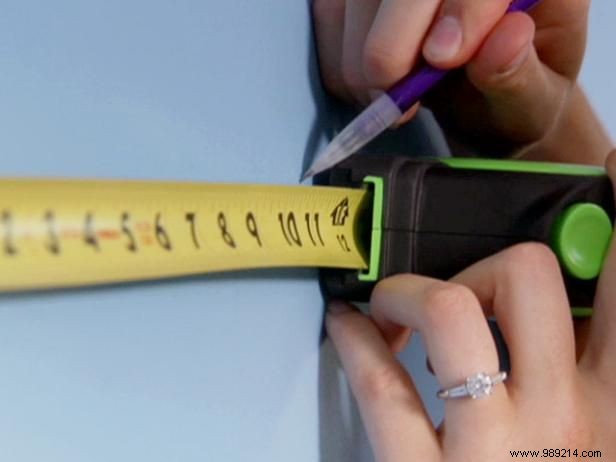
Once dry, you can decide the width of your fringes, keeping them 4 to 12 inches apart. Marking points on the walls as you measure will make recording easier. Don't forget to tape the ceiling and baseboards. Creating a tape legend with painter's tape that is marked with the desired stripe width can help reduce the amount of measurement needed.
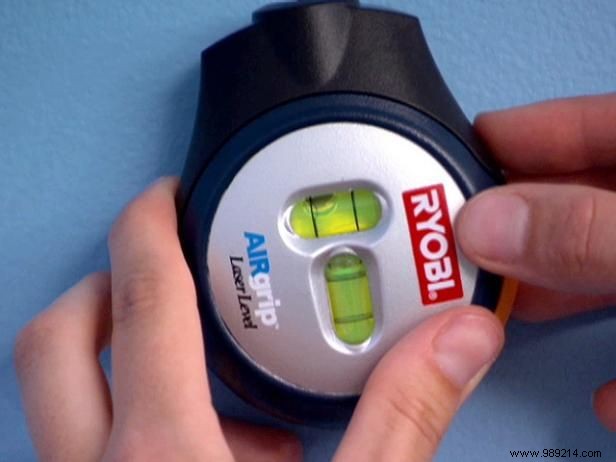
Using a chalk line or laser level will ensure your lines are straight when applying the painter's tape. Smoothing the edge of the tape with your fingernail or putty knife will give you nice, clean lines.
When using a level or chalk line to ensure lines are straight, do not use red or yellow chalk as they are permanent.
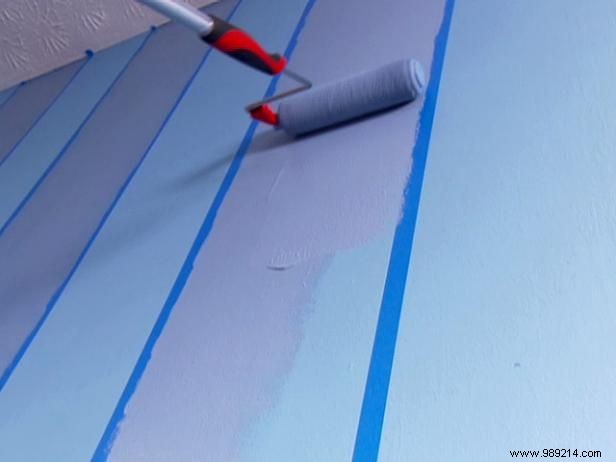
Since the unpainted areas will show when the paint dries, be sure to completely cover the strip with your semi-gloss paint (Image 1). The tape can be removed while the paint is still wet (Image 2).
You can create a faux chair rail with a horizontal strip four feet from the floor or faux molding around the top of the wall.