Dogs sometimes enjoy a good chew on a bone, toy, or piece of wood. Unfortunately, that piece of wood is sometimes a chair or table leg. Chew marks can ruin the look of furniture and, in some cases, its structural integrity. You don't have to be a professional artist or technician to make your furniture look that much better. We repaired the bottom spines on a set of dining room chairs for a little money and a few basic techniques.
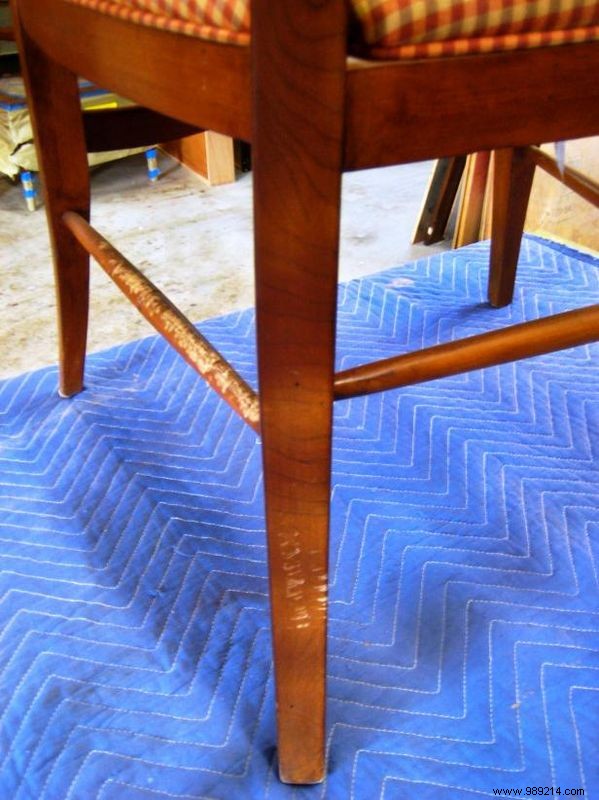
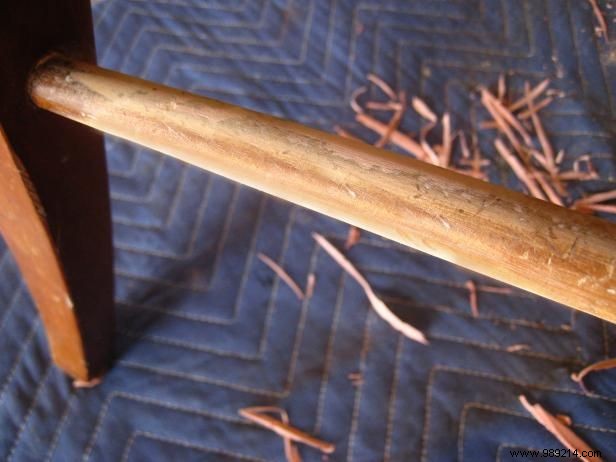
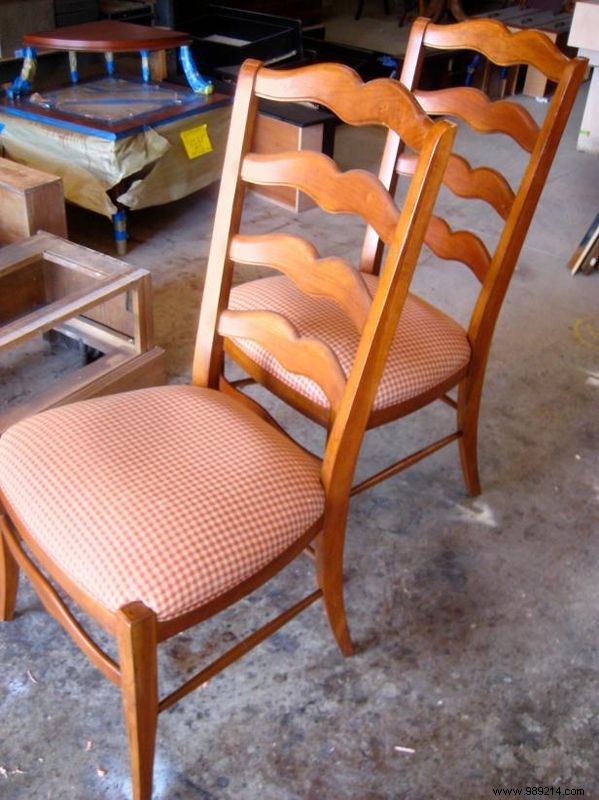
Before:A dog-chewed chair.
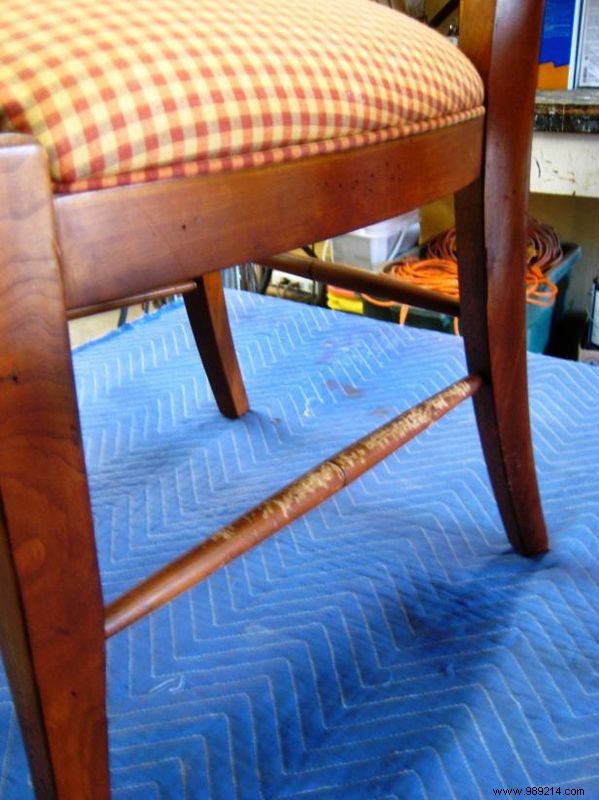
Before:The chairs on this chair are at a perfect height for a dog to chew on.
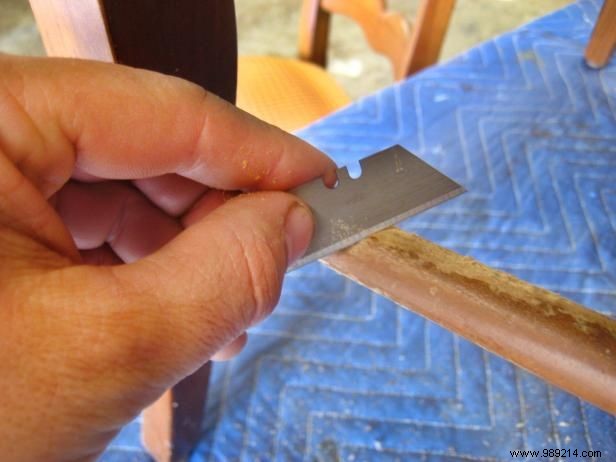
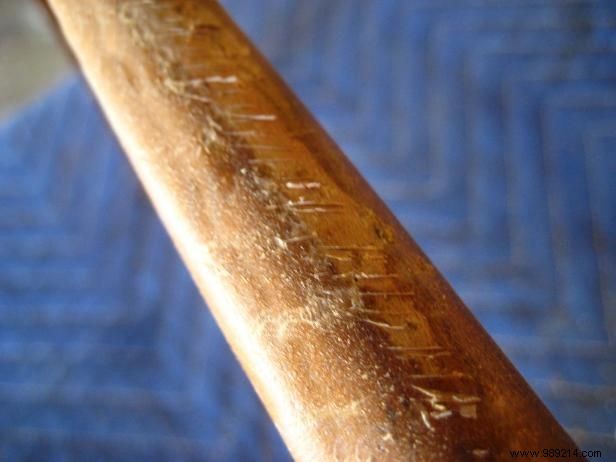
Next, "mark" the damaged area by cutting small hatch marks diagonally across the chew marks (you can also use "X" cuts). Hold the utility blade as shown in Picture 1. It is better not to use the blade on the utility blade holder; You will have much more control if you don't. Tape over the end of the blade to make it more comfortable on your fingers. Firmly hold the blade between your thumb and forefinger, and scrape off any frayed wood edges that protrude from the surface.
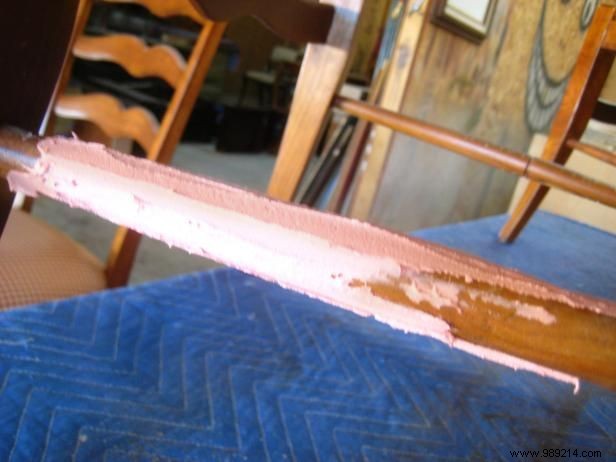
Follow the manufacturer's directions for mixing the autofill (we used the Bondo brand). You may have to do some applications to build up the area so that it is flush with the surrounding area. Do not mix too much filler at once, as each application will set and dry in about five minutes. NOTE:Only take one damaged area at a time. It is best to repeat all steps on each area that has been chewed.
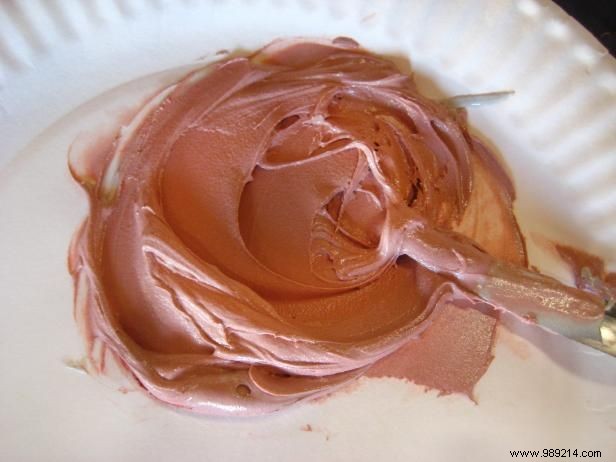
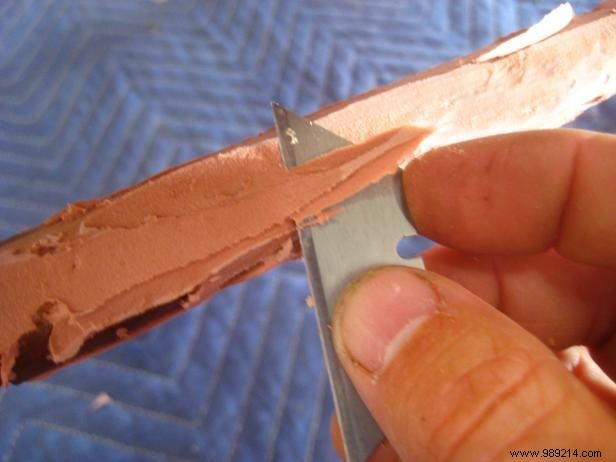
Auto-body filler is a two part epoxy. Use a small spatula to mix well (30 seconds) on a paper plate. Once you have enough padding to cover the chewed area, let it dry to the touch, but don't wait too long. It shouldn't harden all the way or it will be hard to cut off the excess. Slide the blade of a knife across the surface to cut away extra filler and reshape the damaged area. It doesn't have to be exact; you can sand it to the final shape.
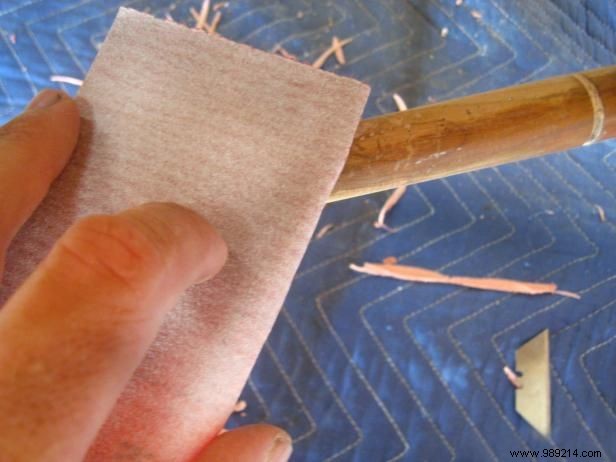
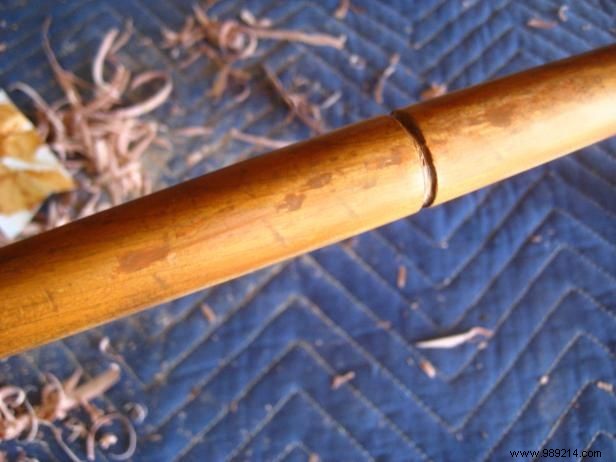
Use 150 grit sandpaper to smooth the filled area. Blend the edges where the filler meets the undamaged area. Sand some of the undamaged area so it all penetrates together. Switch to the finer 220 grit sandpaper to finish it off.
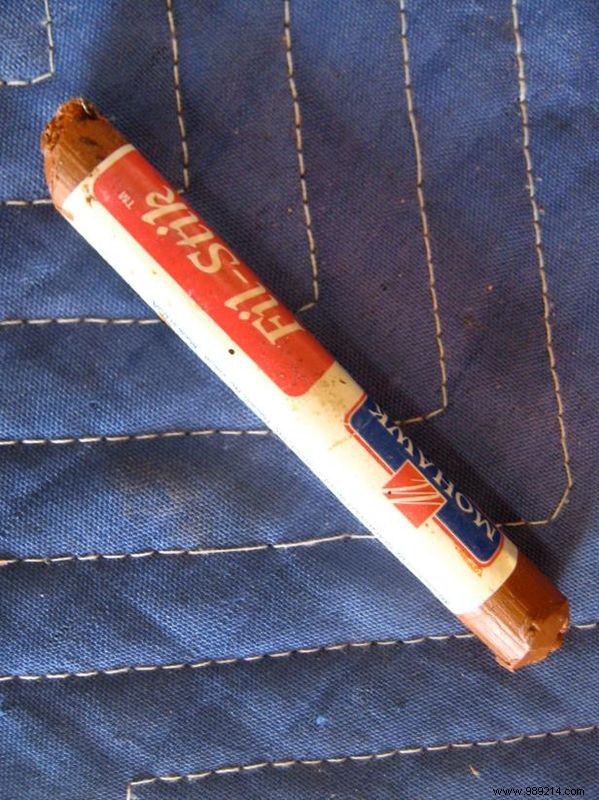
Use filler wax crayons to color over the top of the sanded area. Some of the crayon will stick to the filler and the wood. Use thick paper (we used a business card) to rub the wax into any small holes or irregularities. The paper will push the wax away and remove the access from the surface at the same time. At this point you should have a smooth surface. Check with your fingertip:run it gently over the area to look for areas that may need more attention.
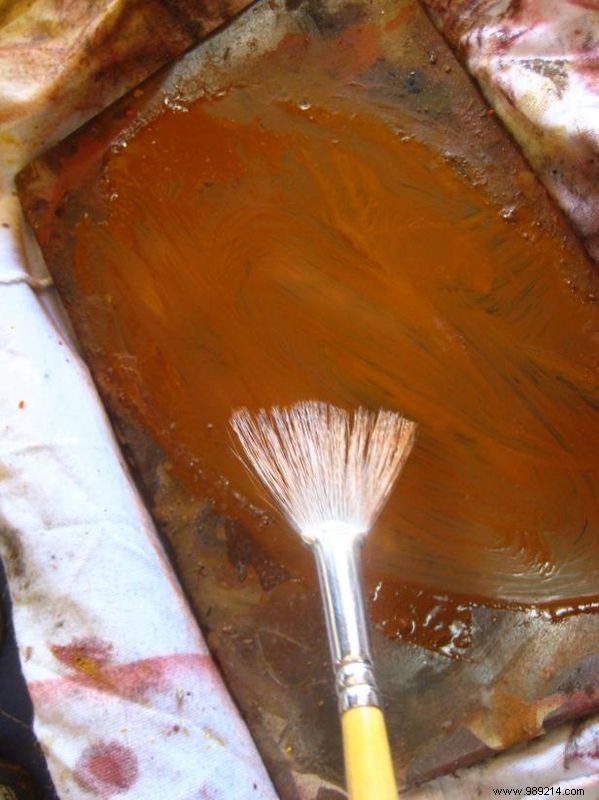
Mix brown tone acrylic paint with a bit of white if needed to lighten, and black if you need to darken the color. Red, yellow and orange can also help achieve the correct wood tone. The first color you apply will be the base color; This should be a midtone of all the colors that make up the finish. Next, mix a couple of different shades, some lighter and some darker, to apply streaks of "grain" to the area. Remember, you're trying to trick your eyes into thinking the area is wood, so take your time and make sure you layer the colors for a more realistic look.
When the acrylic paint is dry, spray two or more coats of clear lacquer over the area. It's best to spray in light coats so the lacquer doesn't run. One trick to matching glitter is to start with a glitter that's slightly brighter than you need it to be. After it dries, rub the area with 000 steel wool to reduce the shine to the desired shine. Be careful not to rub the clear coat and color coat together.