You can use burlap or fabric to make this Christmas stocking. Either one will give you a natural, rustic look.
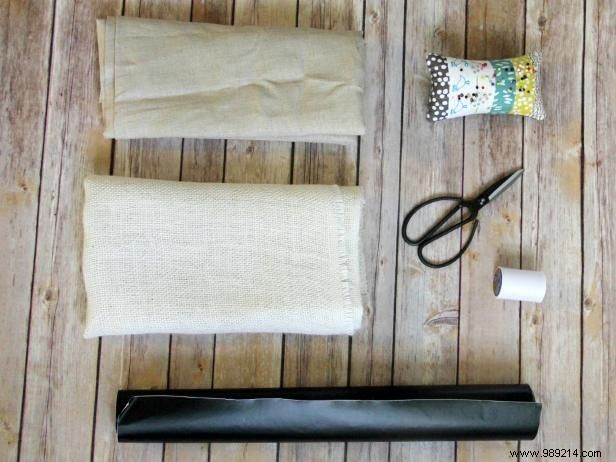
For this simple storage, you will need the downloadable storage pattern; 1/2 yard of burlap or canvas fabric; 1/2 yard cotton fabric for lining; Chalkboard contact paper or chalkboard vinyl fabric; and sewing basics (pins, scissors, thread, and a sewing machine).
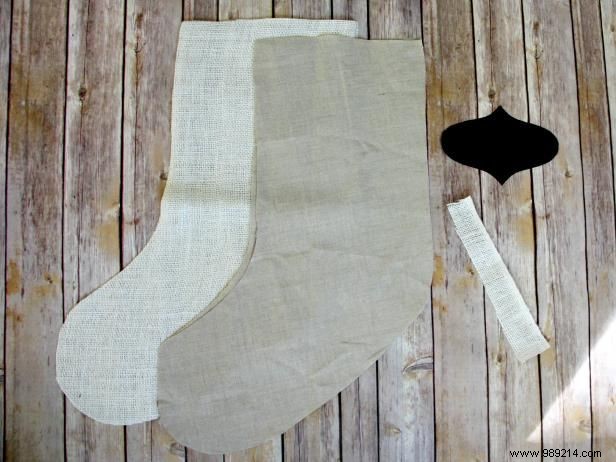
Cut the pieces as indicated in the planting pattern. You should have two outer pieces of fabric, two lining pieces, and one outer piece of fabric with a bow. Cut out an accent piece from your chalkboard fabric or paper. It should not be wider than the width of your stocking.
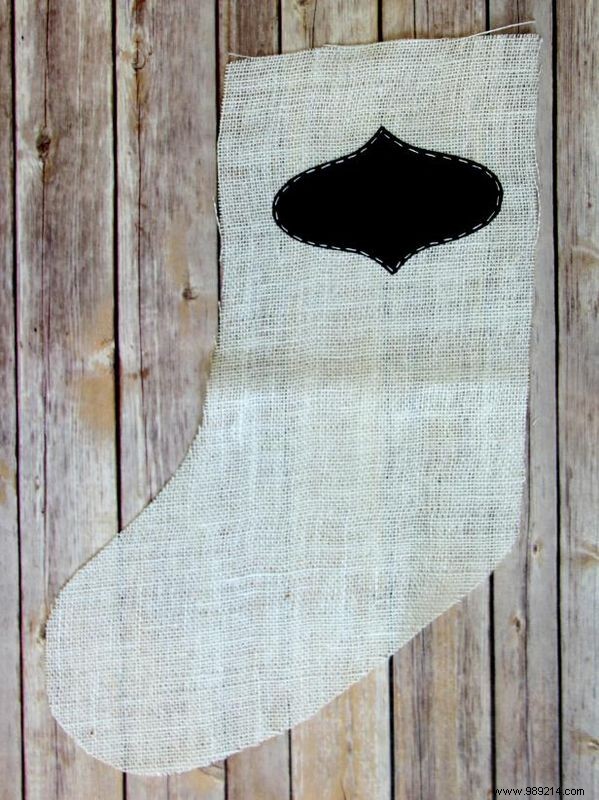
If you are using whiteboard contact paper, remove the backing paper from your whiteboard paper. Glue it to the front of one of the outer stocking pieces. Sew around the edges to secure. If you are using chalkboard vinyl, pin it in place and simply stitch around the edges with a roller foot.
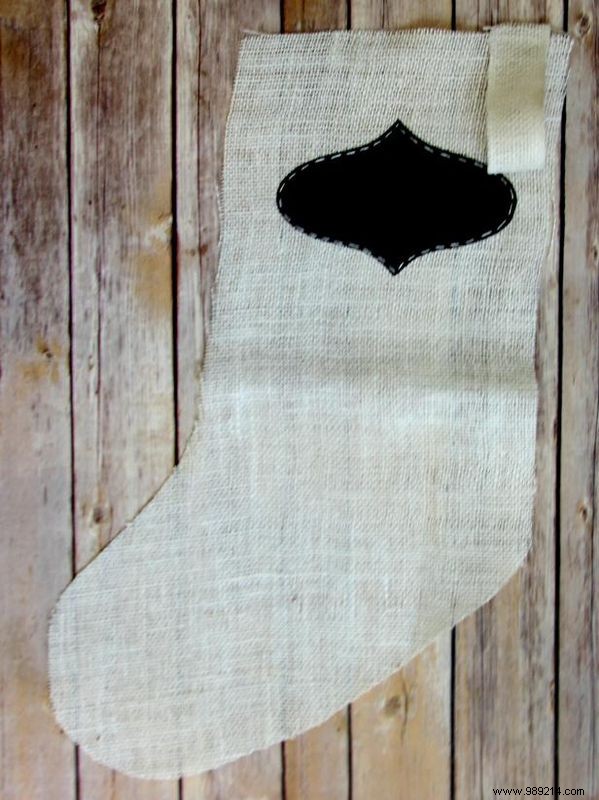
Sew the raw edges of the storage loop pieces. Do this either by laying them down or by using a zigzag stitch over the raw edges. Fold the storage loop over so the short ends meet to create a small loop. Place the raw ends of the loop along the top raw edge of one of the outer pieces, toward the back of the stocking. Pin it in place and then cover it to secure.
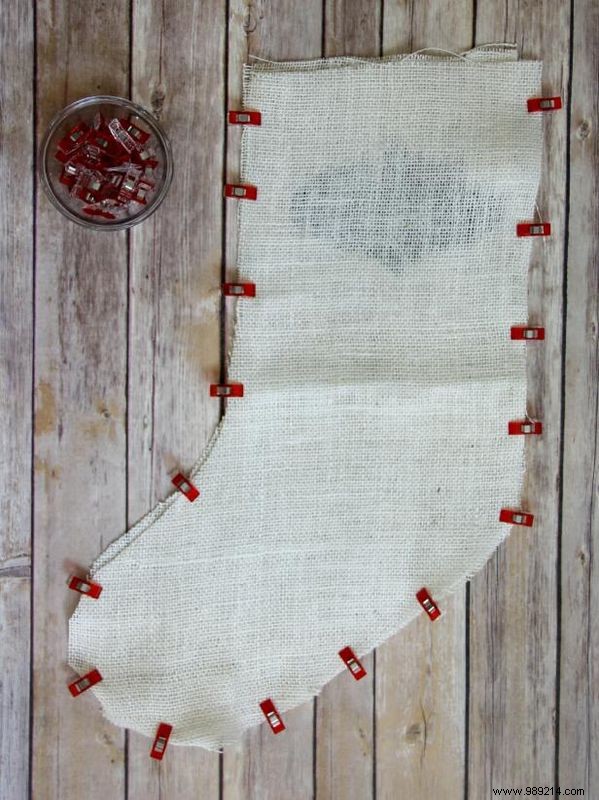
Put the two outer pieces together and sew along the outer edges. Do not sew the top of the stocking, just the sides. Turn the stocking clockwise and use your hand to gently push out all of the rounded edges.
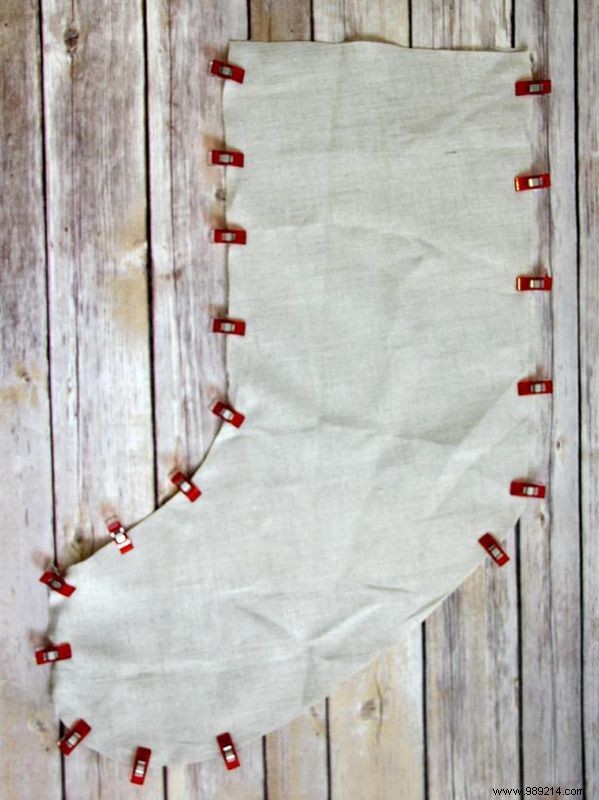
Place the two stocking liner pieces together and sew along the outside edges. Leave a 4" to 5" opening along the bottom of the foot (this will be for turning the sock clockwise later). Do not turn right at this time.
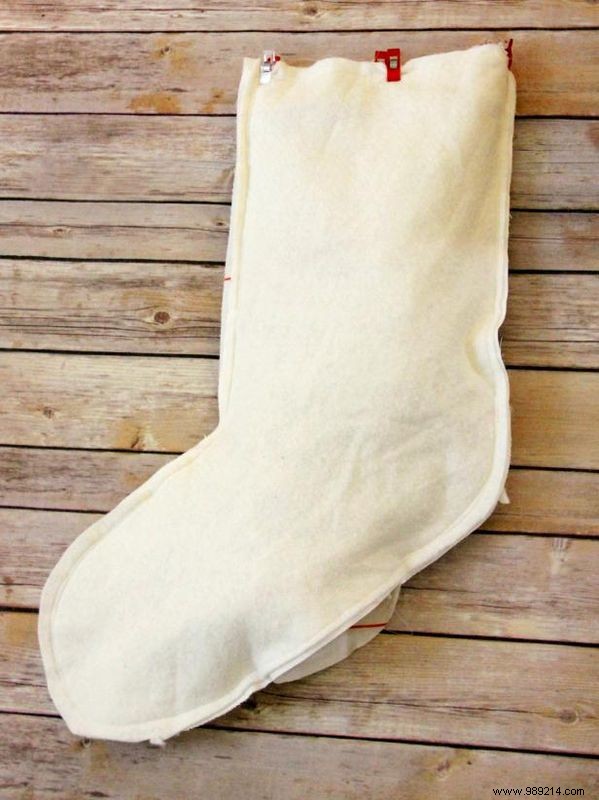
Slide the liner around the outside of the stocking so that both sides are together. Match the side seams along the top edge. Put them together, and sew around the top edge. Turn the stocking clockwise through the bottom opening of your liner stocking onto your foot. Sew the opening closed and push the lining inside the stocking. Use your hand to gently push all the curved edges once more.
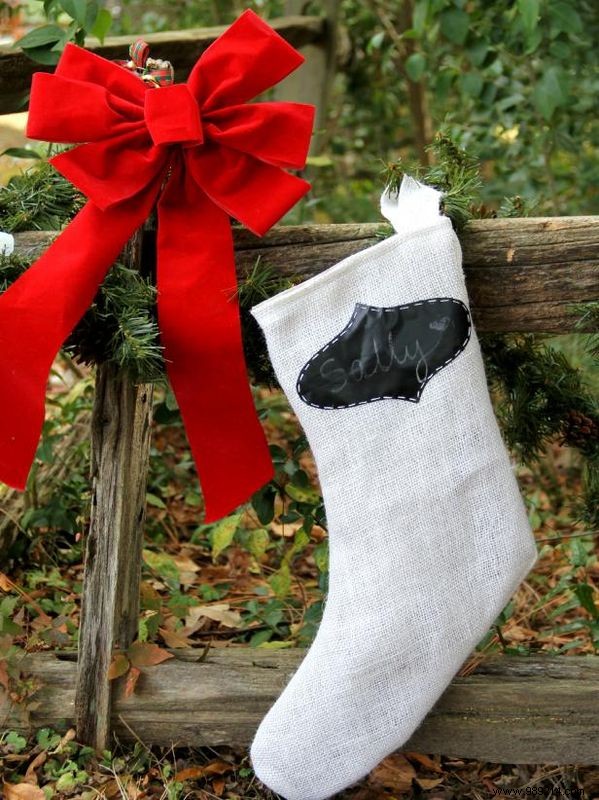
You have a wonderful burlap Christmas stocking that will look great hanging on the mantelpiece. And the best thing is that you can customize it the way you want, year after year..