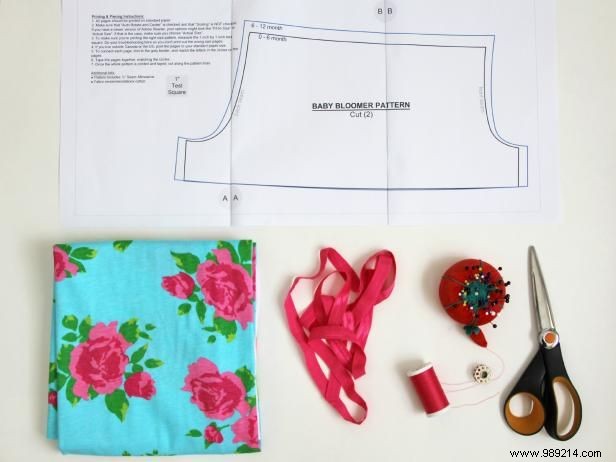
Bloomers make a great handmade baby gift. They're a handy diaper cover, plus they make those bums look super adorable.
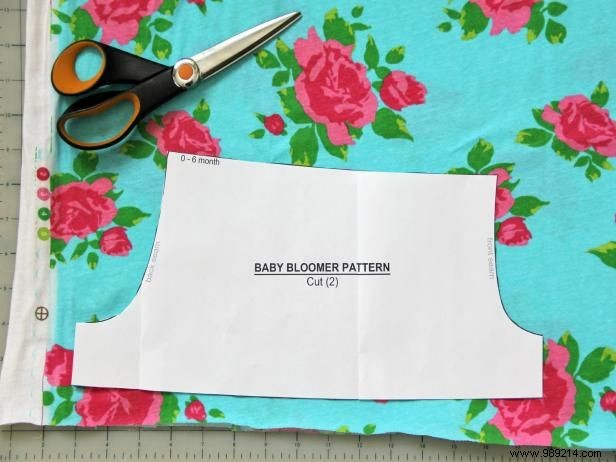
Print the pattern out of paper, tape it together as instructed, and then cut around the black lines to make the larger pattern in the desired size. Fold the fabric in half to cut two larger pieces at once.
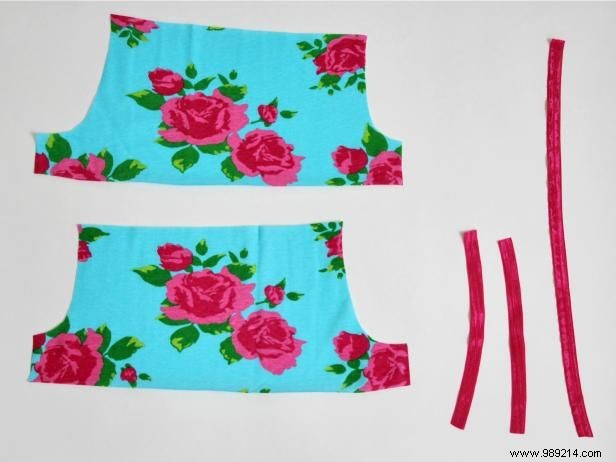
You should now have two bloomer pattern pieces. Cut the following for your elastic:
Size 0 - 6 months:Cut one 16" x 3/4" piece (waist) and two 8-1/2" pieces (leg band).
Size 6 - 12 months:Cut one 17" x 1/4" piece (waist) and two 9-1/4" pieces (leg band).
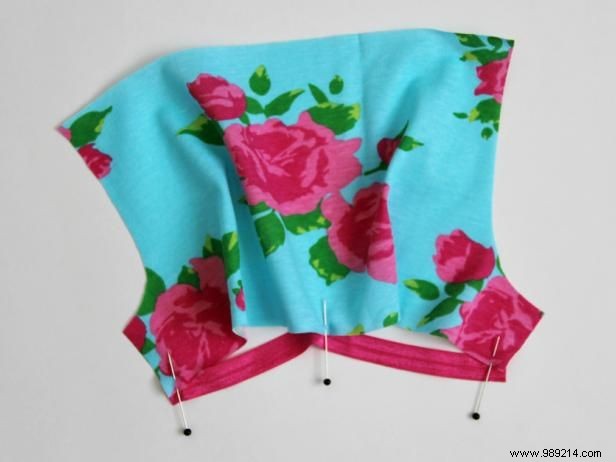
Attach an elastic piece of leg band to the bottom of one of the larger pieces. Pin the top edge of the fold over elastic to the bottom edge of the bloomer on the wrong side of the fabric. Place half of the elastic in the center of the bottom of the bloomer, and pin the sides of the elastic to the side edges of the bloomer. As you can see, the elastic is much shorter than the one below.

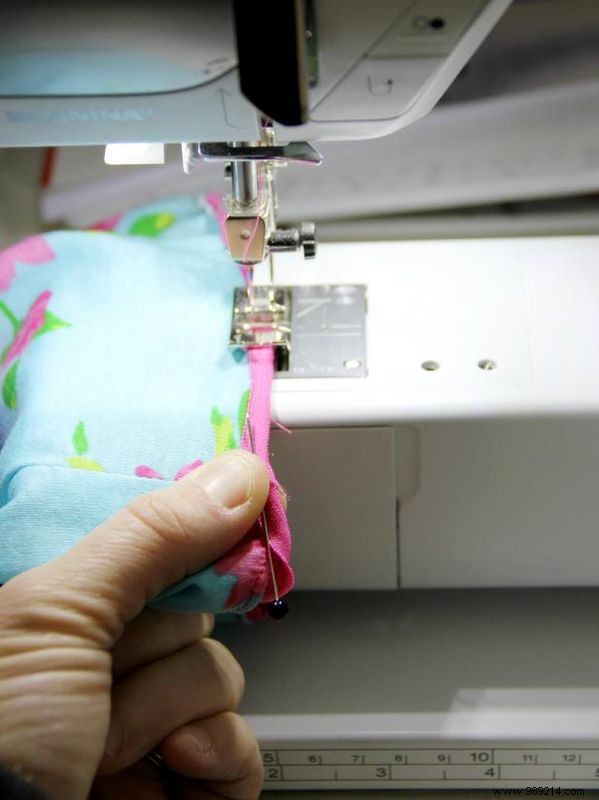
Starting at one edge of the bottom of the bloomer, use a straight stitch to sew the elastic to the fabric. Pull the elastic as you sew so it is the same length as the bloomer. The edge of the fabric should go to the middle of the elastic. Sew until you reach the other end of the bloomer; remove pins while sewing.
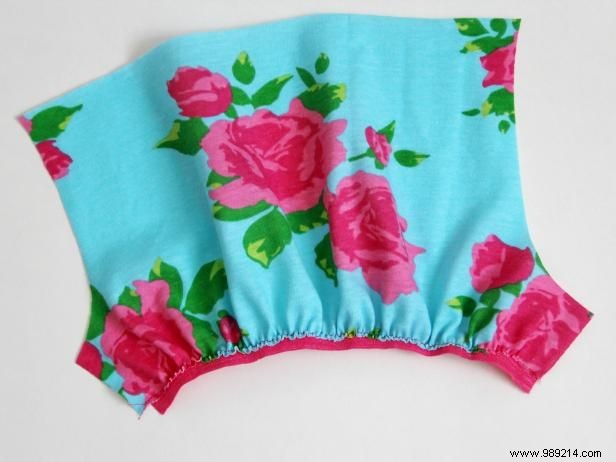
You should have this when you're done.
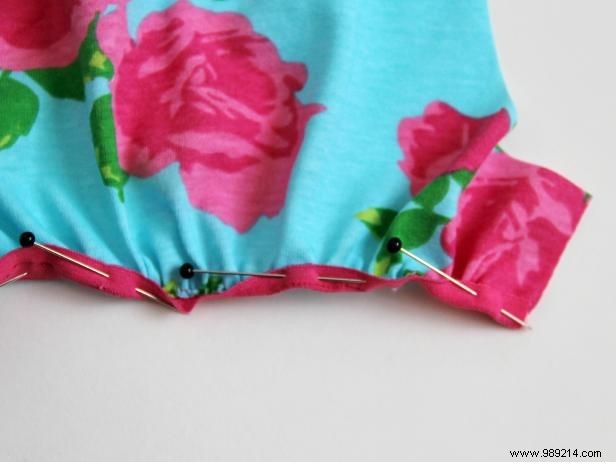
Fold the elastic over to the front to cover your seam line. Pin in several places to secure.
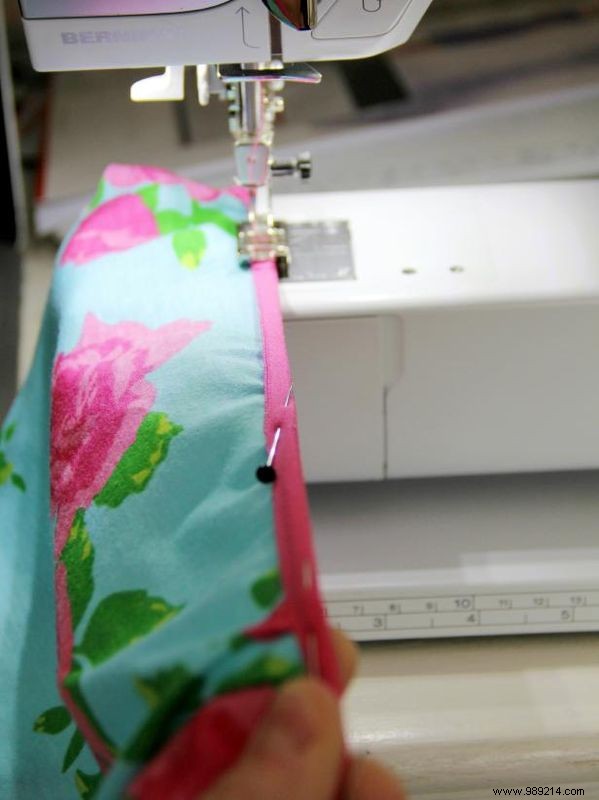
Use a zigzag stitch to secure. Once again, pull the elastic as you sew.

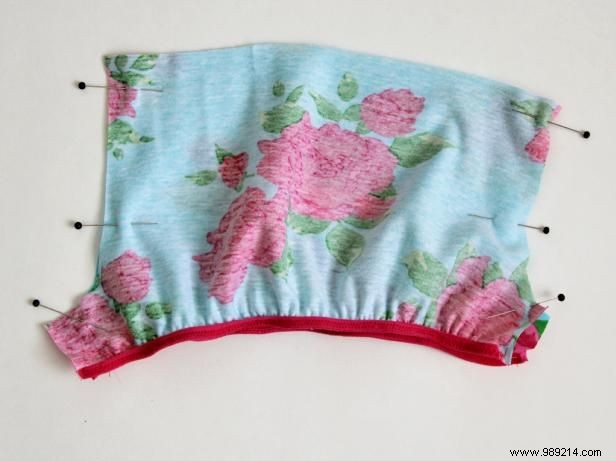
Repeat the process for another piece of bloomer and elastic leg band.
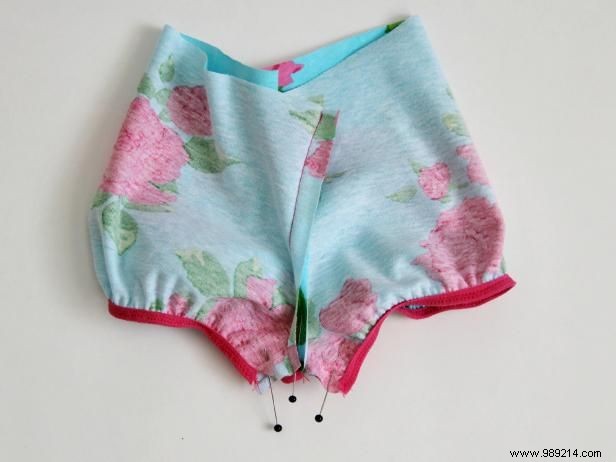
Place the bloomer pieces on the right, matching all the side edges. Pin the curved front and back seams together and sew with a 1/2-inch seam allowance. Finish the seam if desired with a serger, zigzag stitch, or pink scissors.
Turn the buds so the front and back seams are at the top and bottom, and press. Pin the bottom leg seam, still right sides together, and sew with a 1/2-inch seam allowance. Finish the seam if desired with a serger, zigzag stitch, or pink scissors.
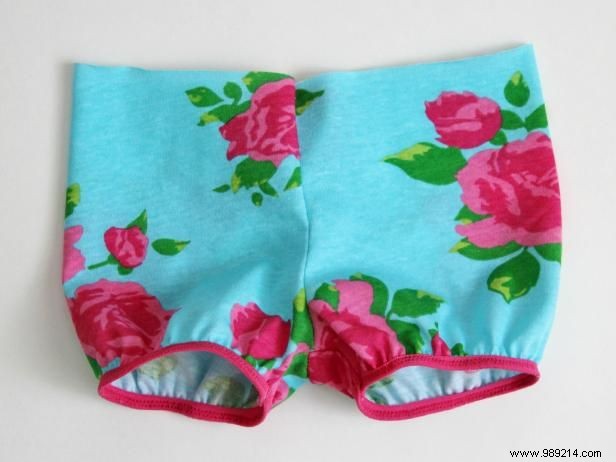
Turn right, and you should now have something like this. All you need to do now is add the waist.
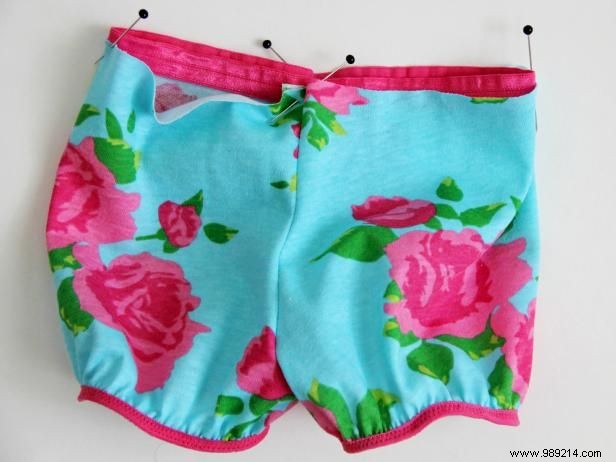
Overlap the ends of the elastic waistband by 1/2 inch. Pin the overlapping ends along the top edge of the back seam on the panties, on the wrong side of the fabric. Place the elastic in various places around the top of the panties, such as the front seam and the sides.
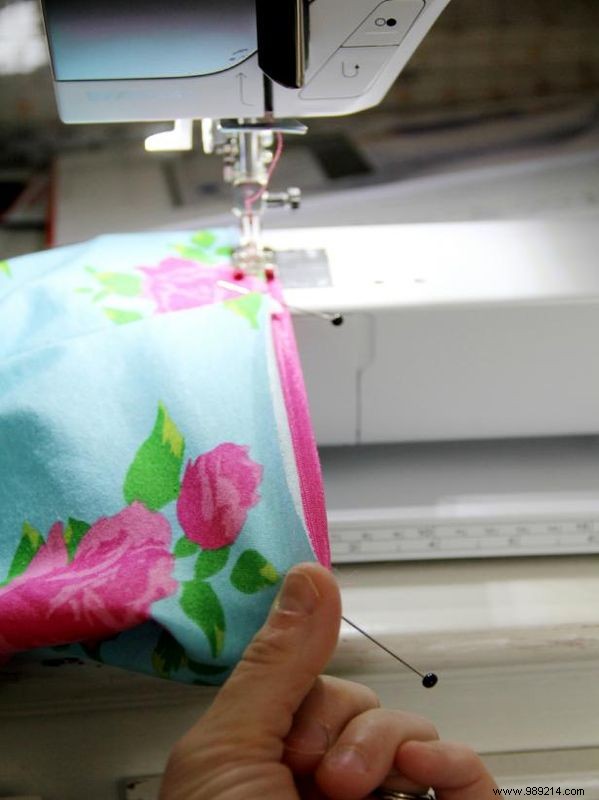
Fasten the waist in the same way as the leg bands. Start at the back of the overlapping elastic; Sew with a straight stitch, pulling the elastic as you go so it is the same length as the flowers. Continue until you reach the waist.
Fold the elastic over to the front so it covers your previous seam line. Pin and sew with a zigzag stitch. Once again, pull the elastic so it's the same length as the fabric you sewed on.

And that's it! Hang them on a clothesline to make an adorable baby shower gift, or pair them with a pretty store-bought dress or make your own accompanying dress. The perfect craft to make for baby, these handmade panties will make every new mom smile.