“It's actually bad to eat apples. Better to turn them all into cider.” - Benjamin Frankli north
Homebrewing is more popular than ever these days and the recipes for homemade beer are endless. If you're looking for a Cucumber Beer or Chocolate Cranberry Cream, there's a good chance someone has a batch of beer in the garage or in the corner of the rec room. While I like beer as much as the next guy, when I brew at home I don't necessarily look for barley and hops. Some of my favorite home brews aren't beer at all. While Benjamin Franklin may have been wrong about the virtues of eating apples, I share his appreciation for hard apple cider.
In colonial times, hard cider was the drink of choice. Thomas Jefferson made cider from apples grown at Monticello, George Washington offered cider as a reward for voting his run for the Virginia legislature, and John Adams drank a pitcher every morning, declaring it a health tonic. In the mid-1700s, per capita consumption of cider was more than 30 gallons per year.
Hard cider's popularity declined dramatically in the years after the Civil War, as rail distribution of easily stored grains made beer a cheaper option. Fortunately, in recent years, hard cider has slowly gained popularity among craft brewers and wineries.
Hard apple cider is a great option for home brewing. It can be seasoned or flavored in a variety of ways and natural additives can be used to modify clarity, gravity and carbonation.
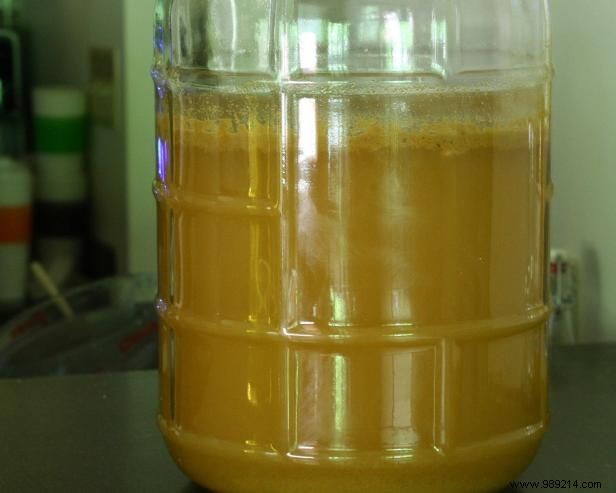
Pour two gallons of apple juice into a sanitized container or prep bucket. If you use store-bought apple juice, be sure to select one without preservatives. Freshly pressed apple juice should be pasteurized by heating to 160-170 degrees (do not boil!) before use to kill bacteria and wild yeast that can negatively affect fermentation.
This recipe is simple, but make sure all equipment is completely clean before using boiling water, rubbing alcohol, or commercial sanitizers.
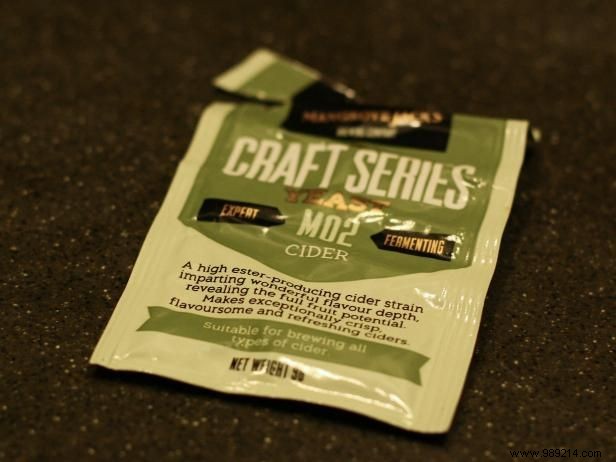
Dissolve half a packet of cider or ale yeast in 1/4 cup of warm water and add to apple juice.
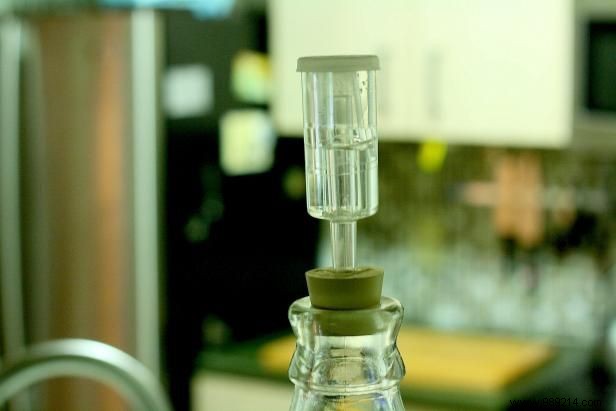
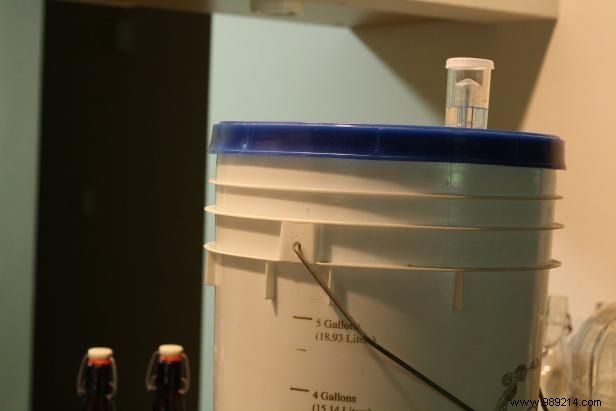
Plug the beer tank or seal with a plug and an air bag. An airlock allows gases to be released while preventing outside exposure. Within a few hours, bubbles will begin to appear in the hatch, indicating that the yeast has begun to consume the sugars in the apple juice.
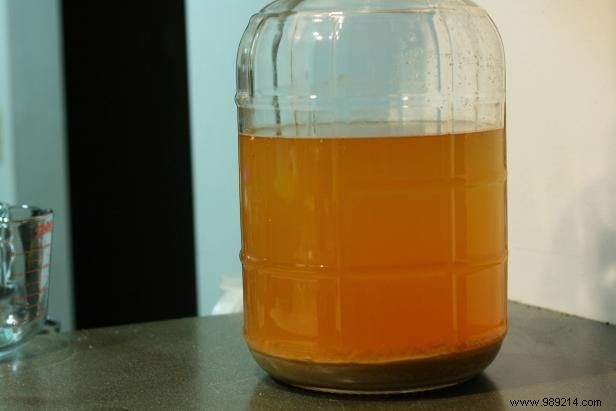
After 10-14 days the bubbling will subside. You will also notice that the solids have settled to the bottom of the boat as a slimy sludge known as a trub. When the bubbling has almost stopped, it's time to transfer cider to a secondary container, separating it from the trub (a process known as racking). This can be another pump or beer bucket or a sterilized bucket. This step is necessary to stabilize and clarify the cider.
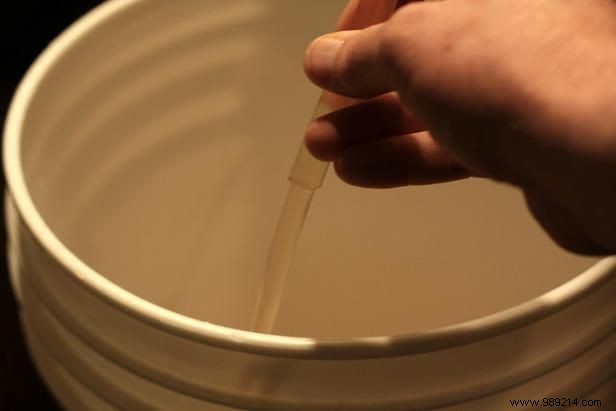
Use a plastic tube to divert the cider from the primary to the secondary container, being careful not to disturb the trub that has settled to the bottom (the trub should be discarded). The secondary container should be lower to the ground to allow gravity to push the cider flow. Fill the tube with water before inserting it into the cider and secondary container to "prime" the flow.
Once transferred, cover the secondary container with an air bag and let it sit in a dark place for an additional 10-14 days before bottling. If you are using a bucket without a lid as a secondary container, clean and sanitize the primary container and return the cider to this step.
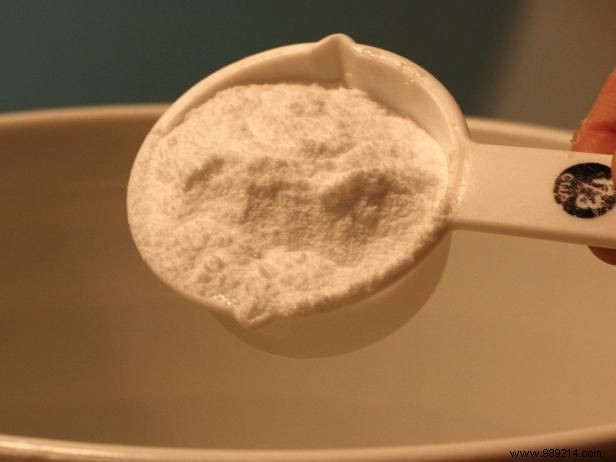
Before bottling, add 1/3 cup of corn sugar to the cider. As the yeast consumes this sugar inside the sealed bottles, carbonation will form.
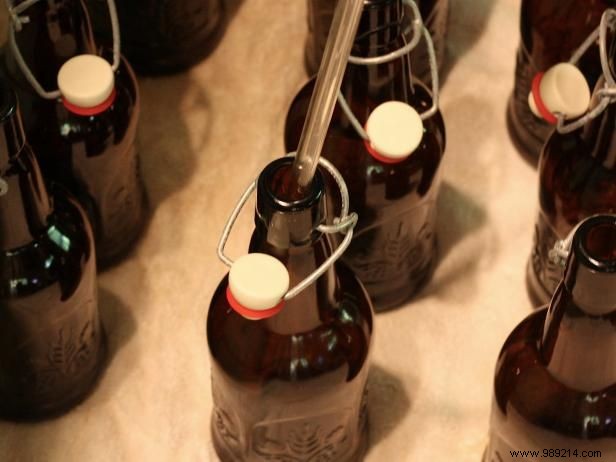
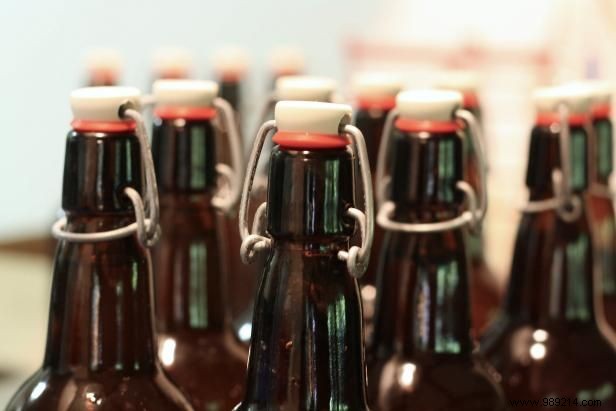
Use plastic tubing or a funnel to fill sterilized bottles, leaving an inch of headspace at the top. Twist caps are convenient for home brewing, but many brewers prefer to use conventional bottles and a bottle stopper. With either type of bottle, make sure there are no holes or leaks when you seal the bottles.
Look wistfully at the bottles stored in a dark space. After three weeks, have a drink. If carbonation hasn't reached satisfactory levels, wait a week or two and have another. Hard cider improves with age, although there may be a risk of bottle breakage if the sugar content is high and the shelf life is long. Processed carbonation can be stopped by refrigerating bottled cider. Time to start another batch!