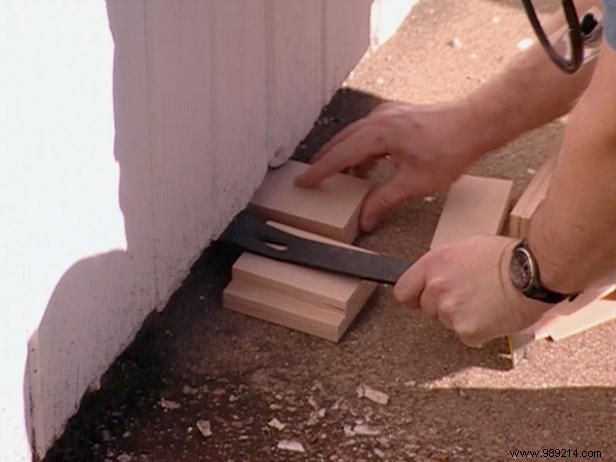
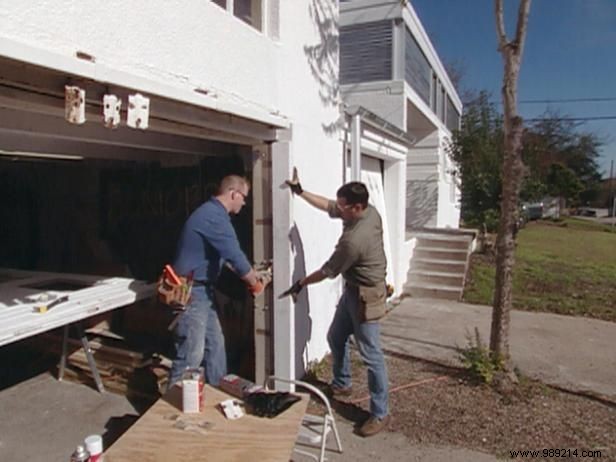
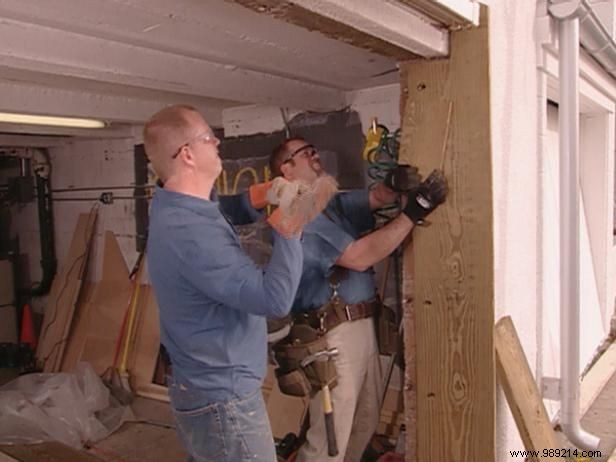
Remove the garage doors from the supports that travel along the track. It will help to place shim blocks under the door to relieve some of the pressure from the supports (Image 1).
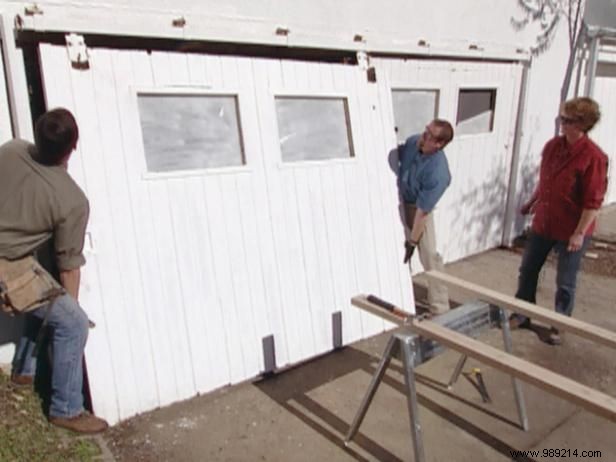
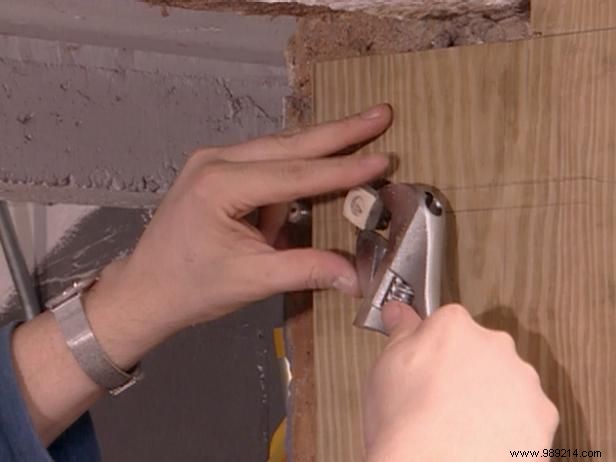
Using the screw fasteners, remove the bolts from the brackets (Image 2) and slide the doors out (Image 3).
Lay doors on plywood supported by sawhorses.
Remove the track brackets, along with any hardware from the doors.
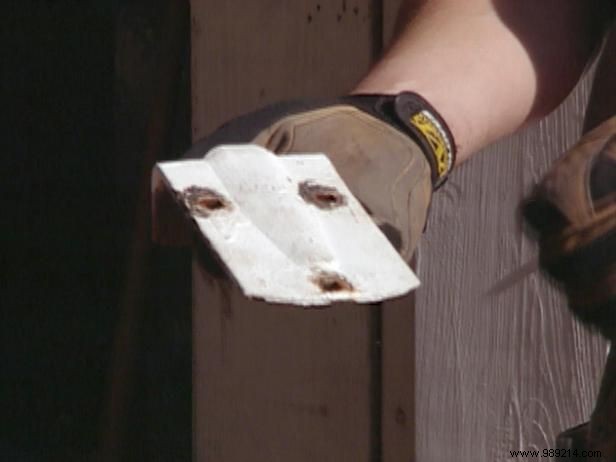
Using vise grips, unscrew the track supports and set them aside (Image 4).
Using a hammer and pry bar, remove the existing wood side jambs (Image 5).
Remove the track rollers and set them aside.
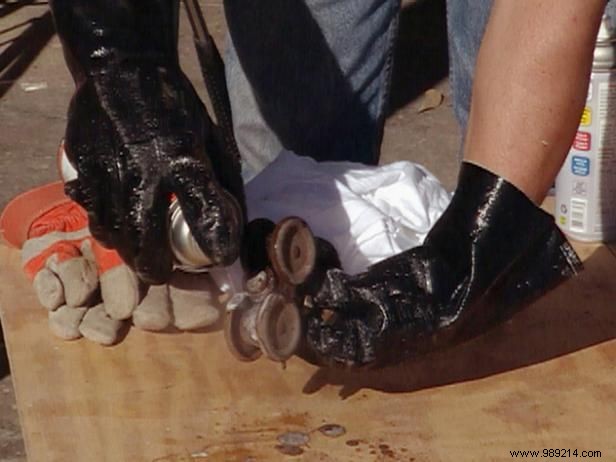
Degrease and lubricate the rollers. Spray on degreaser. Once the rollers are well coated, simply wipe off any grease residue with a cloth.
Spray on white lithium grease to the rollers. White lithium grease is an all-purpose lubricant that is frequently used on moving parts. This will help get the rollers running smoothly again.
Using a cutting brush, apply a thick coat of metal remover to each bracket. If applied to multiple coats of paint, more than one stripper application may be needed.
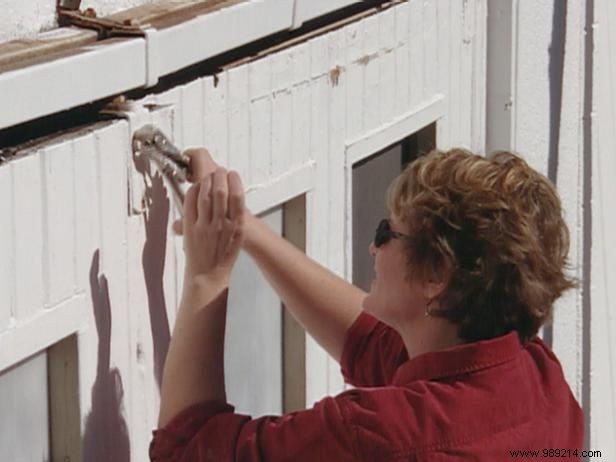
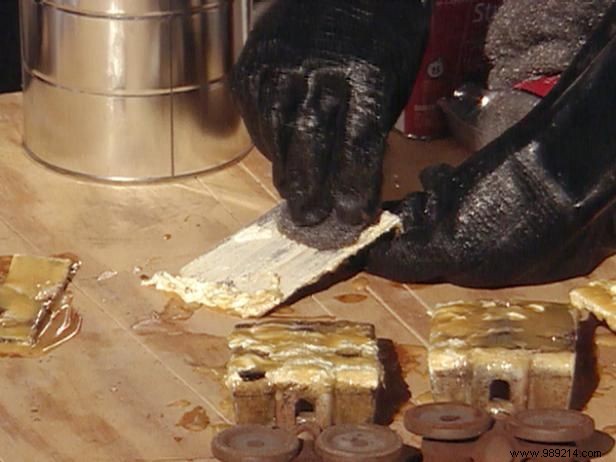
Once the bubble remover has bubbled up, use steel wool to wipe off the paint (Image 1).
After removing most of the paint, brush the mount with a lacquer thinner.
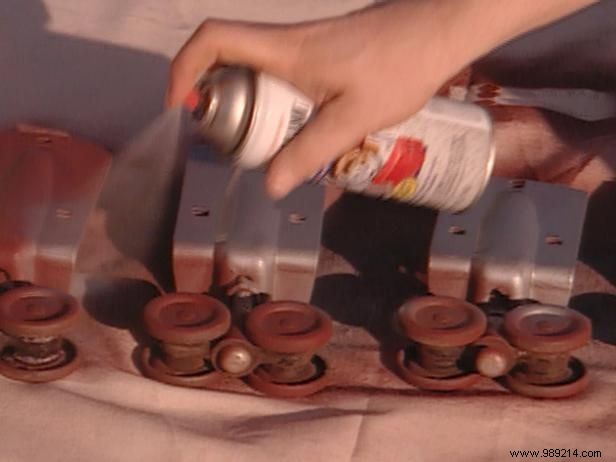
Prime and paint the hardware. Again, working in a well-ventilated area, spray red oxide primer over the rollers and supports (Image 2).
Let the paint dry. Drying can take anywhere from 10 minutes to an hour, depending on humidity. (Read and follow the manufacturer's instructions.)
When the primer has completely dried, spray on a top coat of hammer finish paint and allow to dry. Again, this could take up to an hour to dry, depending on humidity levels.
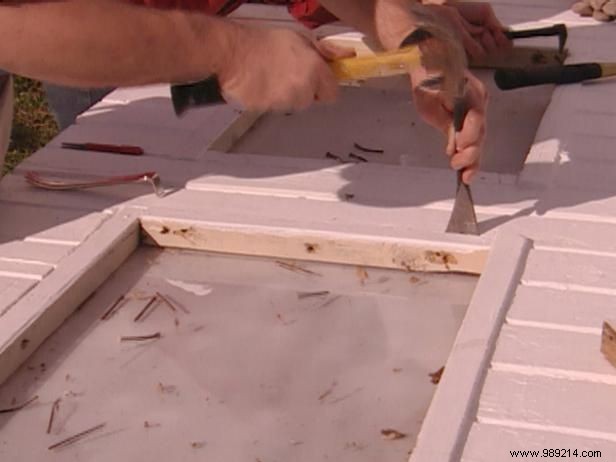

Loosen old window frames with a cat's paw and a hammer to remove nails.
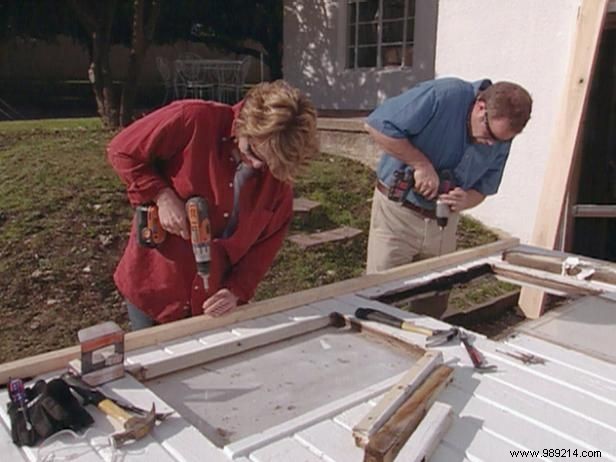
Use a hammer and pry bar to tap and loosen the frame pieces (Image 1) and carefully pry the frames up. If the wood surrounding the frames is weak, temporary support may be necessary. Simply screw a 2x2 the width of the door to the door before removing the frames (Image 2). This temporary support will need to be removed after reinstalling the new frameworks.
Carefully remove the glass and set it aside in a safe place.
Flip the doors to work on the other side.
Note: Garage doors are heavy, so you will need a lot of help to complete this step.
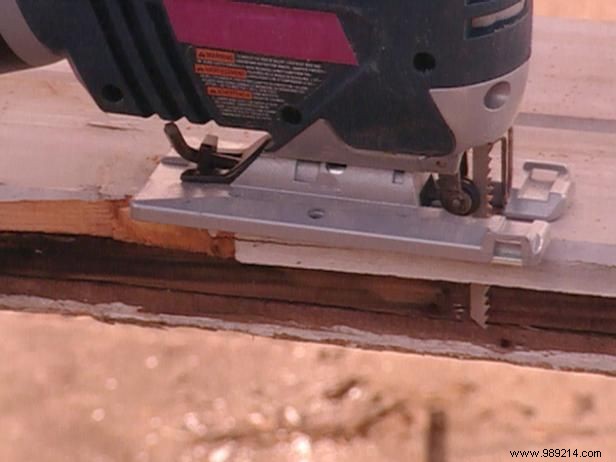
If there is an "edge" around the existing frame hole, trim it flush with a jigsaw (Image 3). Repeat the process for each window frame.
Measure the opening and cut the wood to the widths you'll need using a table saw.
Also, using the table saw, cut a spine into the wood. This is an "L" shaped channel that the glass will rest on.
Using a miter saw, cut the frames to their measured lengths. The style of window frame that homeowners want requires a muntin bar.
Restoration lexicon:A muntin is a horizontal or vertical bar that divides the sheet frame into small windows. To ensure the bar fits flush with the top and bottom frame, trim the ends of the bunny cut (Image 4). This is not a cut through the miter saw. Using a chisel and mallet, remove the notch. Repeat this process for the side jambs of the window frame as well.
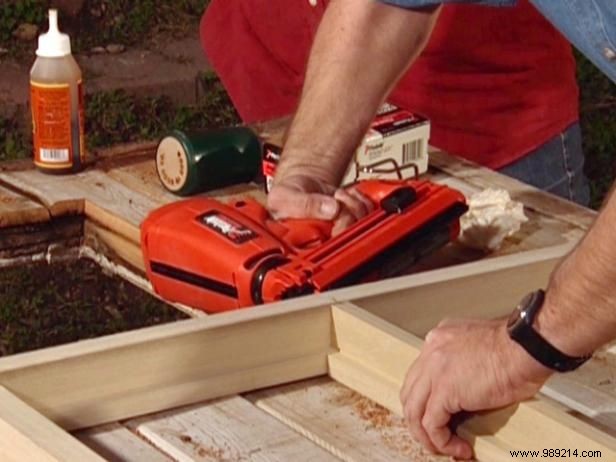
To attach the window frames, use a polyurethane glue to hold the joints together. First, slightly wet the end of each frame and add a small amount of polyurethane glue to each end. Next, connect the frames.
Secure the frames together using finishing nails (Image 5).
Lightly sand each frame. An orbital palm sander with 80 to 120 grit sanding discs works best.
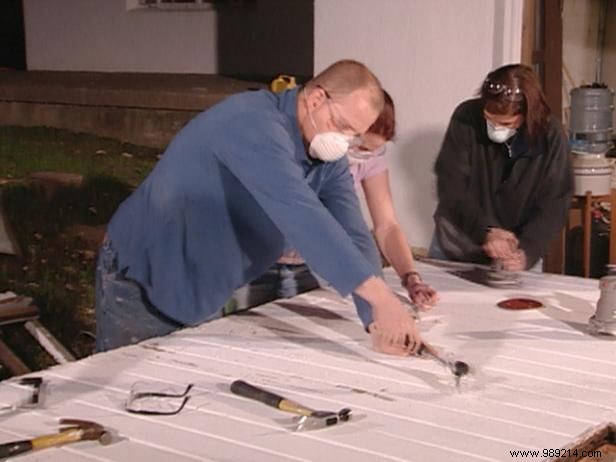
Using carbide scrapers and palm sanders, remove any loose paint (Image 1).
Next, prime the newly built door and frames, allowing plenty of time to dry.
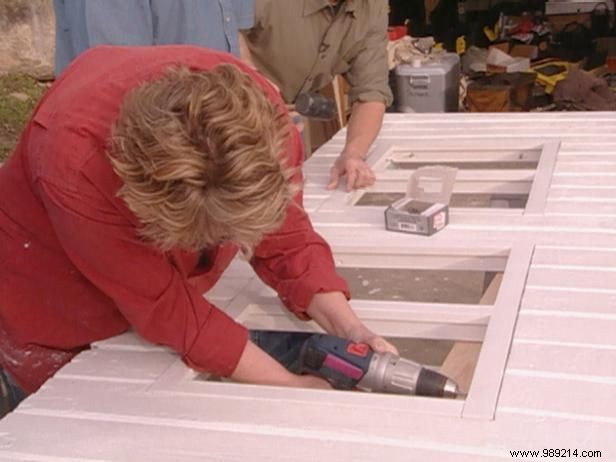
Install window frames. Any temporary support that was previously added must be removed before installing the new frameworks.
Screw the window frames back into the door (Image 2).
Once the frames are installed, paint the door.
Let the paint dry completely.
Using a pry bar, remove the plate that connects the exterior jamb to the opening.
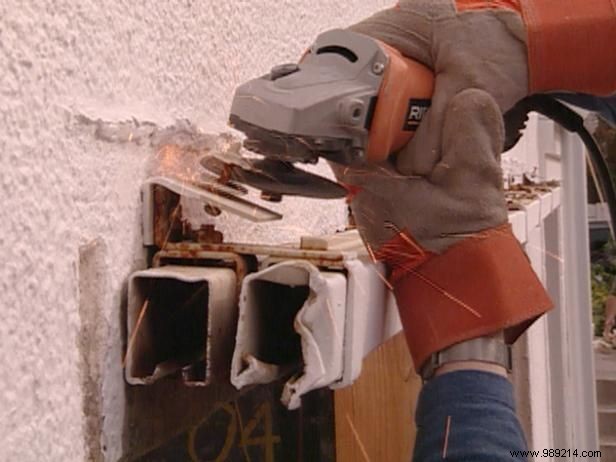
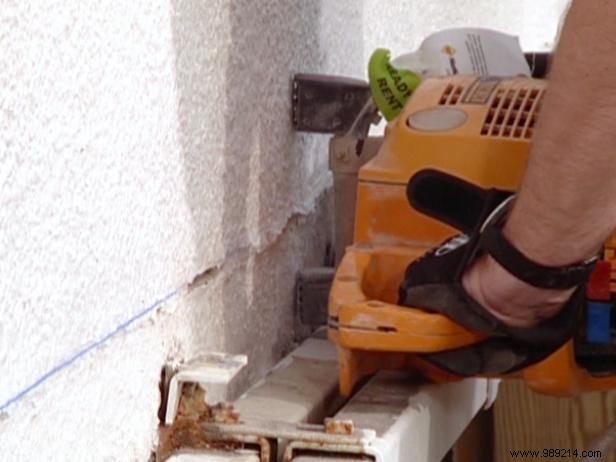
You can reuse the existing track supports by cutting the studs using an angle grinder with a cutting blade (Image 1).
Once the tops of the bolts have been removed, drive the rest in with a hammer.
Next, measure the opening for the treated wood that will be the base for the metal jambs.
Cut the wood to the required widths and lengths with a circular saw.
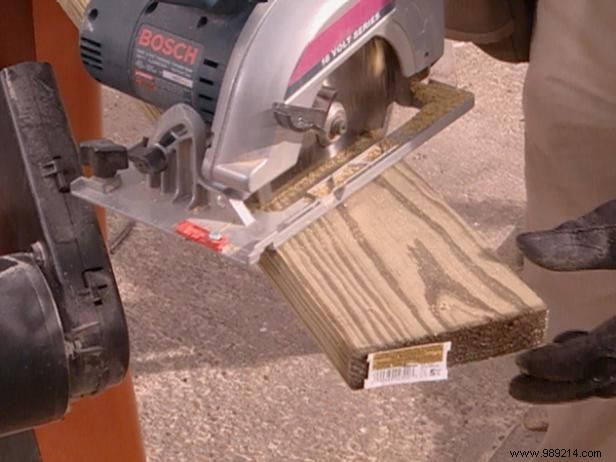
You will need to mark the angle at which you want the cover to lower. (In this case, it was a 30-degree angle.) Cut that angle into the treated wood as well using a circular saw (Image 2).
Make a cut in the wood with the circular saw that will allow the top of the wood to fit where the bell will rest.
You will need another piece of treated lumber cut to the same height as the first board and cut to the same angle at the top. This piece will be about half the width of the first board and will sit outside the opening. Screw the boards together.
Mark the anchor bolt locations that exist in the opening and transfer the location to the wood jamb.
Using a 1-1/8" drill bit, create holes in the wood jamb where the anchor bolts will fit. Drill the depth of the bolt or about 3/8". Using a smaller drill bit, drill completely through the boards for each of the anchor bolts. This will allow the studs to fit flush with the board when added.
Place the wood jamb over the anchor bolts in the opening. If necessary, use a hammer or rubber mallet to help fit the jamb into the opening (Image 3).
Attach the jamb with screws (Image 4).
Cary Wiedman
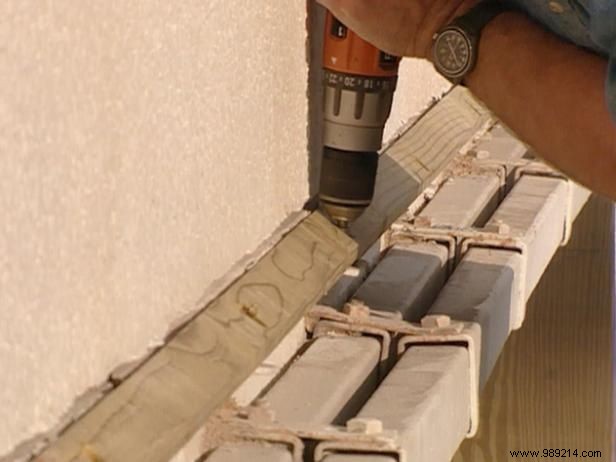

To prepare the exterior of the house for the hood, using an existing caulking line as a reference, lay down a blue line that will be used to cut a reglet or groove into the facade, which in this case was stucco. The metal of our hood will slide into the reglet providing a sealed joint.
Restoration Lexicon: A reglet is a flat and narrow architectural molding..
Using a concrete saw, cut the stone into the stucco (Image 1).
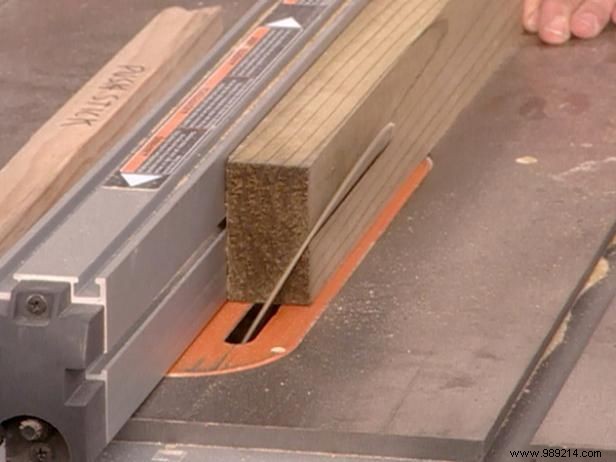
We also created a wooden cap for the hood. On a table saw, position the blade to match the pitch of the hood, then cut that angle into a piece of treated lumber equal to the width of the garage door opening. They have set up the table saw to cut a 30 degree bevel from the top cap (Image 2). This top cap will reinforce the metal above and prevent it from bending.
Attach the top cover to the existing brackets using metal screws (Image 3).
Next, return the rollers and brackets to the track and create the wood jambs for the other side of the opening.
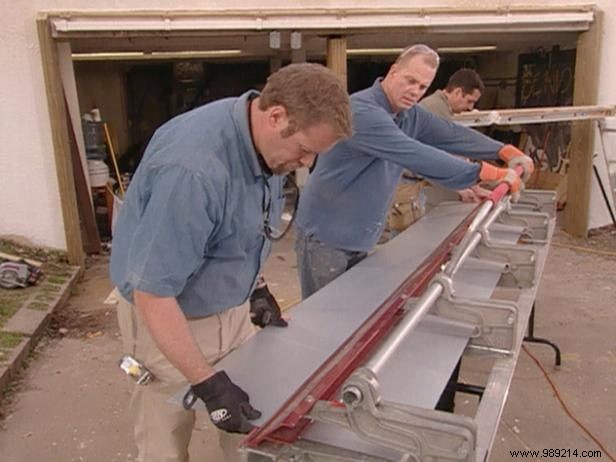
To bend the metal of the jambs and deck, we use a metal brake, a device that uses equally dispersed pressure to help cut and shape the metal to the necessary dimensions and shapes. Since this metal was quite thick, it helps to first score the seams with a utility knife. Use the metal stop to cut the metal to the widths you need and shape it to go around the wood jambs and fit into the hood (Image 4).
Remember, joints are much easier to bend or break when scored with a utility knife.
Using the angle grinder with cutting blade, cut the same top angle used on the wood jambs into the metal for the side jambs.
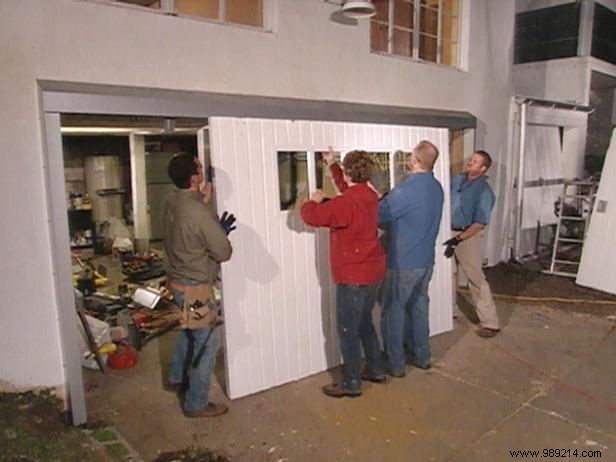
Lay the metal over the wood side jambs first, then attach the metal to the hood, sliding a small bent section of the metal into the reglet to flash. Attach all metal to the wood top cap and side jambs with fasteners that have a neoprene backing (Image 5).
Finally, putty around the reglet.
Reinstall the doors by sliding them back into the brackets and screwing in the bolts. Reconnect any additional hardware.
Install glass panels by nailing into a glass stop at the back of the doors. You can use a glazing compound as a backing pad to prevent the glass from moving. It's also a good idea to use tempered or wire glass for added security.