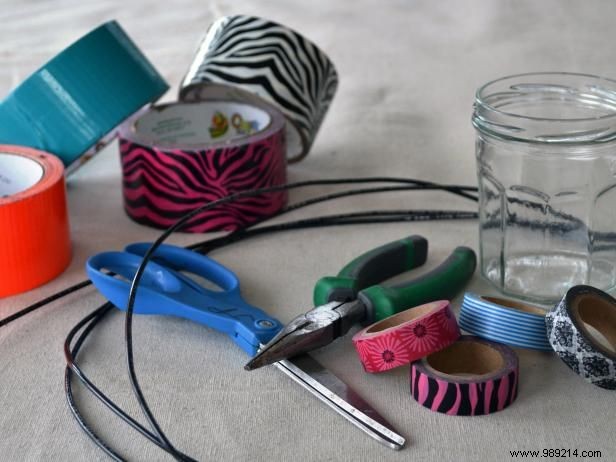
Both boys and girls love colorful bracelets. Have them make their own creations using a variety of decorative ribbons. We have three different methods to choose from.
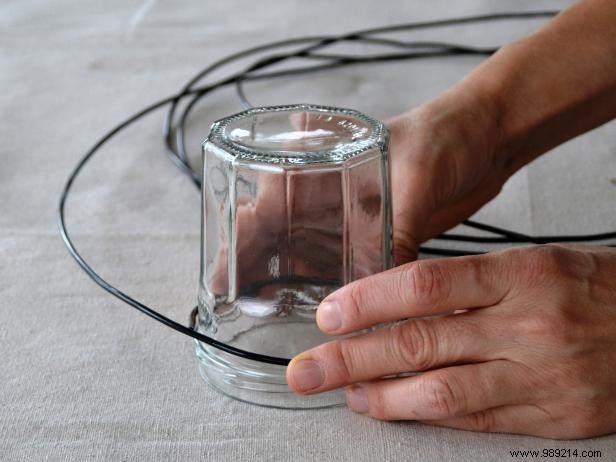
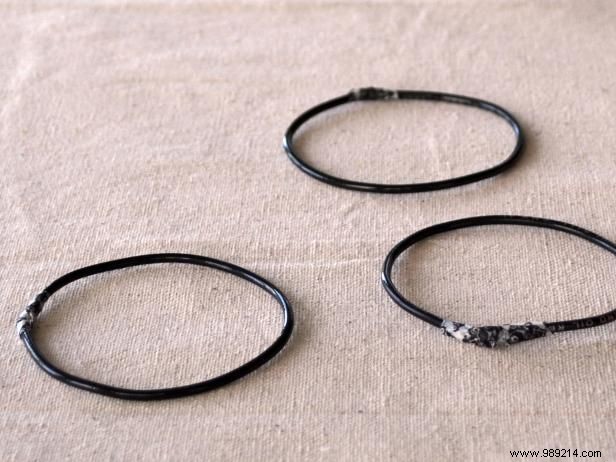
Use a glass jar to bend the electrical cord into a circle large enough to fit over your wrist.
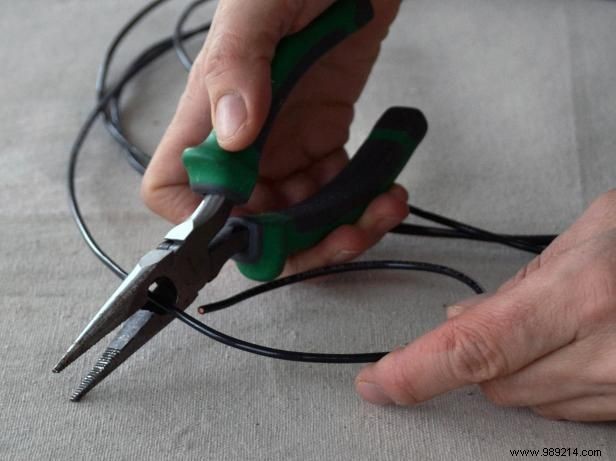
Use wire cutters to cut to length.
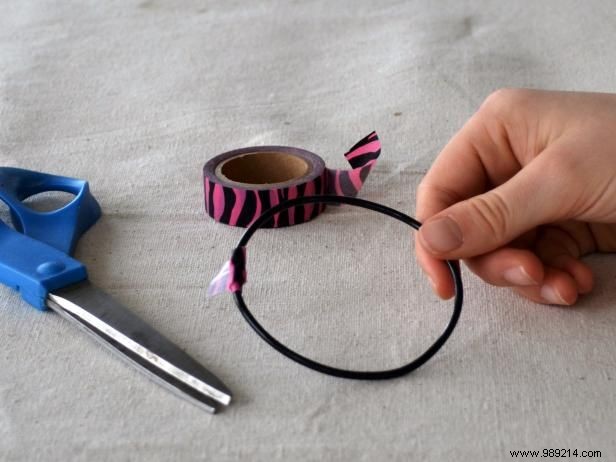
Push the ends of the wire together until they touch, and secure with a small piece of duct or washi tape.
Cut a piece of washi tape across the length of the bracelet. Keeping the wire in the middle, press the tape along the inside of the ring.
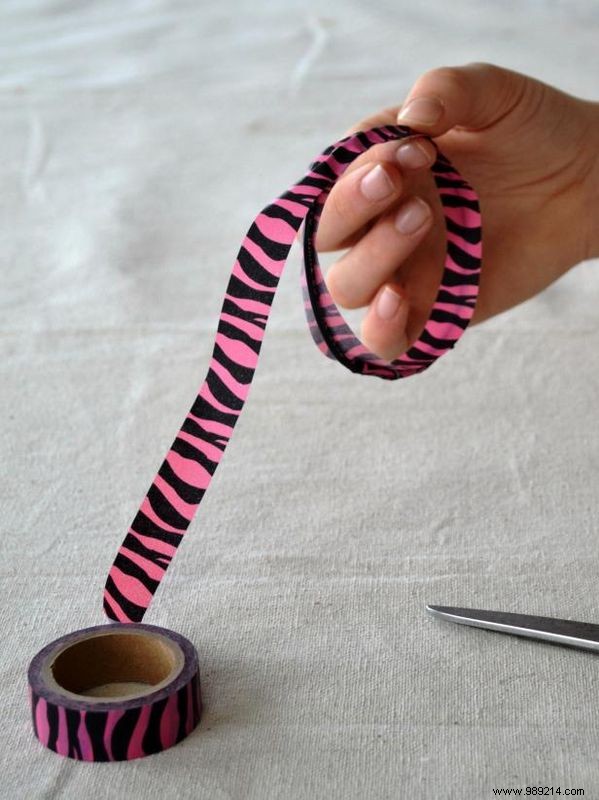
Carefully add another piece of washi tape to the outside of the bracelet, bringing the two sticky sides together. Do this twice to add extra robustness.
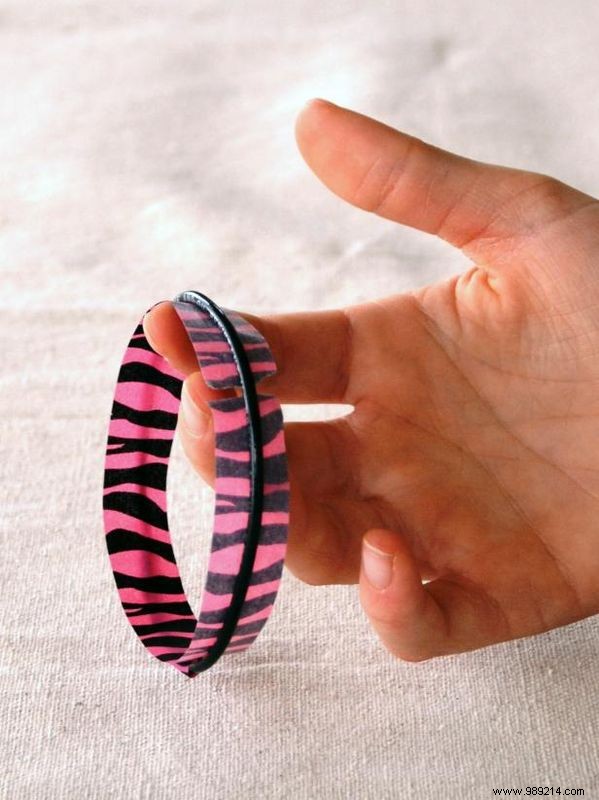
Using your fingertips, bring the edges of the tape together to allow the wire to stick out in the middle.
Make three loops of wire and glue the ends together.
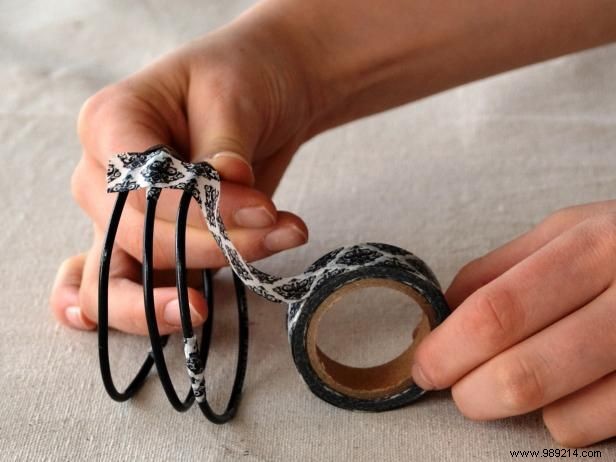
Using your fingers for support, pull all three rings apart. Wrap washi tape through and under all three bands to cover both sides.
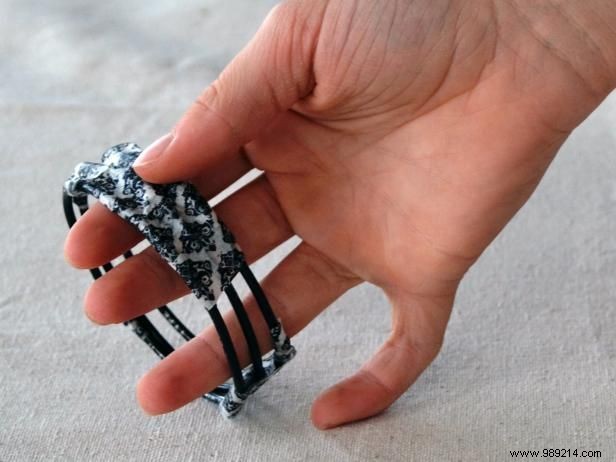
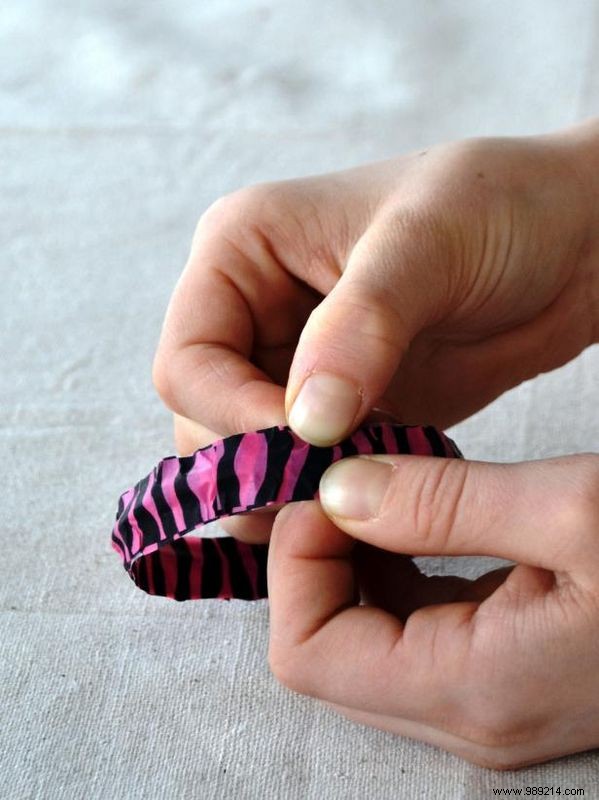
Using smaller pieces of washi, wrap one section at a time around the bracelet, making sure the wires stay separate.
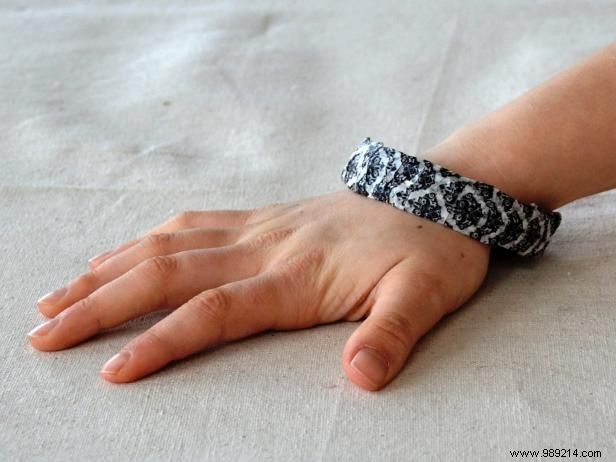
Work around the bracelet until the wires are covered. Add several more layers of ribbon to create a thicker bracelet.
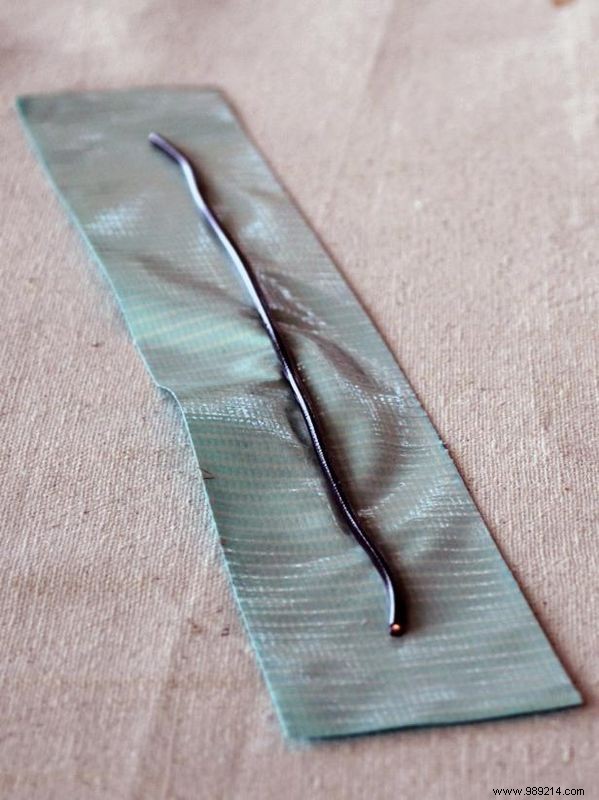
Cut the wire to size and place it in the middle of a piece of tape with an extra inch on each end.
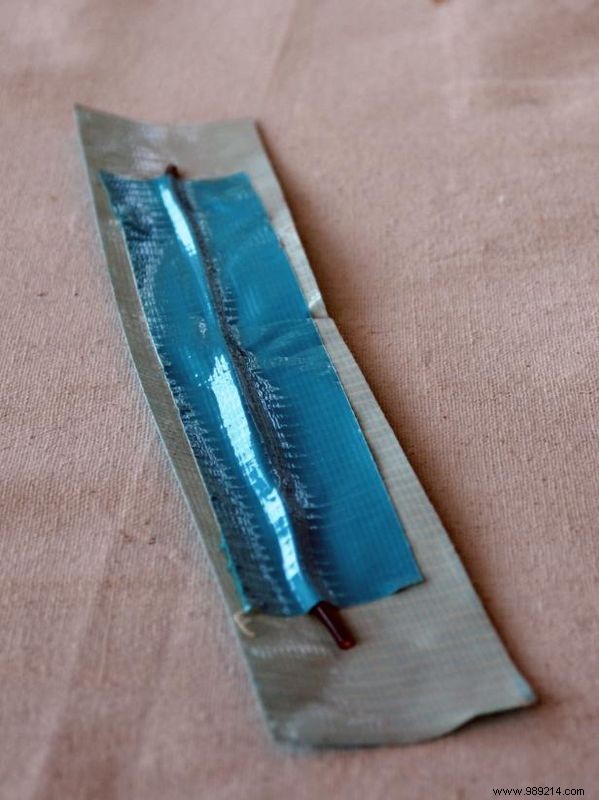
Cut a thinner piece of duct tape that is slightly shorter than the wire. Place it on top of the cable, centered on top of the original tape. Fold over the exposed side edges and do the same at one end.
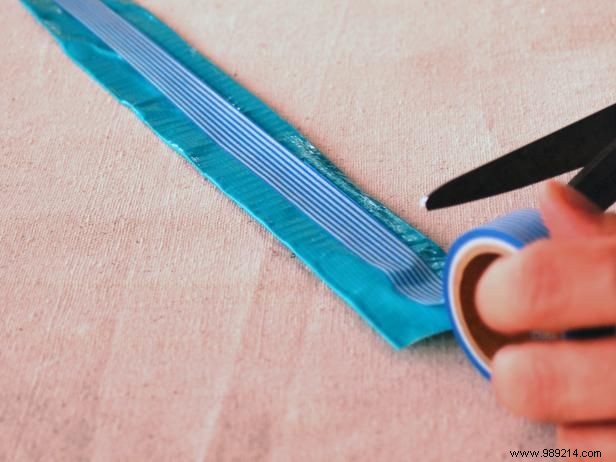
Turn the bracelet over and add a long strip of washi tape to the center of the masking tape.
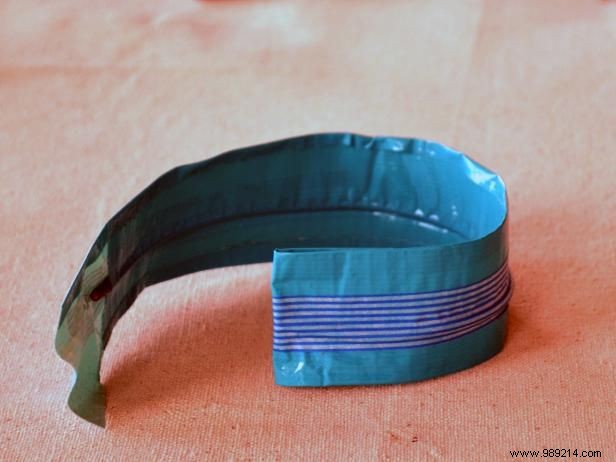
Bend the wire to shape the bracelet. To complete the circle, press the sticky side to the completed end.

Using the washi tape, cut a small vertical piece to place over the seam. Continue pattern around band at 1-inch intervals.